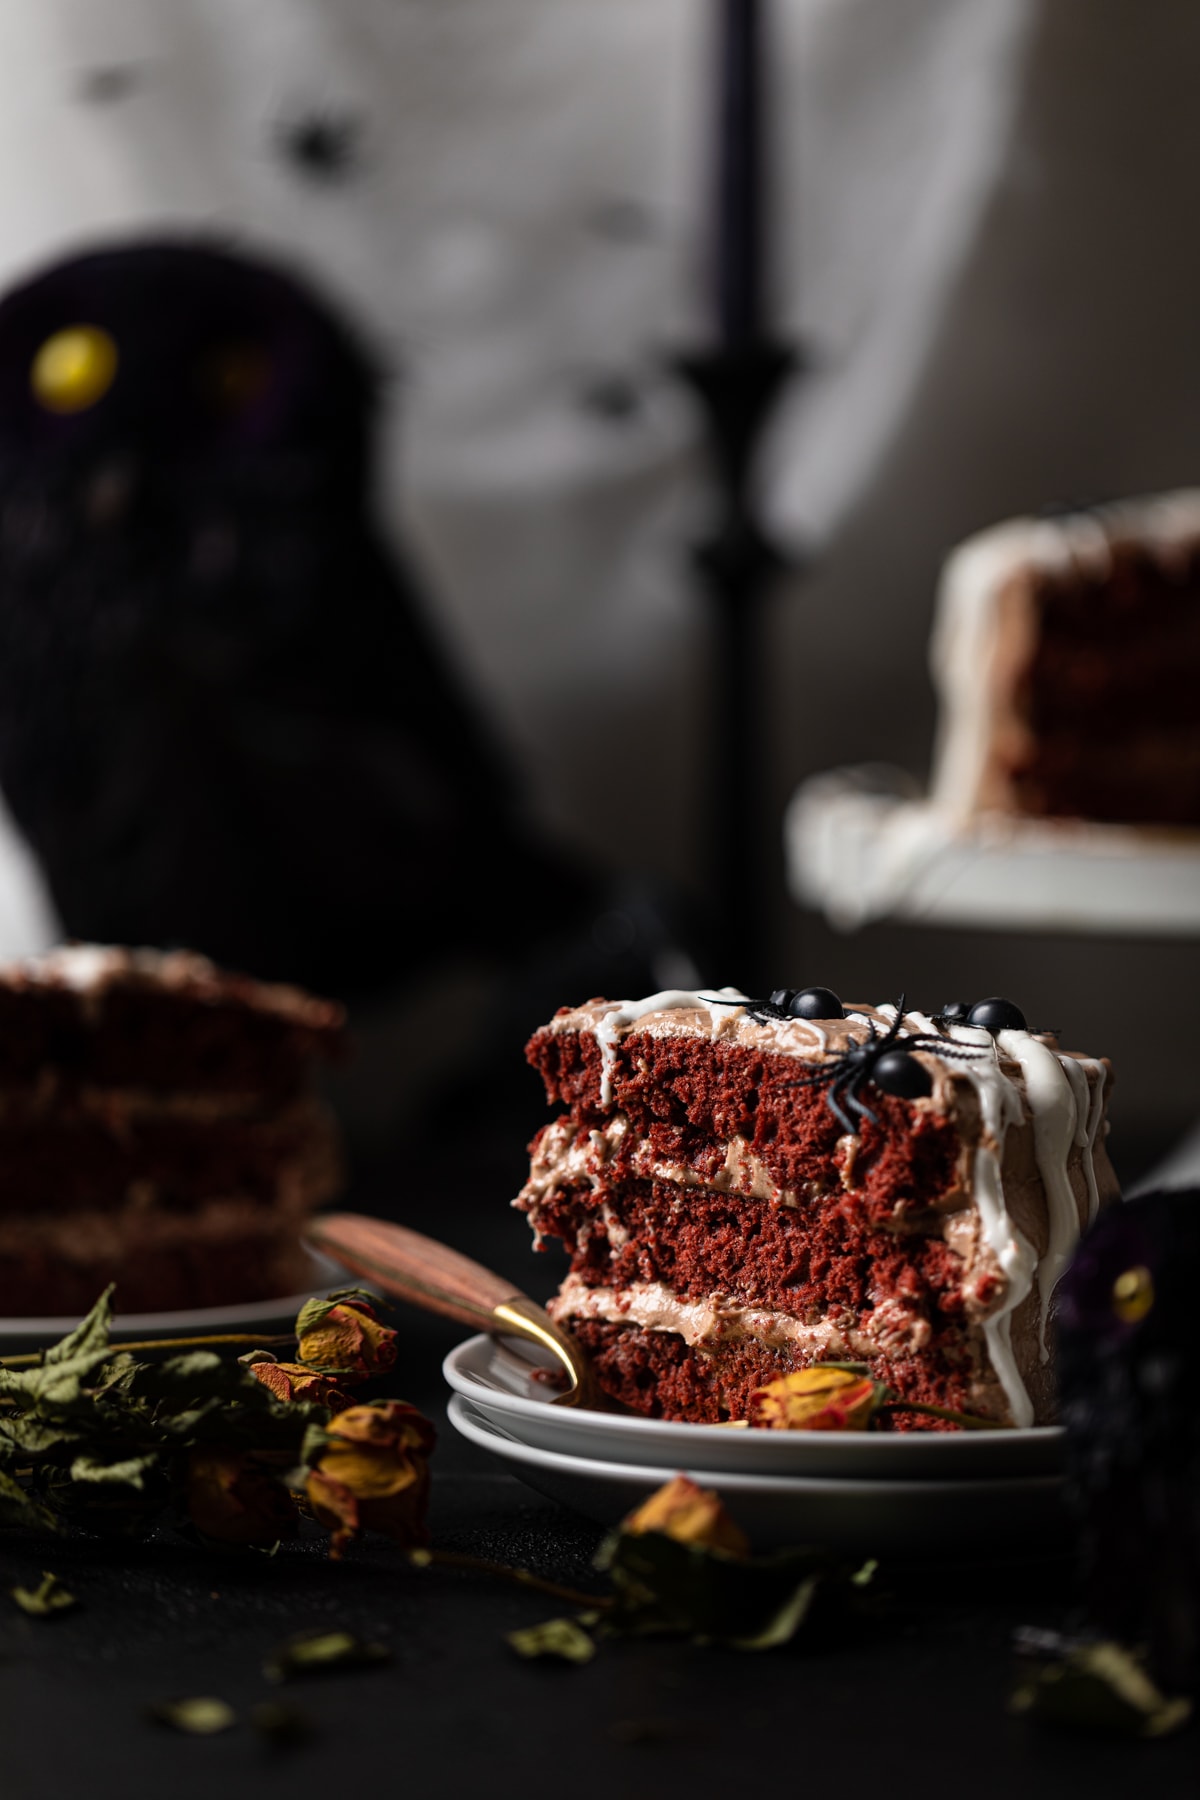
Black Widow Red Velvet Cake
Black Widow Red Velvet Cake
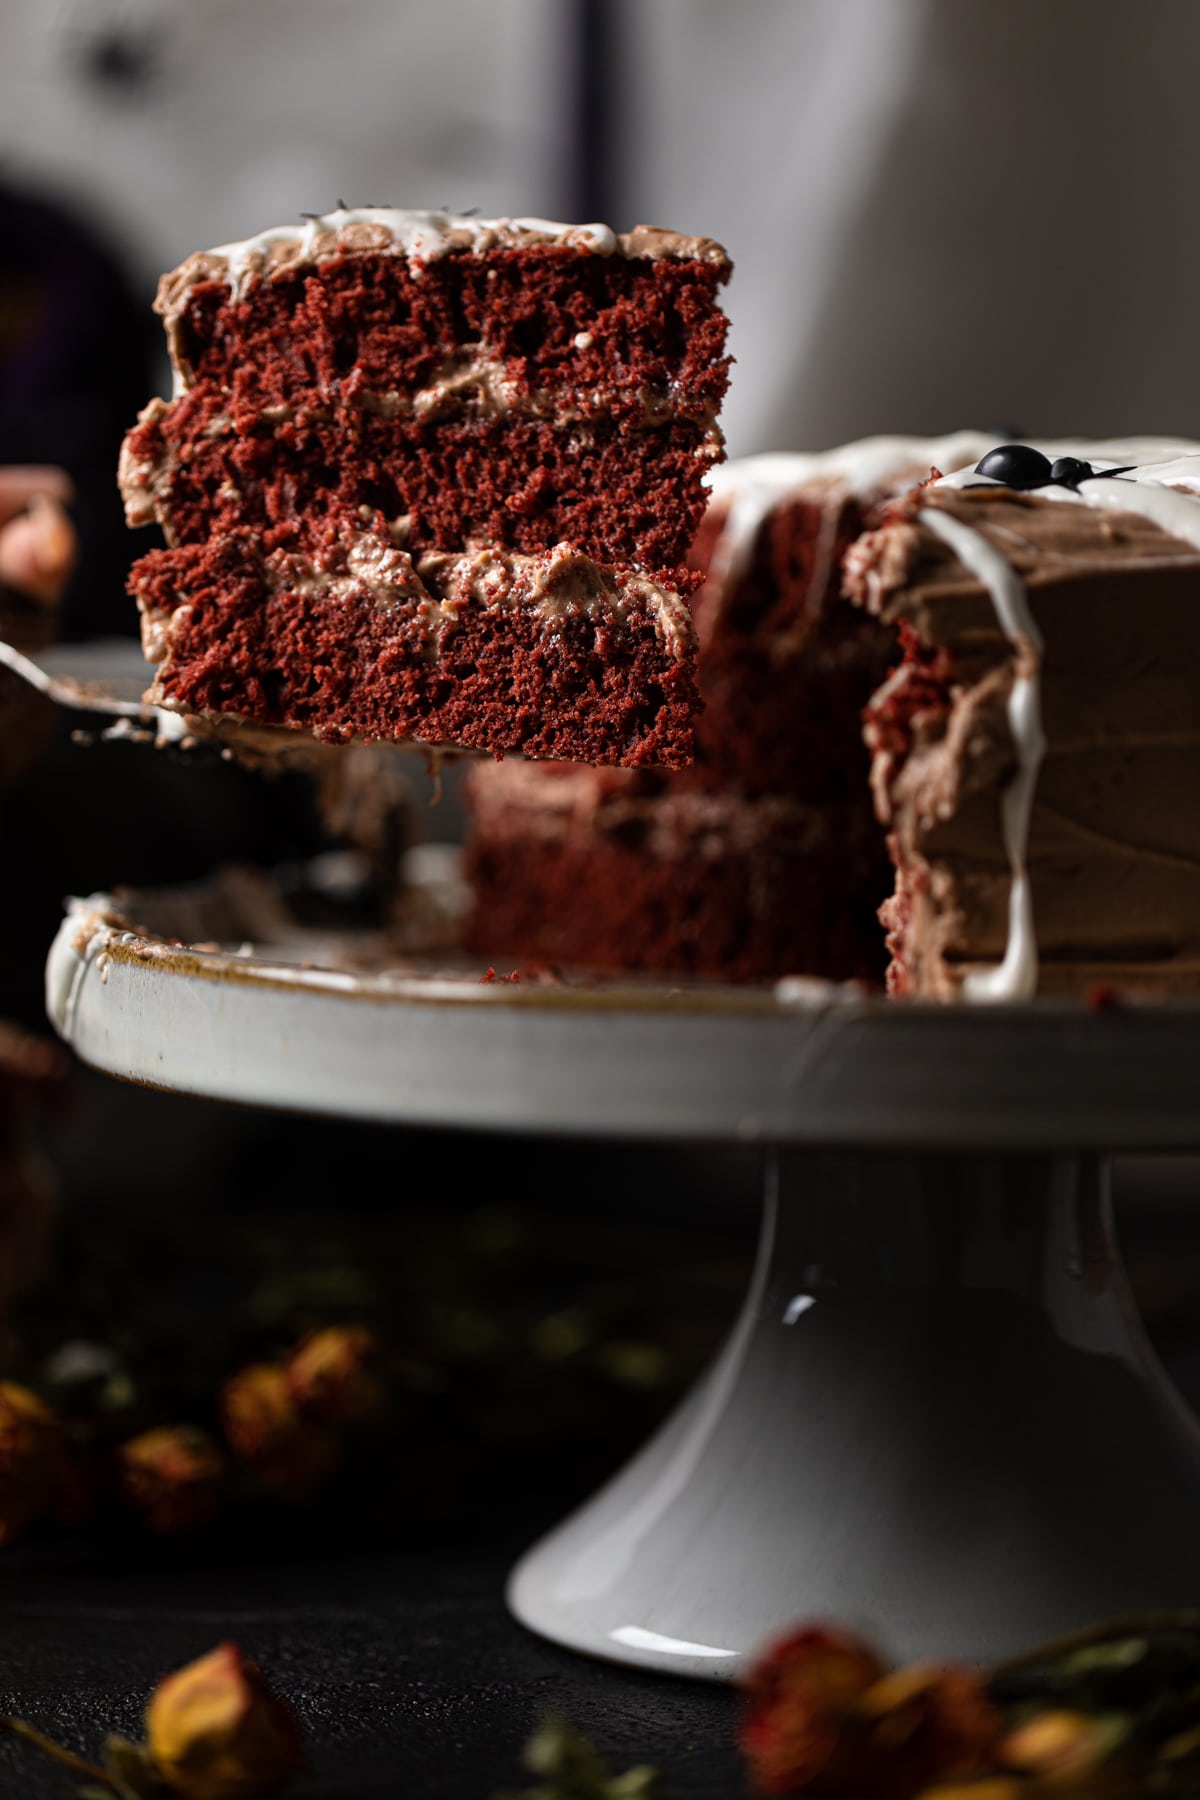
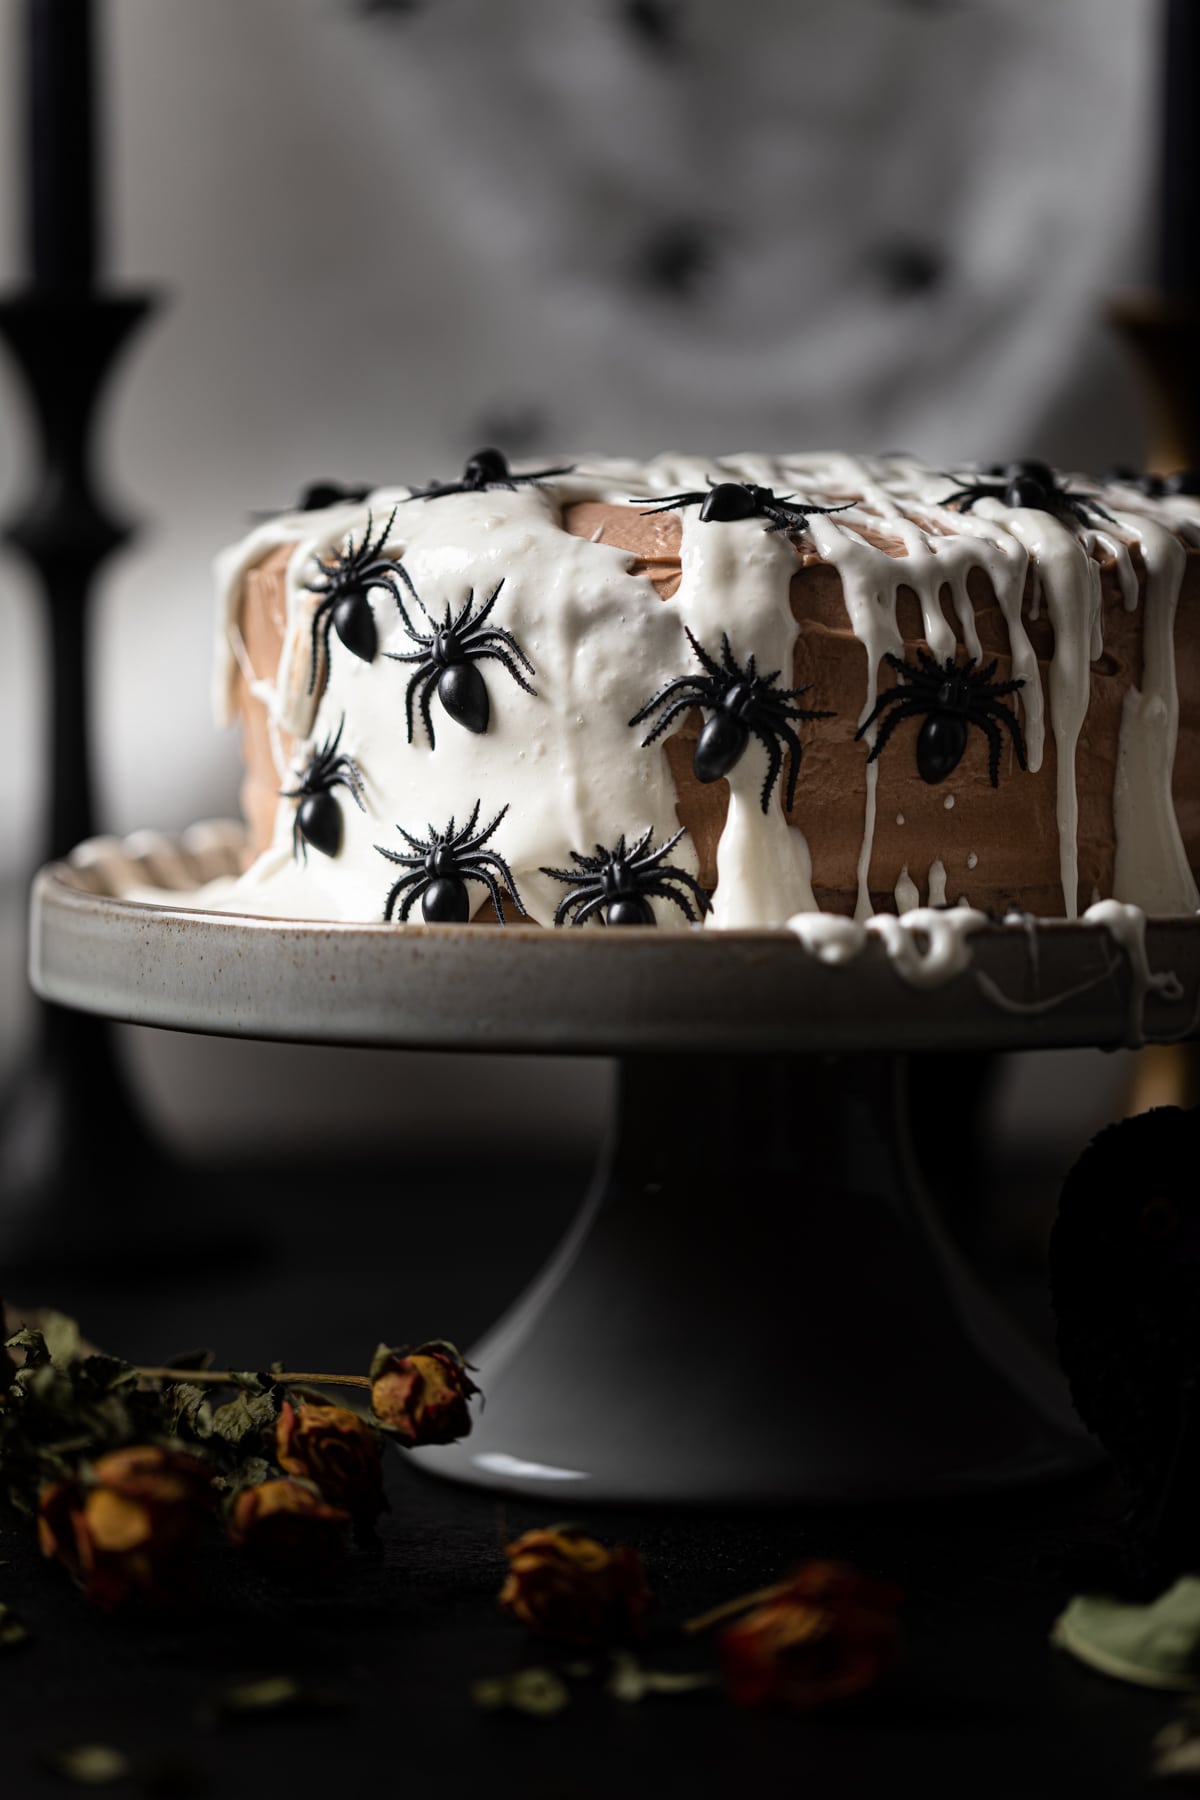
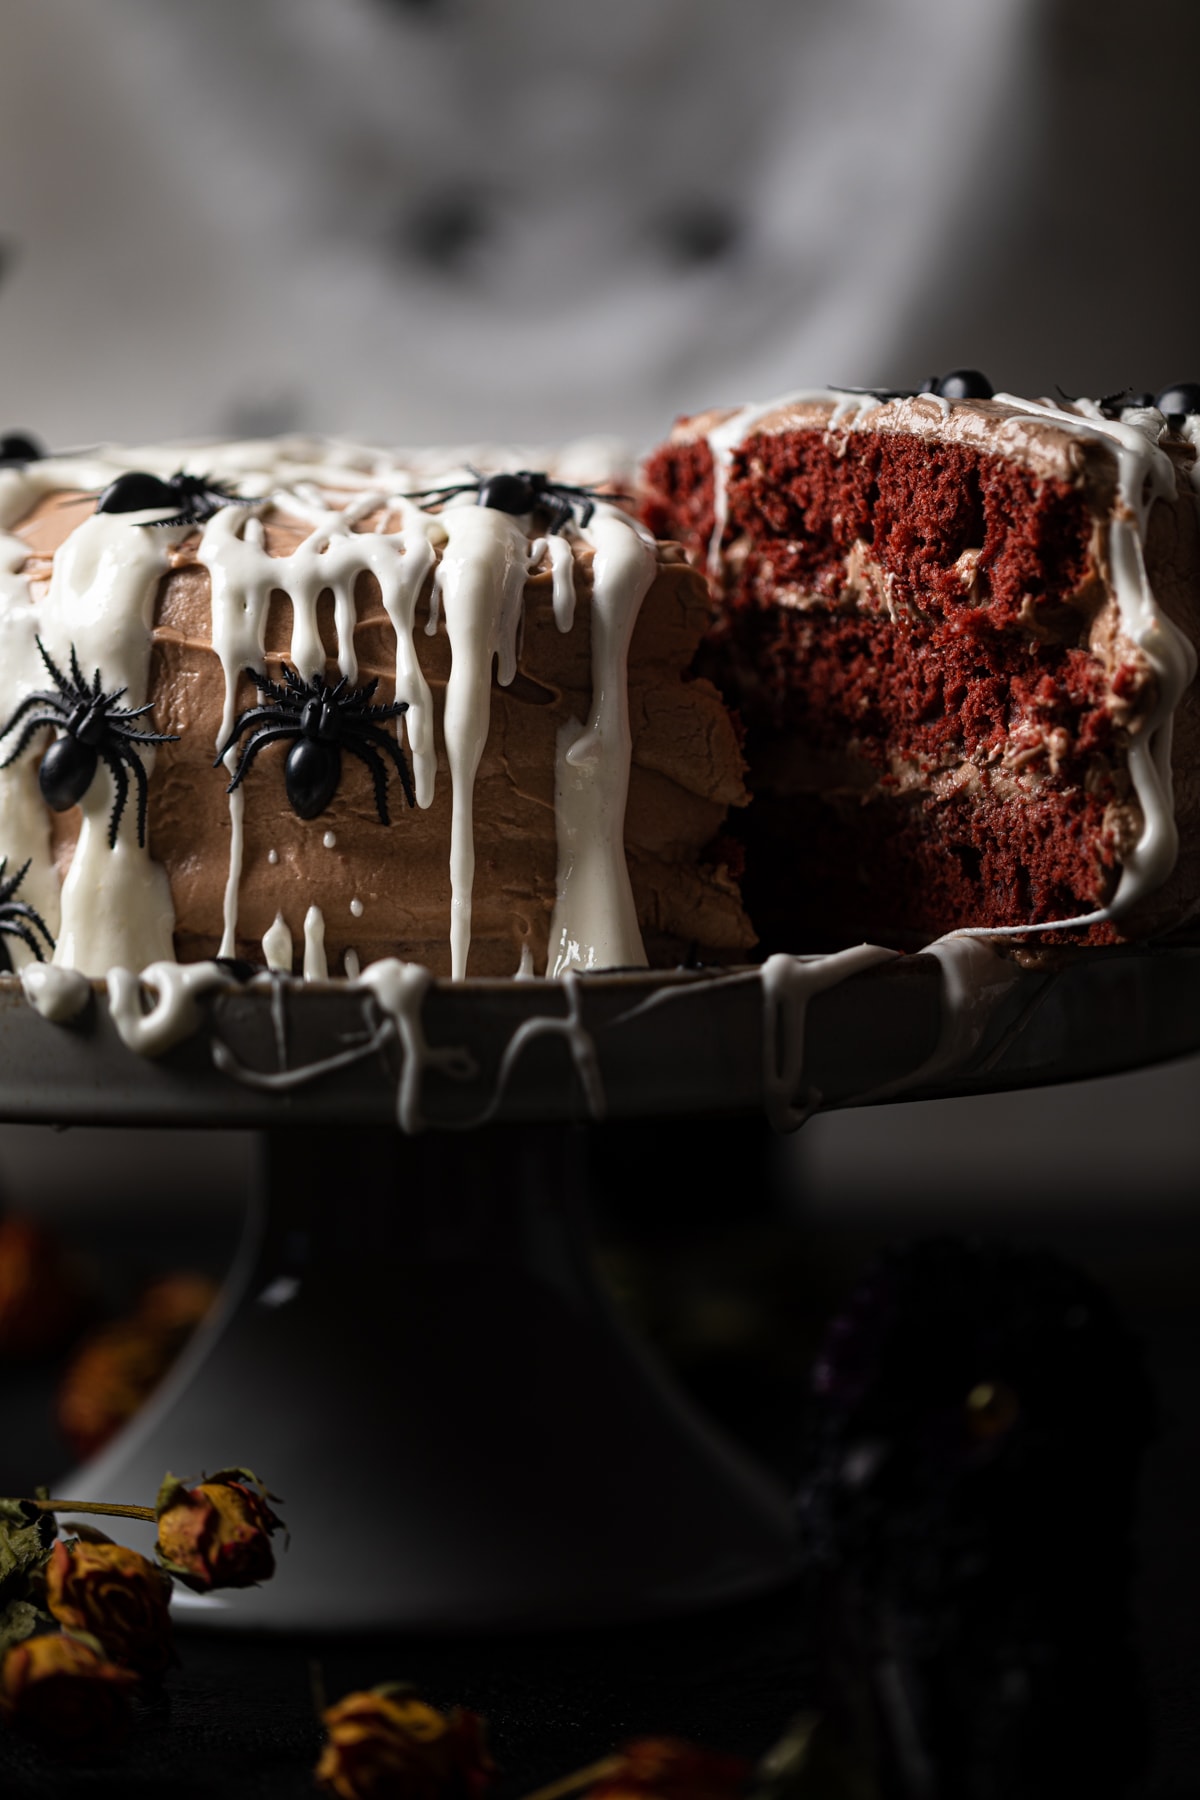
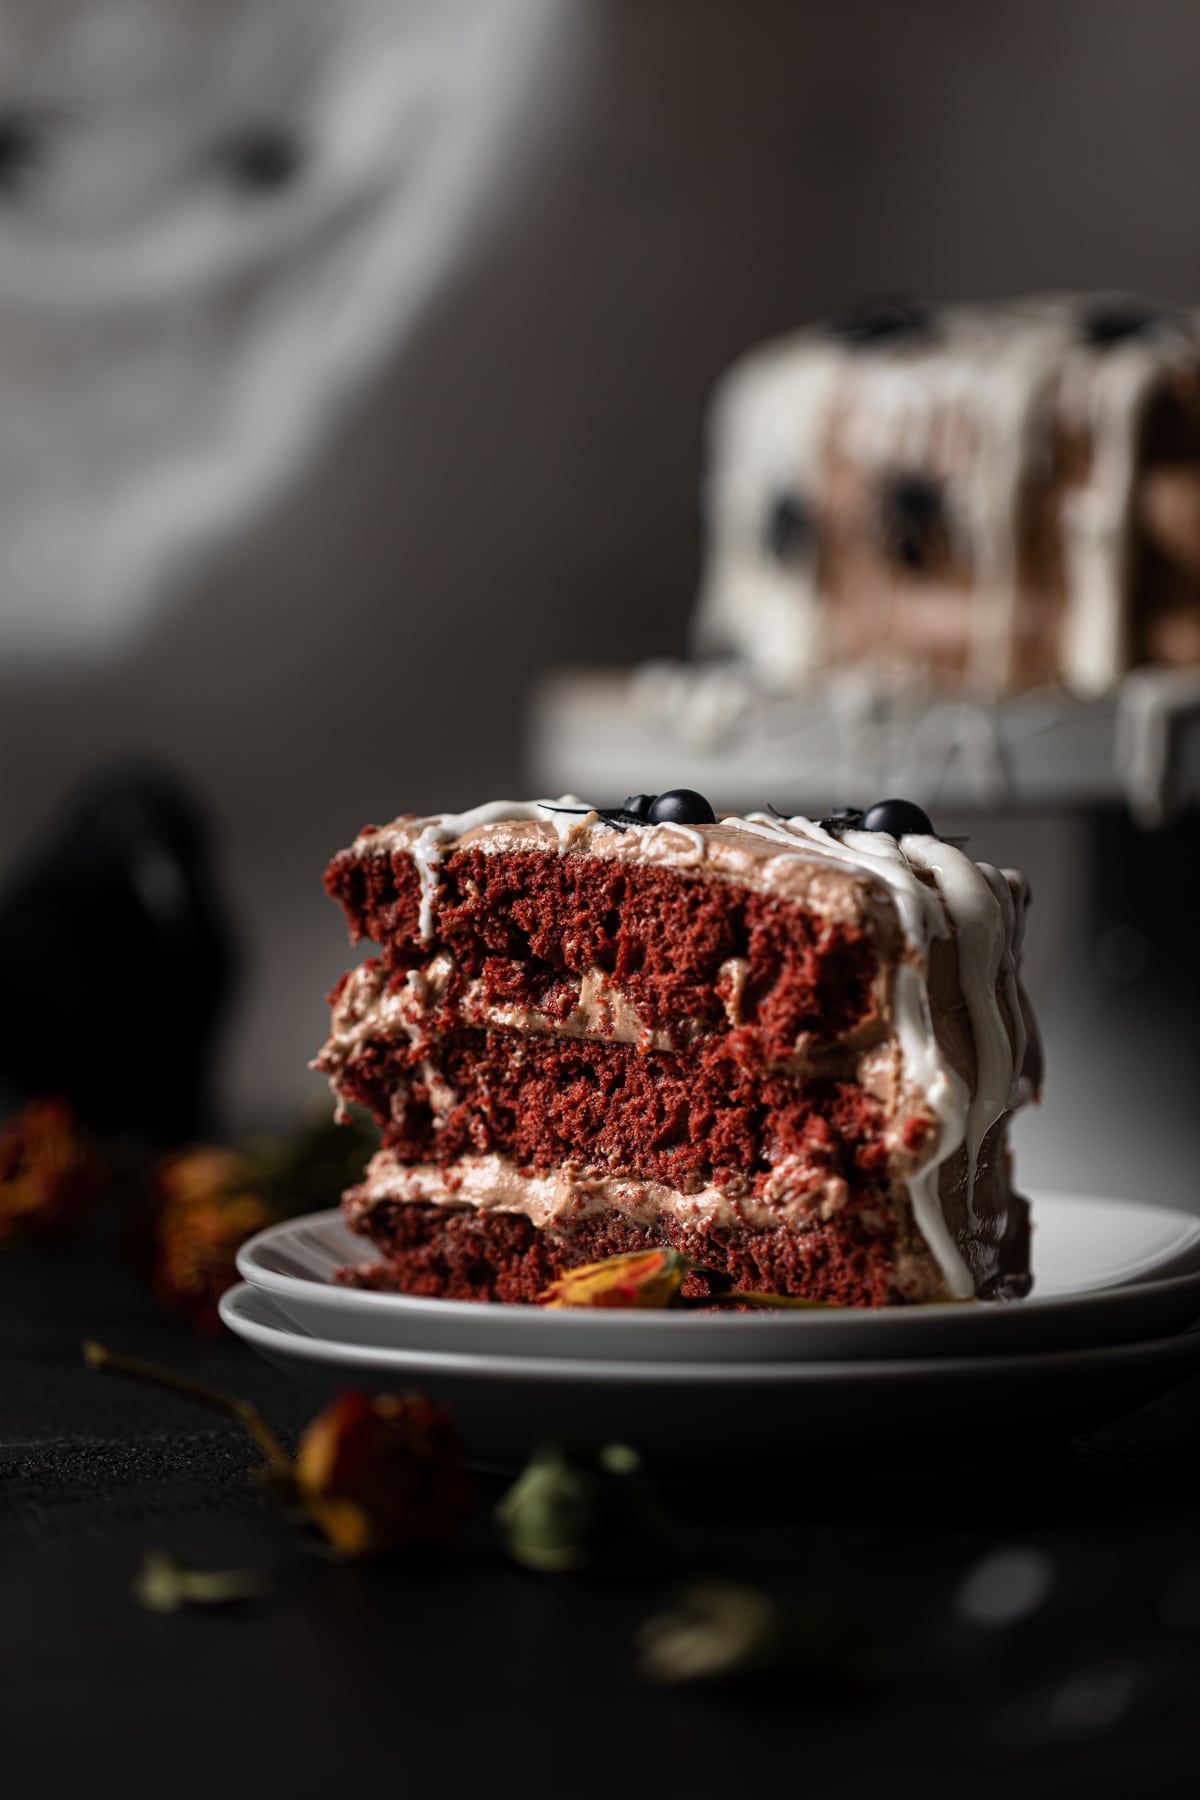
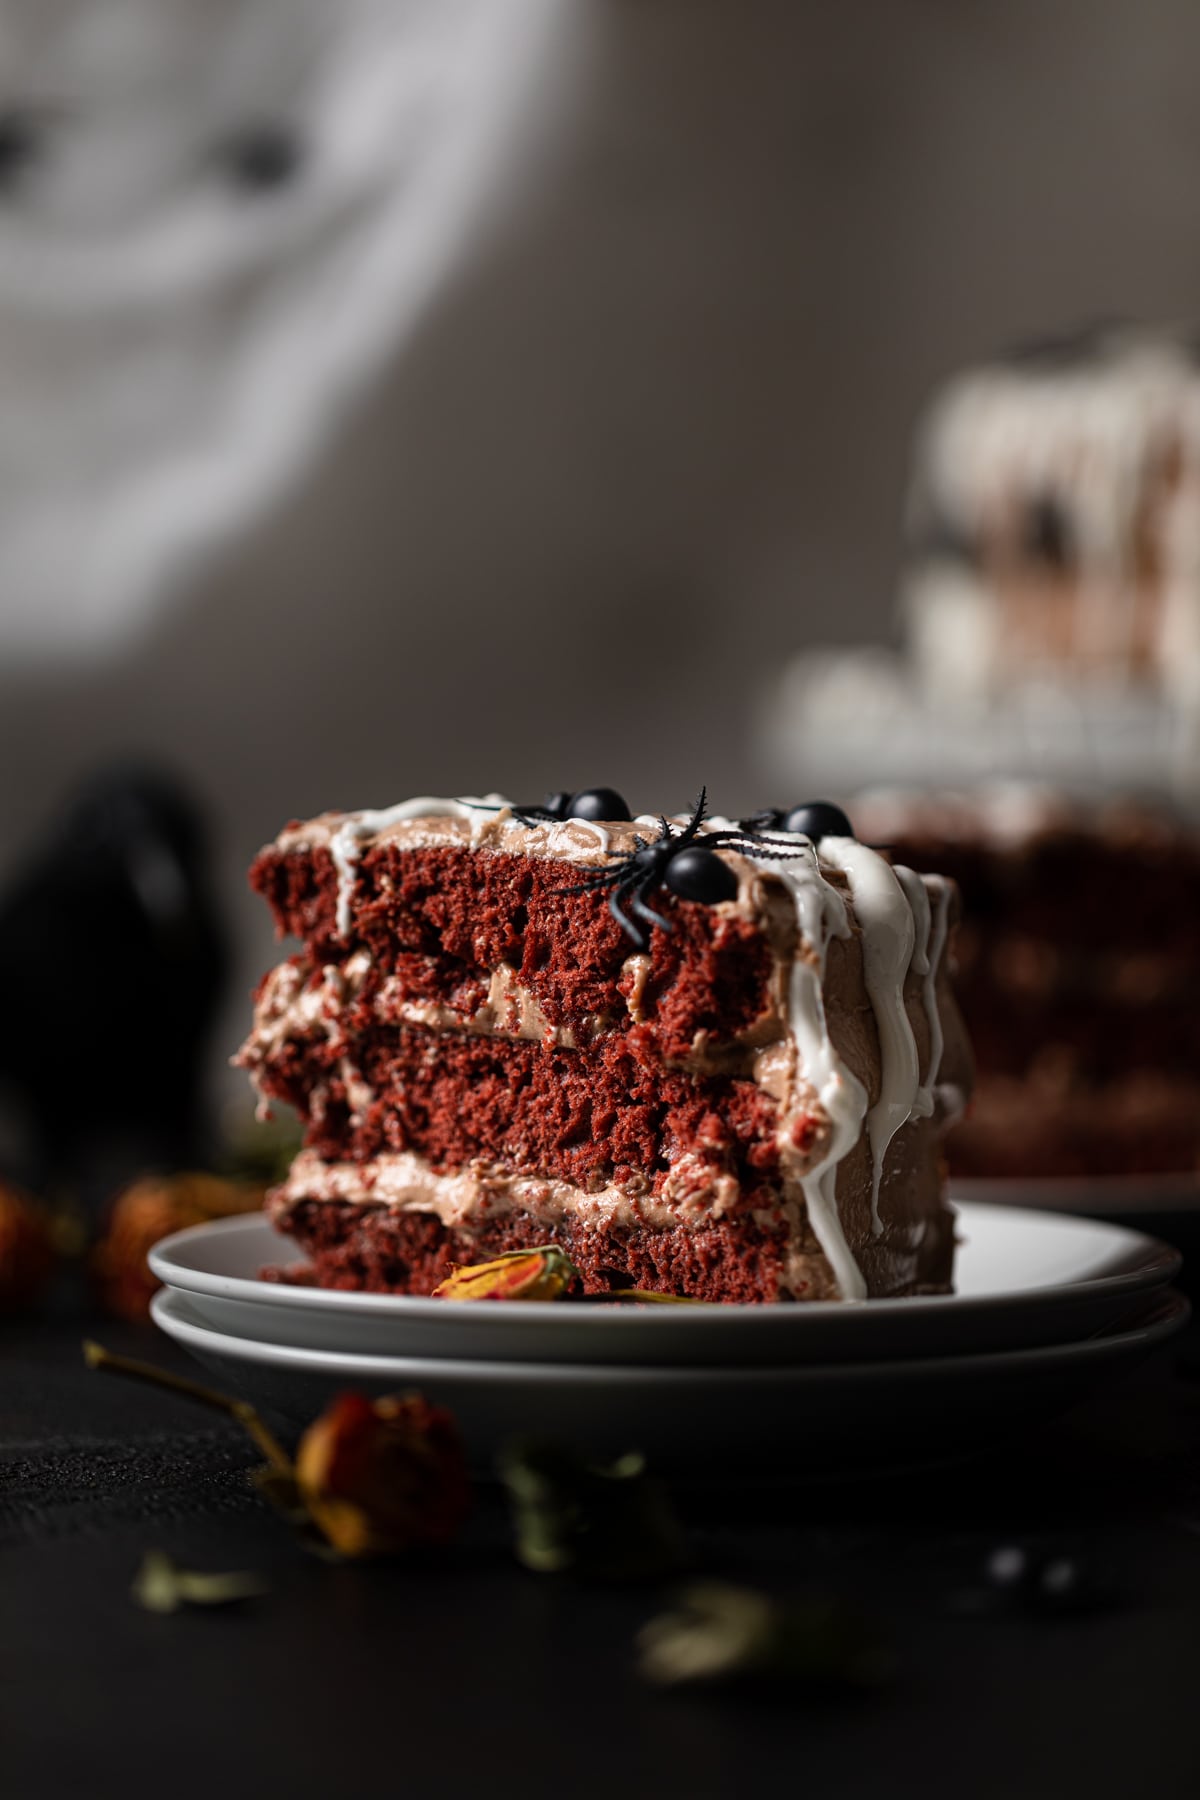
The spooky season calls for a spooky cake, and my Black Widow Red Velvet Cake is the perfect dessert for any Halloween gathering! Rich, moist, and homemade red velvet cake gets a ghastly makeover with a scary spider web design right on the cake! Slice into the cake to reveal a delicious blood-red inside that is both festive and frightening!
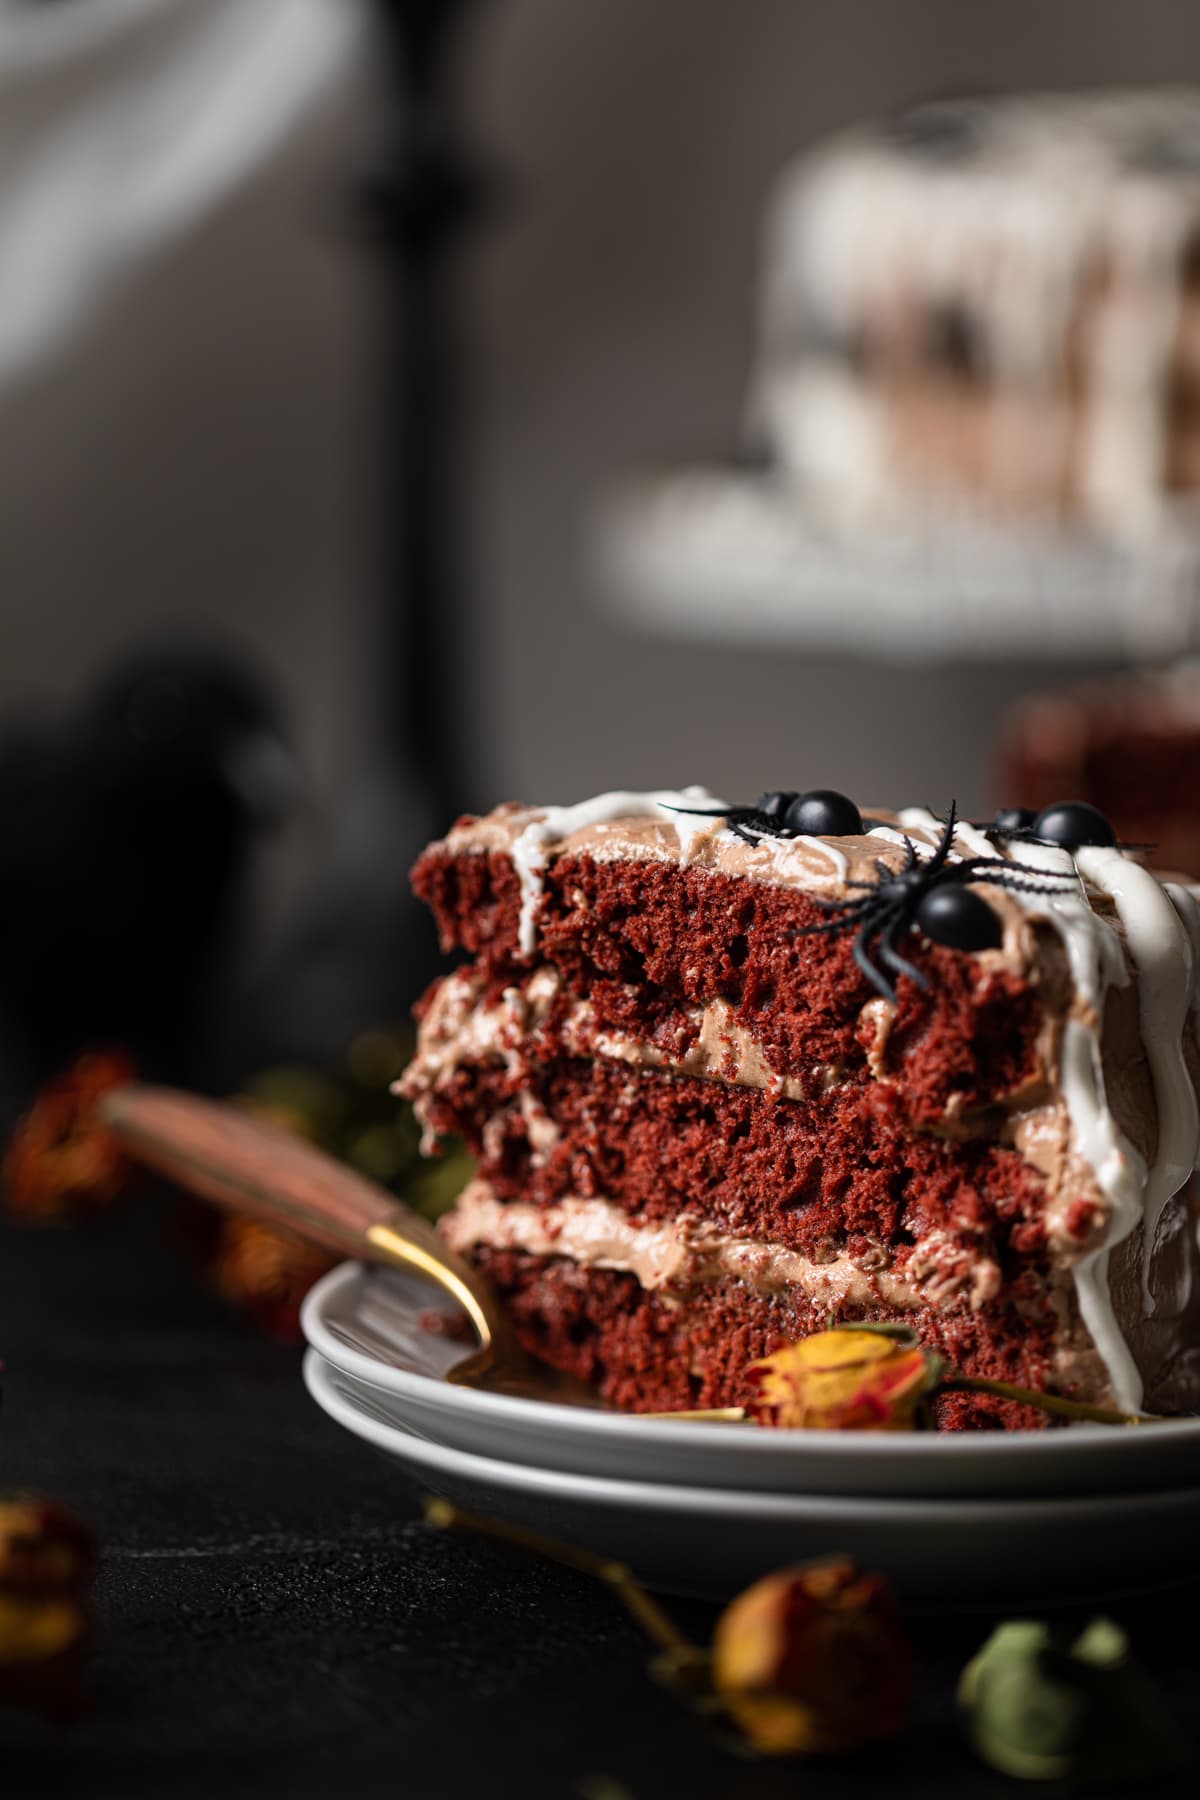
Need a dessert recipe for this year's Halloween party? Look no further!
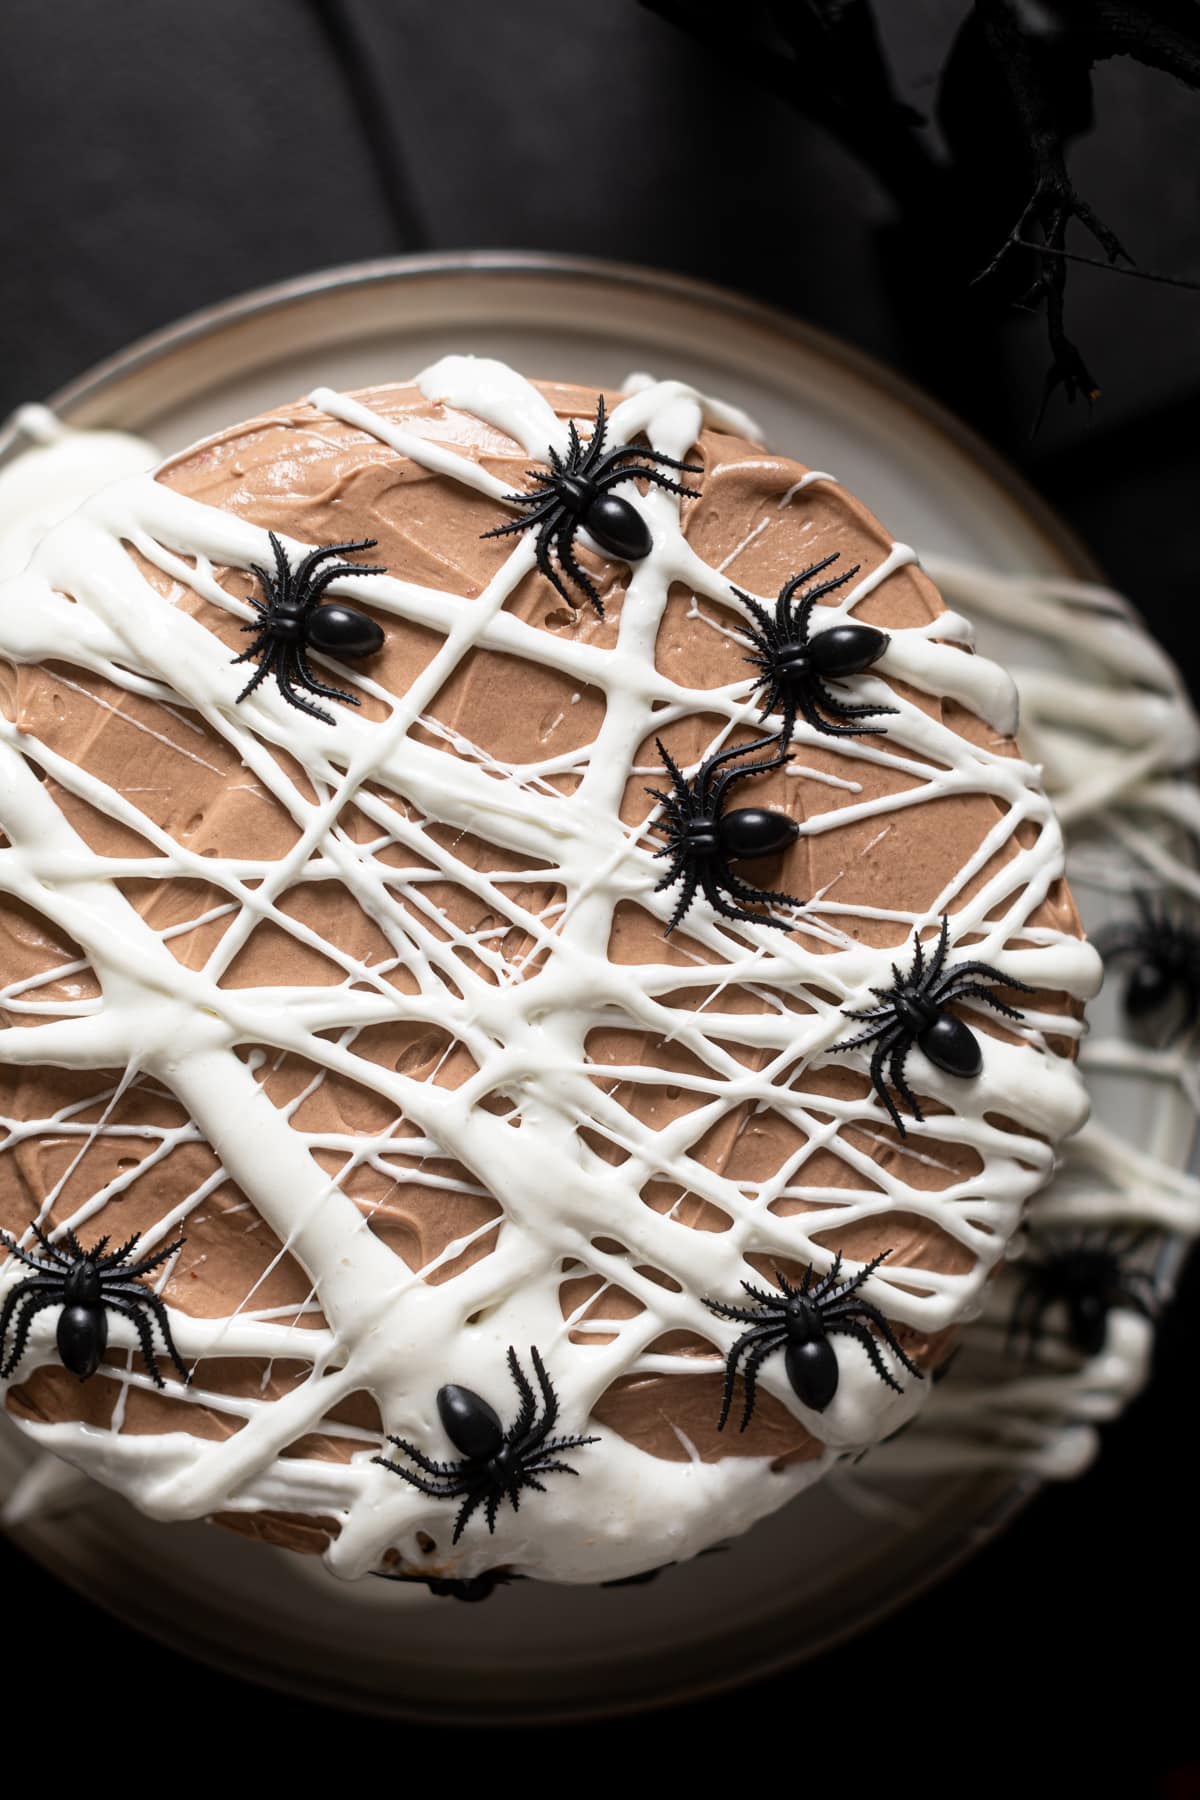
Everyone likes to be a little spooked each Halloween, so why not give your spooky dessert the same vibe? This Black Widow Red Velvet Cake is sure to impress all of your ghoul-friends! A homemade red velvet cake is blanketed in delicious cocoa-scented cream cheese frosting and festive marshmallow webs.
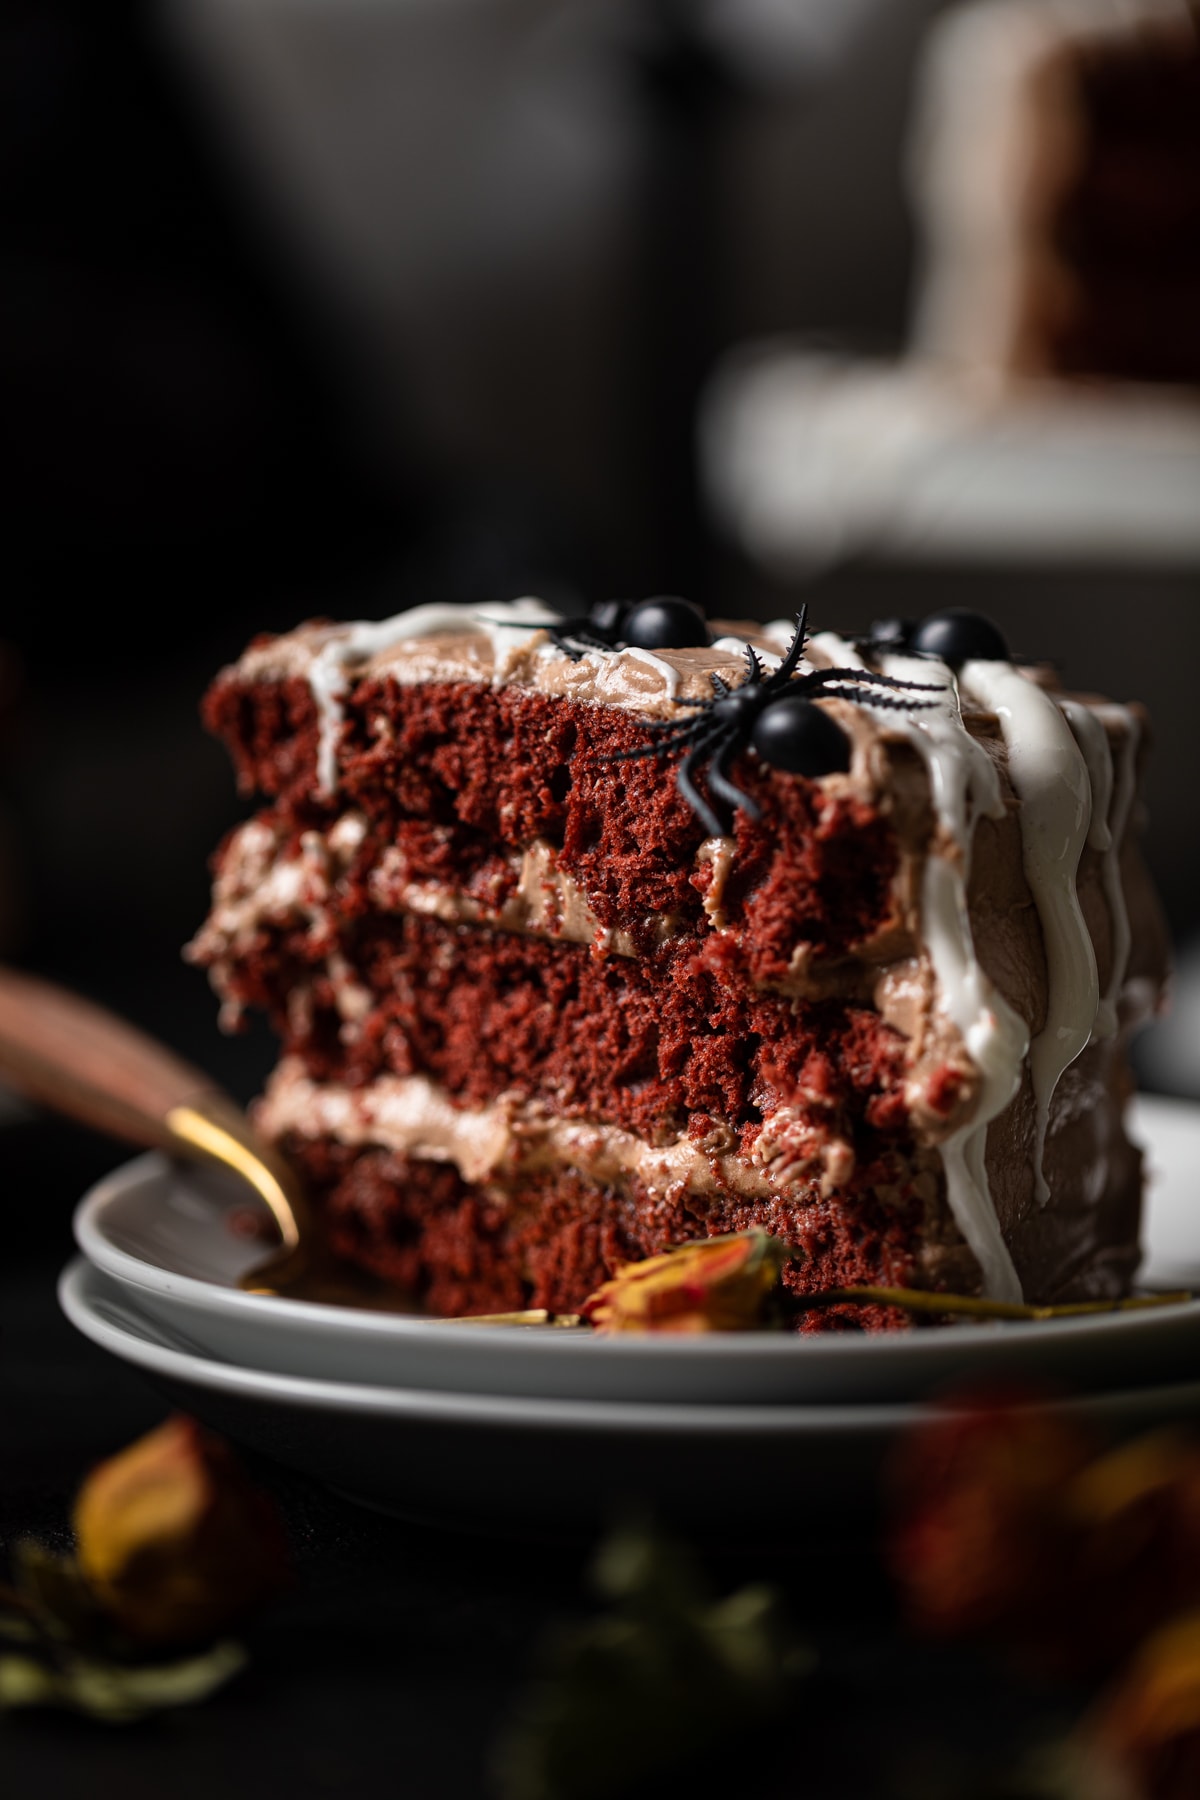
This cake is sure to please everyone, from kiddos to vampires. The blood-red insides make this cake perfect for a late October gathering!
Tips For Making The Perfect Cake
After many trials and errors when baking, I have worked out quite a few rules to live by when baking the perfect cake.
You want to first have the right tools for baking a cake. That means having spatulas, a cake stand, layer cake pans, parchment paper, and if you're an avid baker, a stand mixer. Having your tools prepped and ready to go is key.
Use high-quality food coloring! Some food coloring is made with different dyes, which can drastically change the color of your cake. In this instance, you want a very deep red color that is vibrant!
Incorporate your eggs one at a time. This allows the cake to mix more evenly, leading to a better texture within the cake.
Unless otherwise advised, bake with all room-temperature ingredients. Ingredients at room temp will keep the batter at a similar temperature when mixing. Cold eggs and soft butter will cancel each other out and not mix as well due to the temperature difference!
Sift your dry ingredients, but do not overmix! Sifting eliminates any lumps or undesirables within your dry ingredients. Once the dry ingredients have been added, only mix the batter until all flour is moistened and then stop. Overmixing will lead to a dense cake!
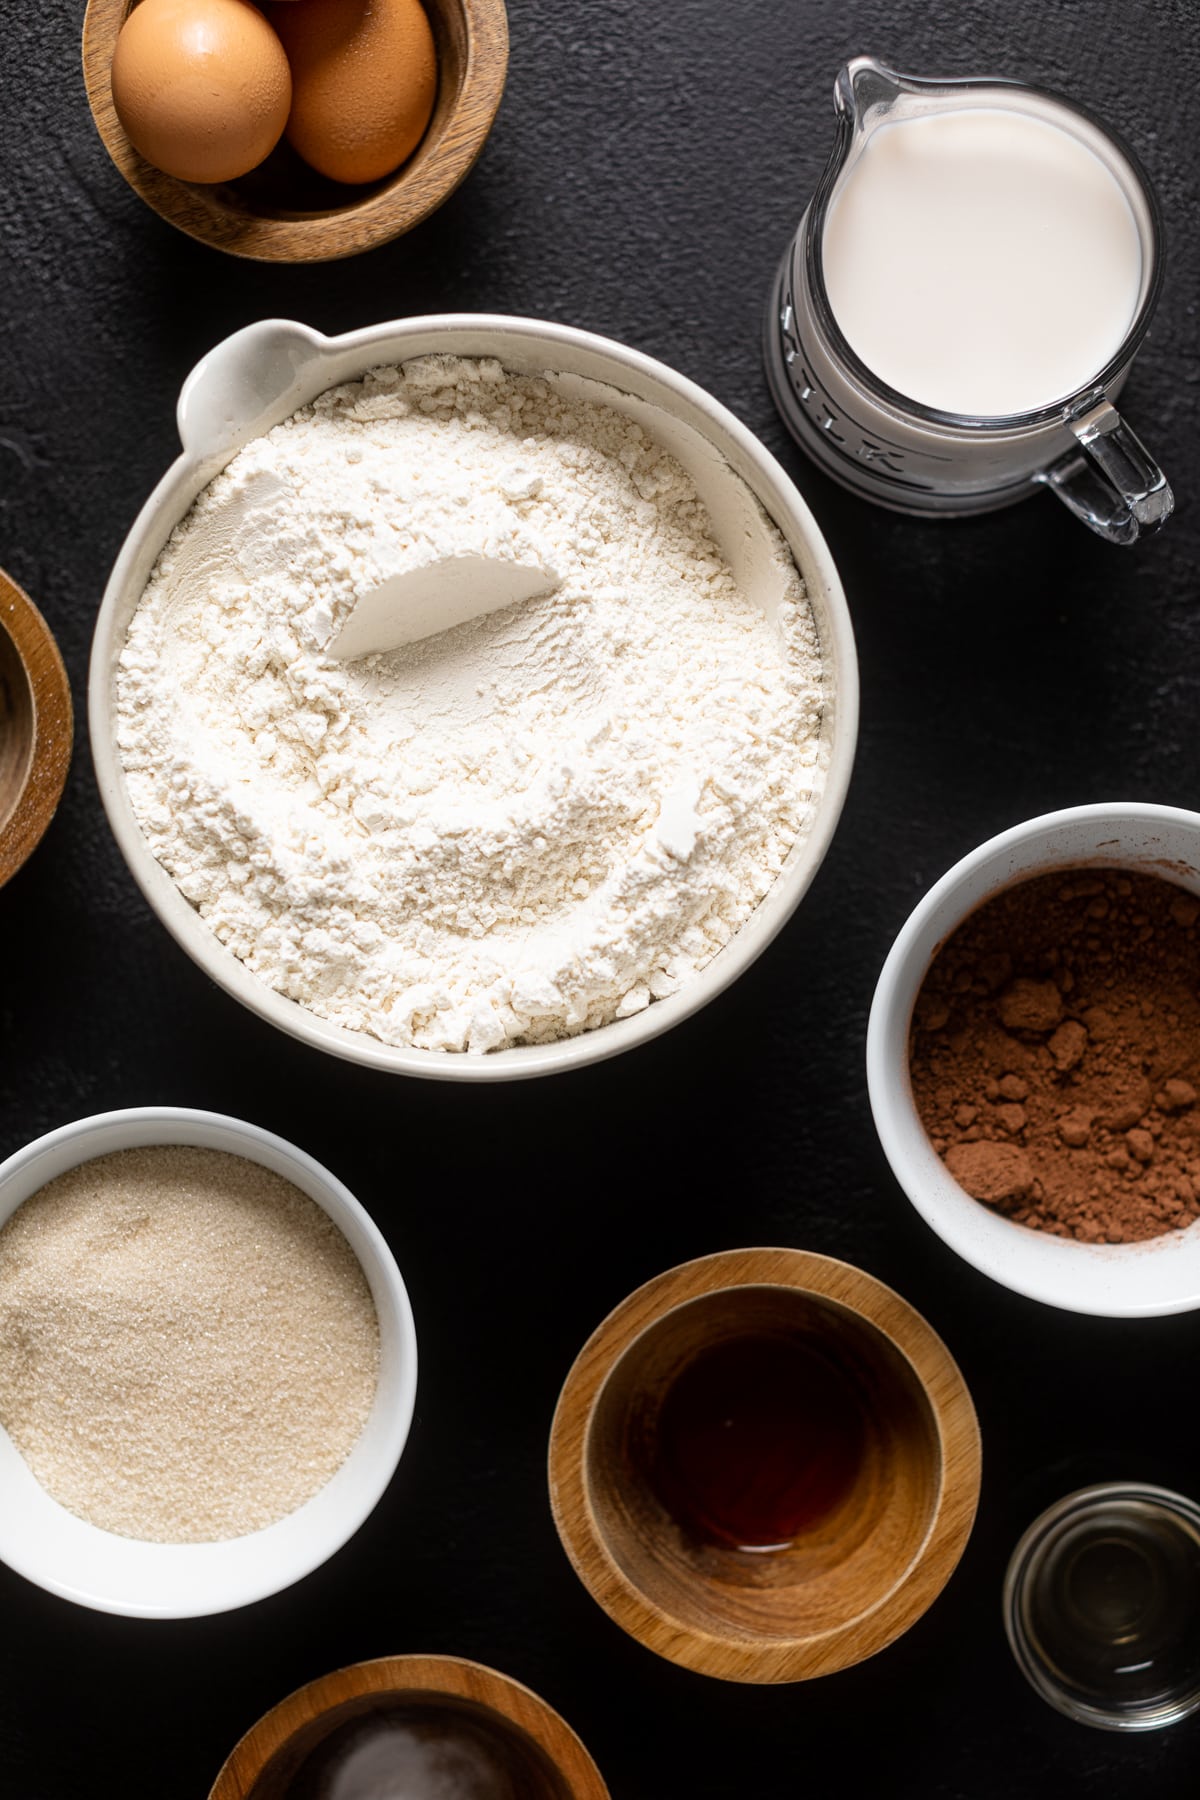
Ingredients in Black Widow Red Velvet Cake
For the Cake:
4 cups organic all-purpose flour
6 tablespoons organic cocoa powder
2 ½ tablespoons baking powder
1 teaspoon baking soda
1 teaspoon sea salt
1 ½ cups organic cane sugar
1 cup almond milk (You can also use whole milk)
3 large organic eggs, at room temperature
1 cup hot water (boiled and then cooled to hot/warm)
¾ cup vegetable oil
1 tablespoon vanilla extract
1 teaspoon apple cider vinegar
3-4 tablespoons natural red food coloring
For the Cream Cheese Buttercream:
4-5 cups organic powdered sugar, sifted
4 oz. organic cream cheese, softened at room temperature
½ cup unsalted butter, softened at room temperature
1 teaspoon vanilla extract
2-3 tablespoons organic heavy cream
¼ teaspoon sea salt
3 tablespoons organic cocoa powder, optional
How to Make Black Widow Red Velvet Cake
To Make the Cake:
Begin by preheating your oven to 350 degrees Fahrenheit. Lightly grease (with butter) AND line with parchment paper the bottoms of THREE 8-inch cake pans.
In a large bowl, whisk together the flour, baking powder, baking soda, cocoa powder, and salt until combined. Set aside.
In a bowl, add the oil and sugar, beating them together using a hand-mixer (on high-speed), until pale and combined, about 2-3 minutes.
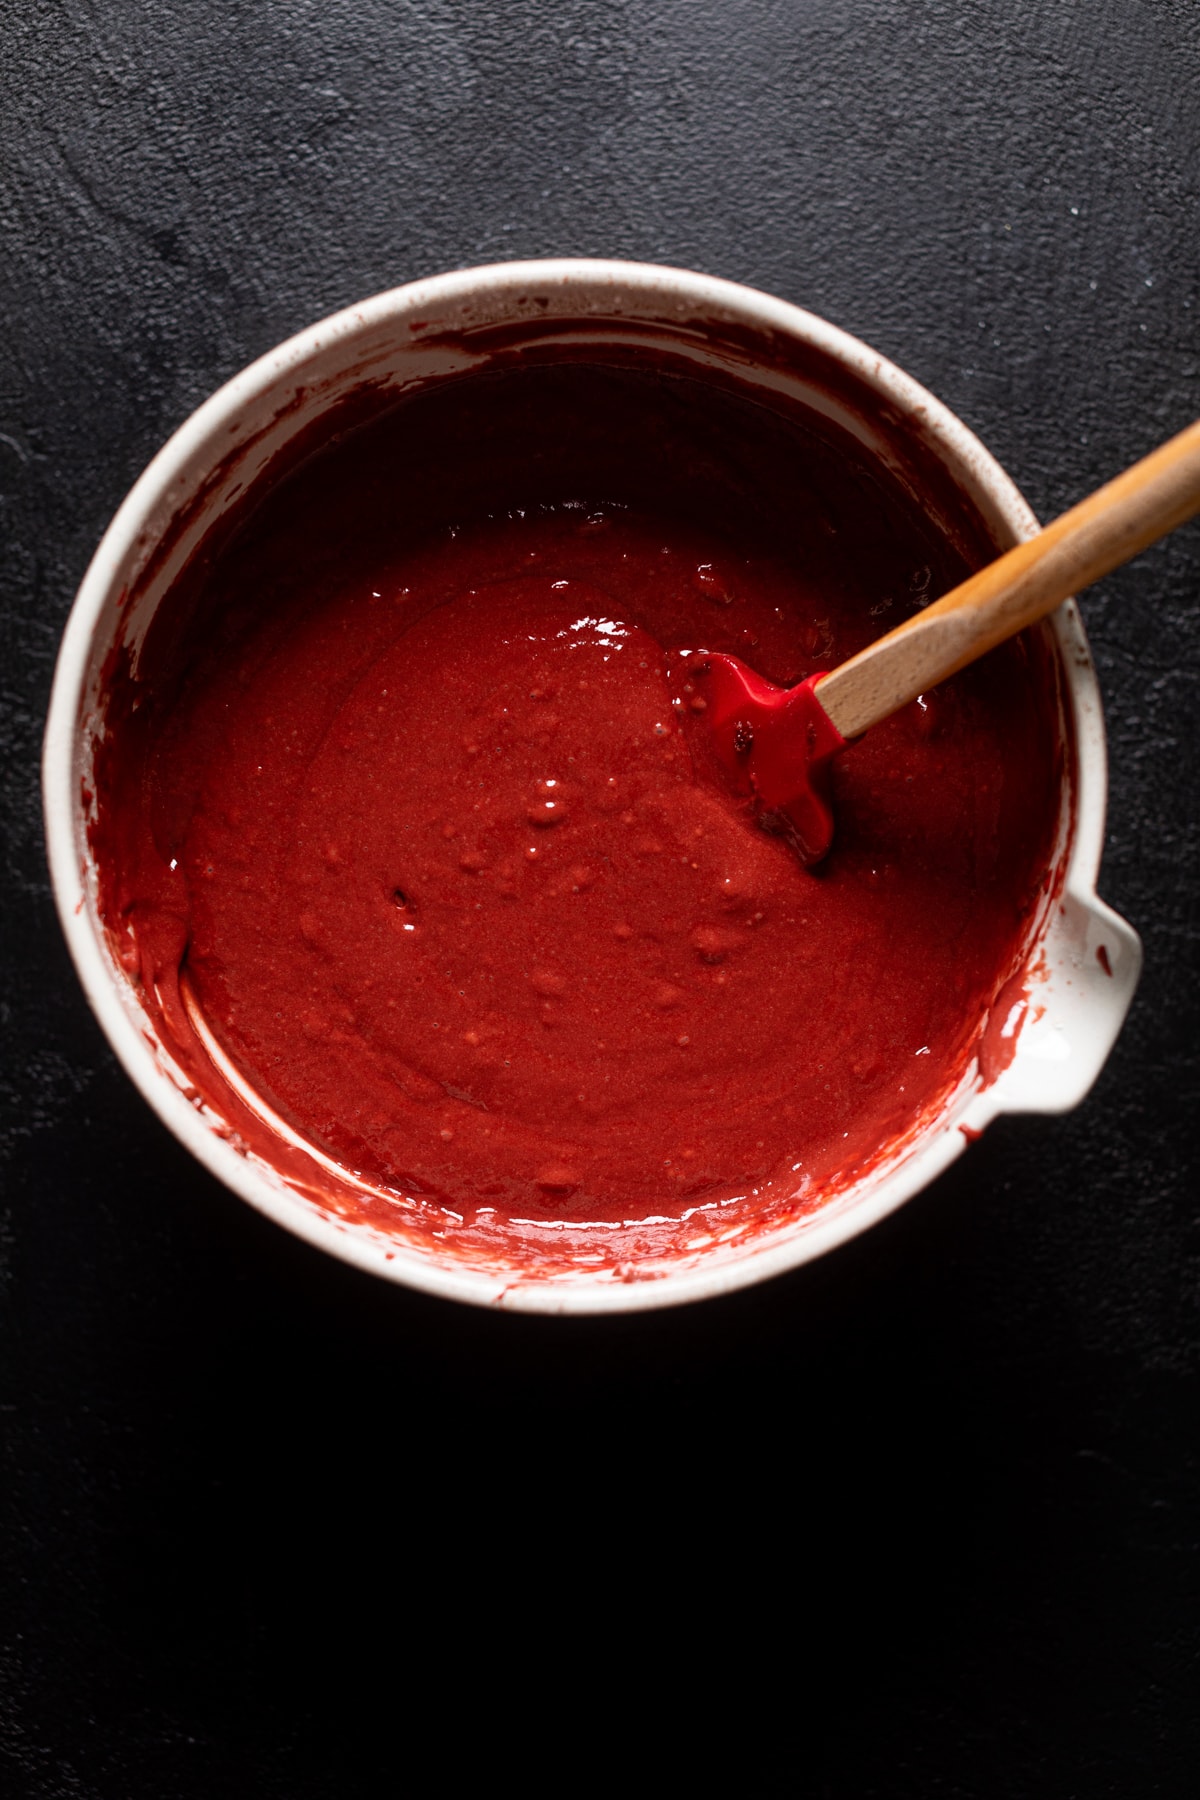
Add the eggs (one at a time) followed by the vanilla, red food coloring, and apple cider vinegar, mixing until combined. At low speed, add in the dry ingredients followed by the milk and hot water, continue to mix until combined and the batter is smooth, about 3-4 minutes.
NOTE: The batter should be thick, yet slowly run off the whisk once lifted.
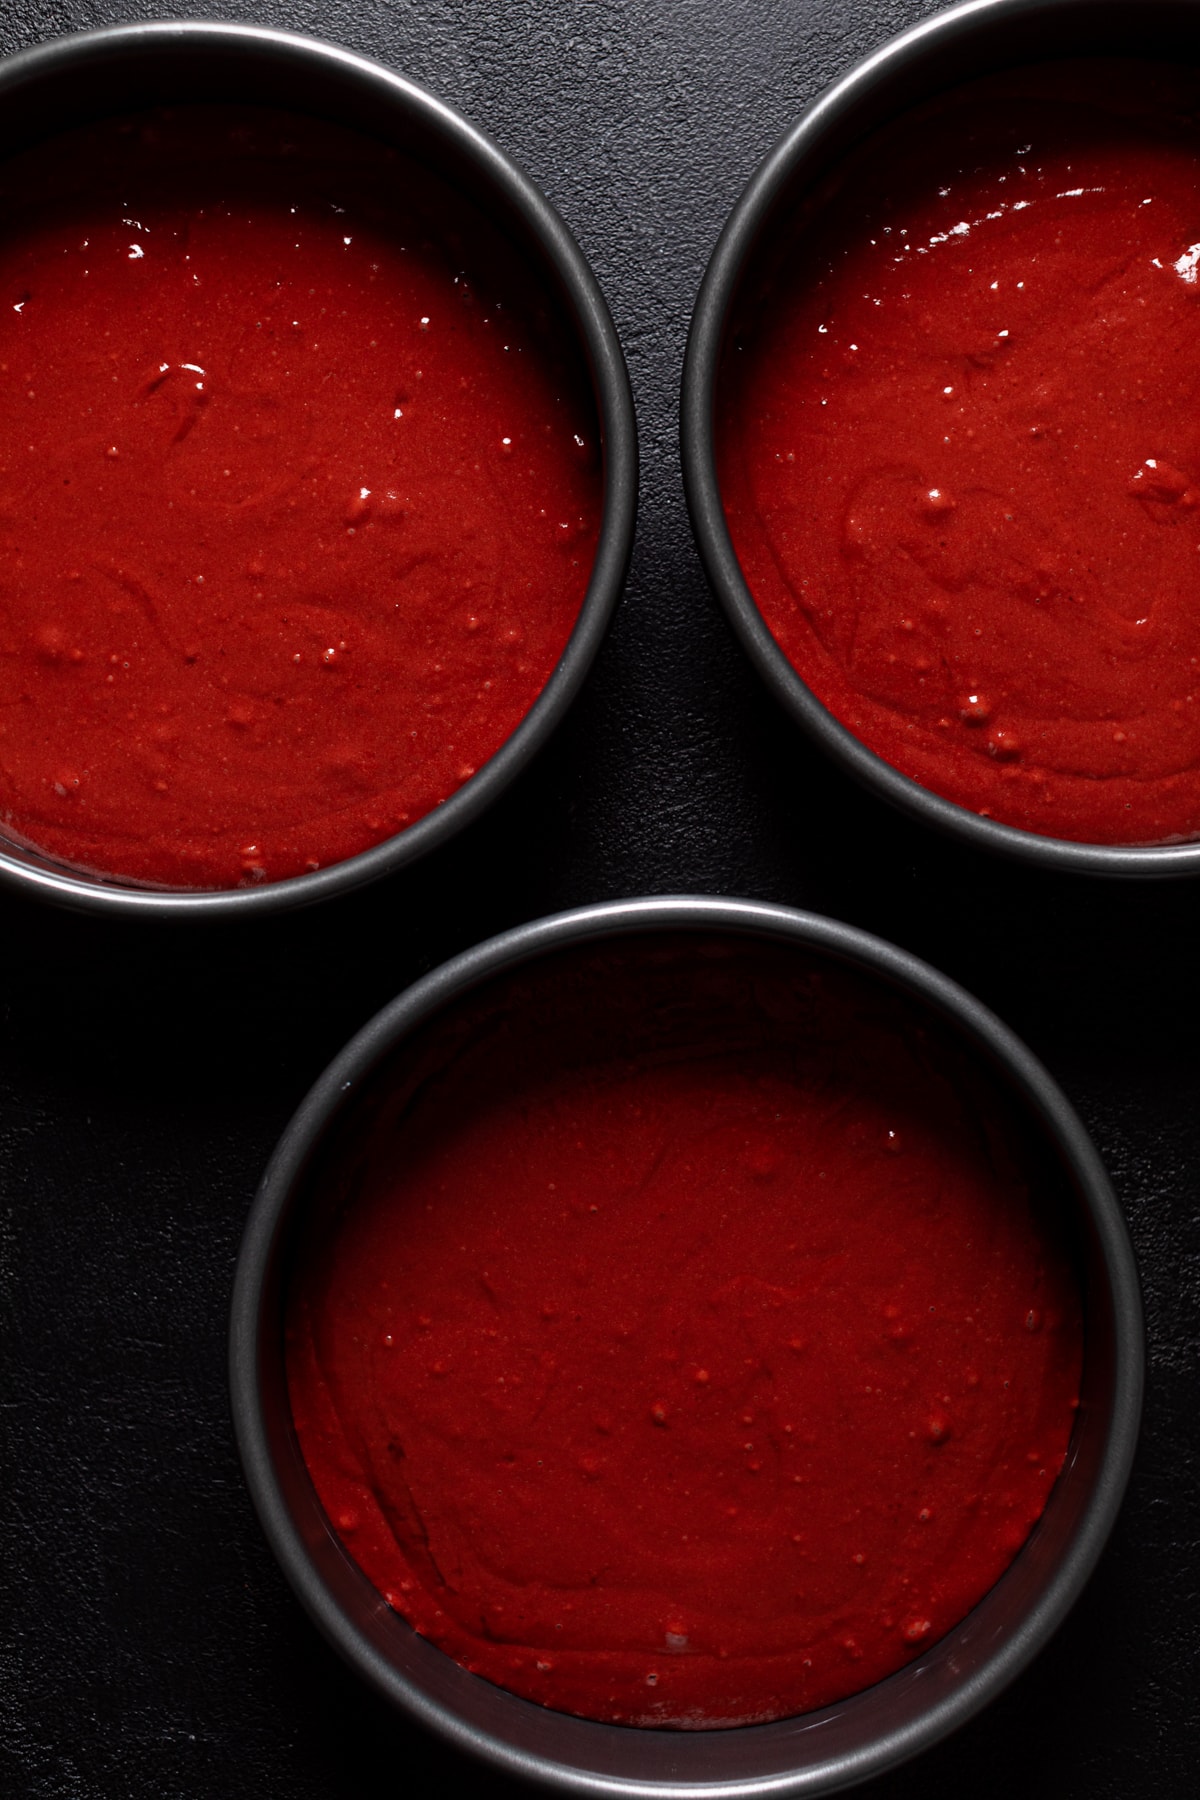
Divide the batter evenly into each of the cake pans and bake for 30-35 minutes, or until a toothpick or butter knife comes out clean when tested in the centers.
Remove cakes from the oven and let them rest in the pan for 10 minutes or so before removing the cakes and placing them onto a cooling rack to fully cool.
NOTE: Let them cool for at least 1-2 hours in a cool place.
To Make the Buttercream:
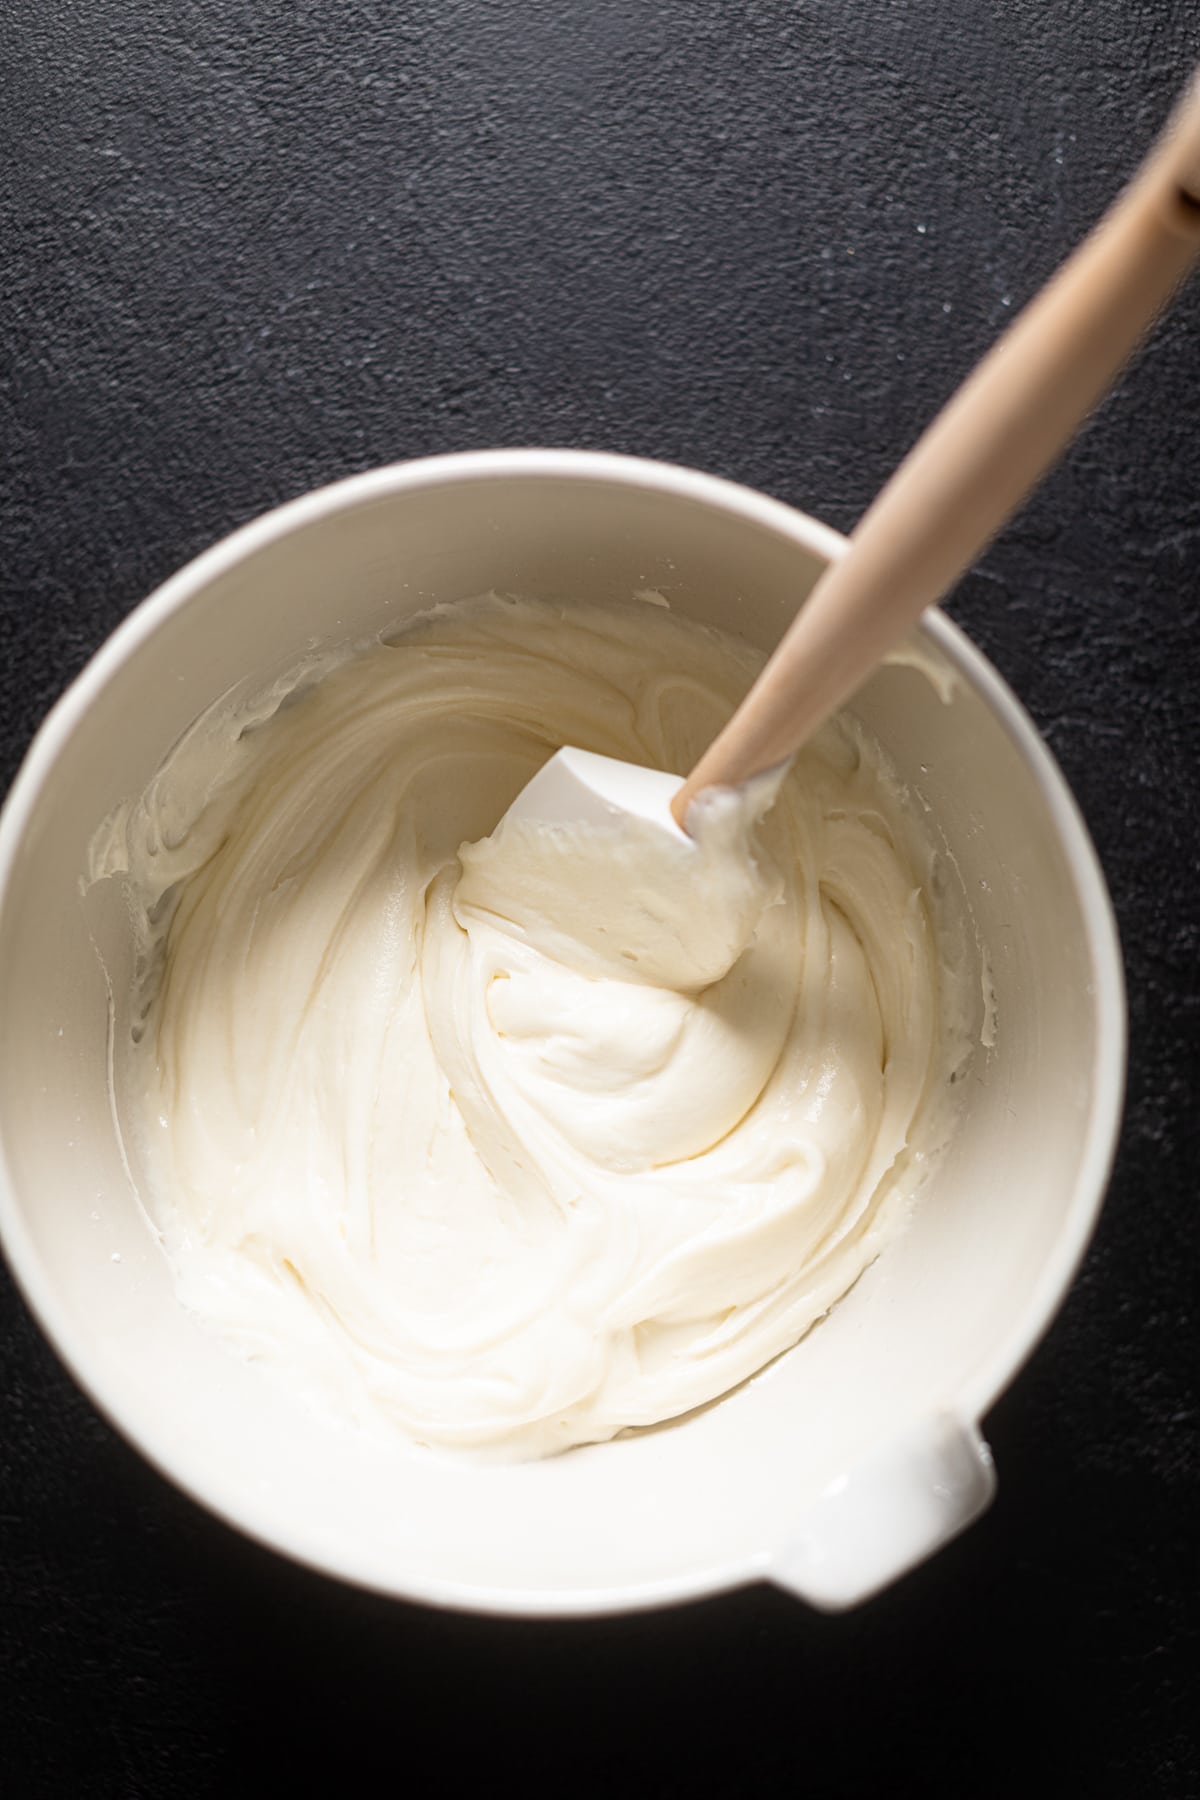
Simply beat the butter and cream cheese in the bowl of an electric mixer (or using a hand-mixer) on medium-high speed, until smooth and pale. Add in the powdered sugar, cocoa powder, vanilla, salt, and milk, continuing to mix on medium speed until you reach the desired consistency—-smooth and fluffy.
NOTE: Add more milk (1 tablespoon at a time if too thick) or powdered sugar (for more thickness).
Assembly:
Place the first cake layer on your cake stand and evenly cover the top with buttercream. Now, top with 2nd layer and add more buttercream atop that layer. Finally, top with final layer and top with remaining buttercream, spreading it over the tops and sides of cake, evenly and thinly.
Once fully frosted, add small little designs of the buttercream using a piping bag + tip or add spider webs around the sides and top of cake using marshmallows. Chill for 5 minutes to ensure that buttercream sets.
When ready to serve, remove from the refrigerator. Slice and enjoy!
Bon Appetit!
Other Recipes You'll Love
If you love my Black Widow Red Velvet Cake, you will also love these desserts!
- Vegan Vanilla Dinosaur Birthday Cake
- Best Carrot Cake and Chai Cream Cheese Frosting
- Strawberry Shortcake Birthday Cake
- Vegan Gingerbread Cake with Chai Buttercream
- Blueberry Oatmeal Cake with Cream Cheese Frosting


Black Widow Red Velvet Cake
Ingredients
CAKE:
- 4 cups Organic all-purpose flour
- 6 Tbsps organic cocoa powder
- 2 ½ Tbsps baking powder
- 1 teaspoon baking soda
- 1 teaspoon sea salt
- 1 ½ cups organic cane sugar
- 1 cup Almond milk (You can also use whole milk)
- 3 large organic eggs, at room temp.
- 1 cup hot water (Boiled and then cooled to hot/warm)
- ¾ cup vegetable oil
- 1 tablespoon vanilla extract
- 1 teaspoon Apple Cider Vinegar
- 3-4 Tbsps Natural red food coloring
CREAM CHEESE BUTTERCREAM:
- 4-5 cups organic powdered sugar, sifted
- 4 oz. organic cream cheese, softened at room temp.
- ½ cup unsalted butter, softened at room temp.
- 1 teaspoon vanilla extract
- 2-3 Tbsps organic heavy cream
- ¼ teaspoon sea salt
- 3 Tbsps organic cocoa powder, optional (See Notes!)
Instructions
TO MAKE CAKE:
- Begin by preheating your oven to 350 degrees Fahrenheit. Lightly grease (with butter) AND line with parchment paper the bottoms of THREE 8-inch cake pans.
- In a large bowl, whisk together the flour, baking powder, baking soda, cocoa powder, and salt until combined. Set aside.
- In a bowl, add the oil and sugar, beating them together using a hand-mixer (on high-speed), until pale and combined, about 2-3 minutes.
- Add the eggs (one at a time) followed by the vanilla, red food coloring, and apple cider vinegar, mixing until combined. On low-speed, add in the dry ingredients followed by the milk and hot water, continue to mix until combined and the batter is smooth, about 3-4 minutes. NOTE: The batter should be thick, yet slowly run off the whisk once lifted.
- Divide the batter evenly into each of the cake pans and bake for 30-35 minutes, or until a toothpick or butter knife comes out clean when tested in the centers.
- Remove cakes from the oven and let them rest in the pan for 10 minutes or so before removing the cakes and placing them onto a cooling rack to fully cool. NOTE: Let them cool for at least 1-2 hours in a cool place.
TO MAKE BUTTERCREAM:
- Simply beat the butter and cream cheese in the bowl of an electric mixer (or using a hand-mixer) on medium-high speed, until smooth and pale. Add in the powdered sugar, cocoa powder, vanilla, salt, and milk, continuing to mix on medium-speed until you reach the desired consistency----smooth and fluffy. NOTE: Add more milk (1 tablespoon at a time if too thick) or powdered sugar (for more thickness).
ASSEMBLY:
- Place the first cake layer on your cake stand and evenly cover the top with buttercream. Now, top with 2nd layer and add more buttercream atop that layer. Finally, top with final layer and top with remaining buttercream, spreading it over the tops and sides of cake, evenly and thinly.
- Once fully frosted, add small little designs of the buttercream using a piping bag + tip or add spider webs around the sides and top of cake using marshmallows. Chill for 5 minutes to ensure that buttercream sets.
- When ready to serve, remove from the refrigerator. Slice and enjoy!
- Bon Appetit!
Tips & Tricks
- STORAGE: Keep cake leftovers stored for up to 4 days in the fridge. Keep it in an airtight container to keep the cake from drying out. You can also freeze the cake tightly wrapped in plastic wrap for up to 3 months. Before serving, defrost the cake on the counter.
- FLOUR: For an extra fluffy cake, you can always use cake flour instead of all-purpose. See post for more!
- CUPCAKES:This recipe yields about 30 cupcakes to 2 dozen cupcakes. Simply bake for 18-20 minutes instead, until centers come out clean.
- MARSHMALLOW WEBS: If you're looking to create a nice spider web design, I recommend checking out this awesome recipe via The Little Epicurean.
- HALLOWEEN BUTTERCREAM: Instead of adding the cocoa powder to the frosting, you can feel free to omit this ingredient for a traditional cream cheese frosting.
Nutrition
DID YOU MAKE THIS recipe?
Tag @orchidsnsweettea_ on Instagram and hashtag it #orchidsandsweettea


LOVE THIS RECIPE?
LET US KNOW!
This cake is moist and flavorful! It came out beautifully too. I'll definitely be making this one again.
Absolutely delicious cake. Moist cake and perfect icing.
Made this for the family and it was a hit!
Classic red velvet cake is the best! I love the frosting too.
Mmmm this looks so delicious! Saving this for Christmas time! 🙂