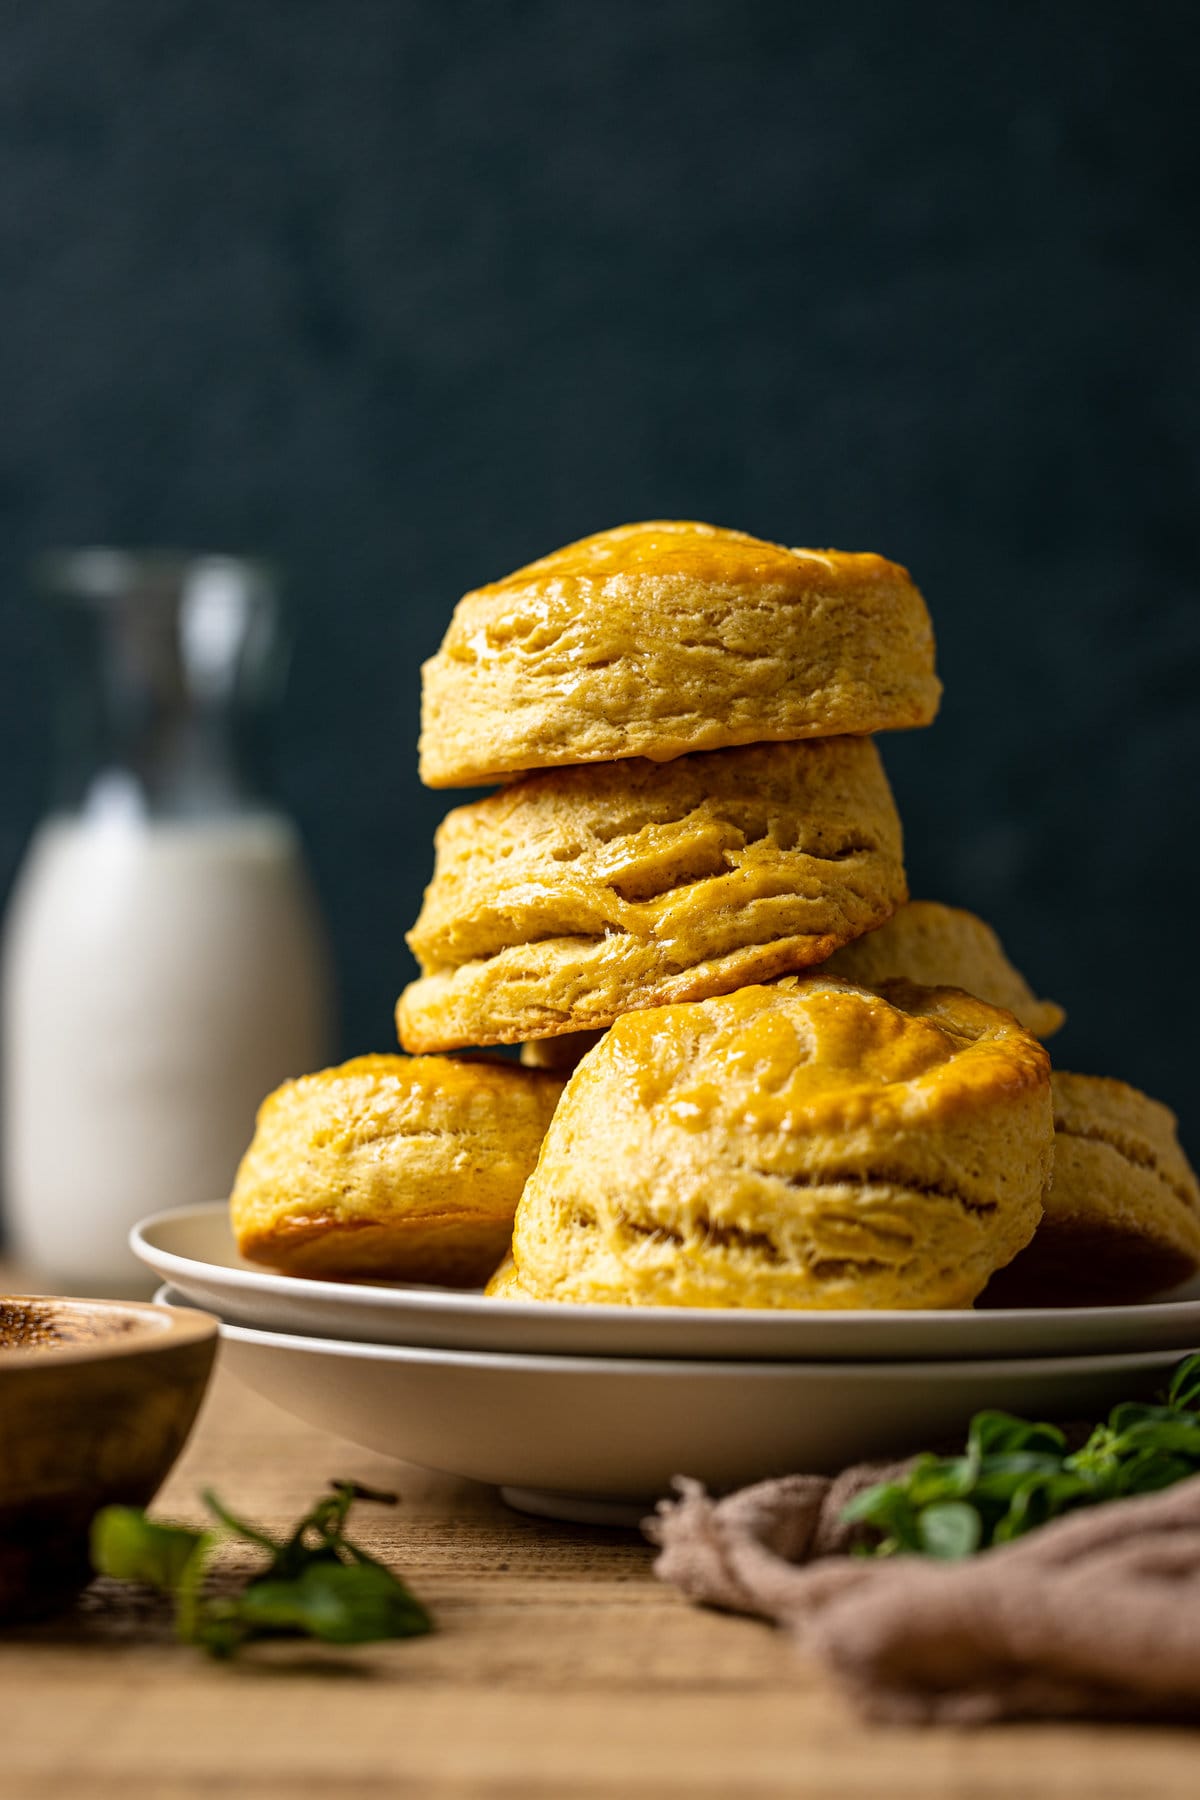
Flaky Sweet Potato Biscuits
Flaky Sweet Potato Biscuits
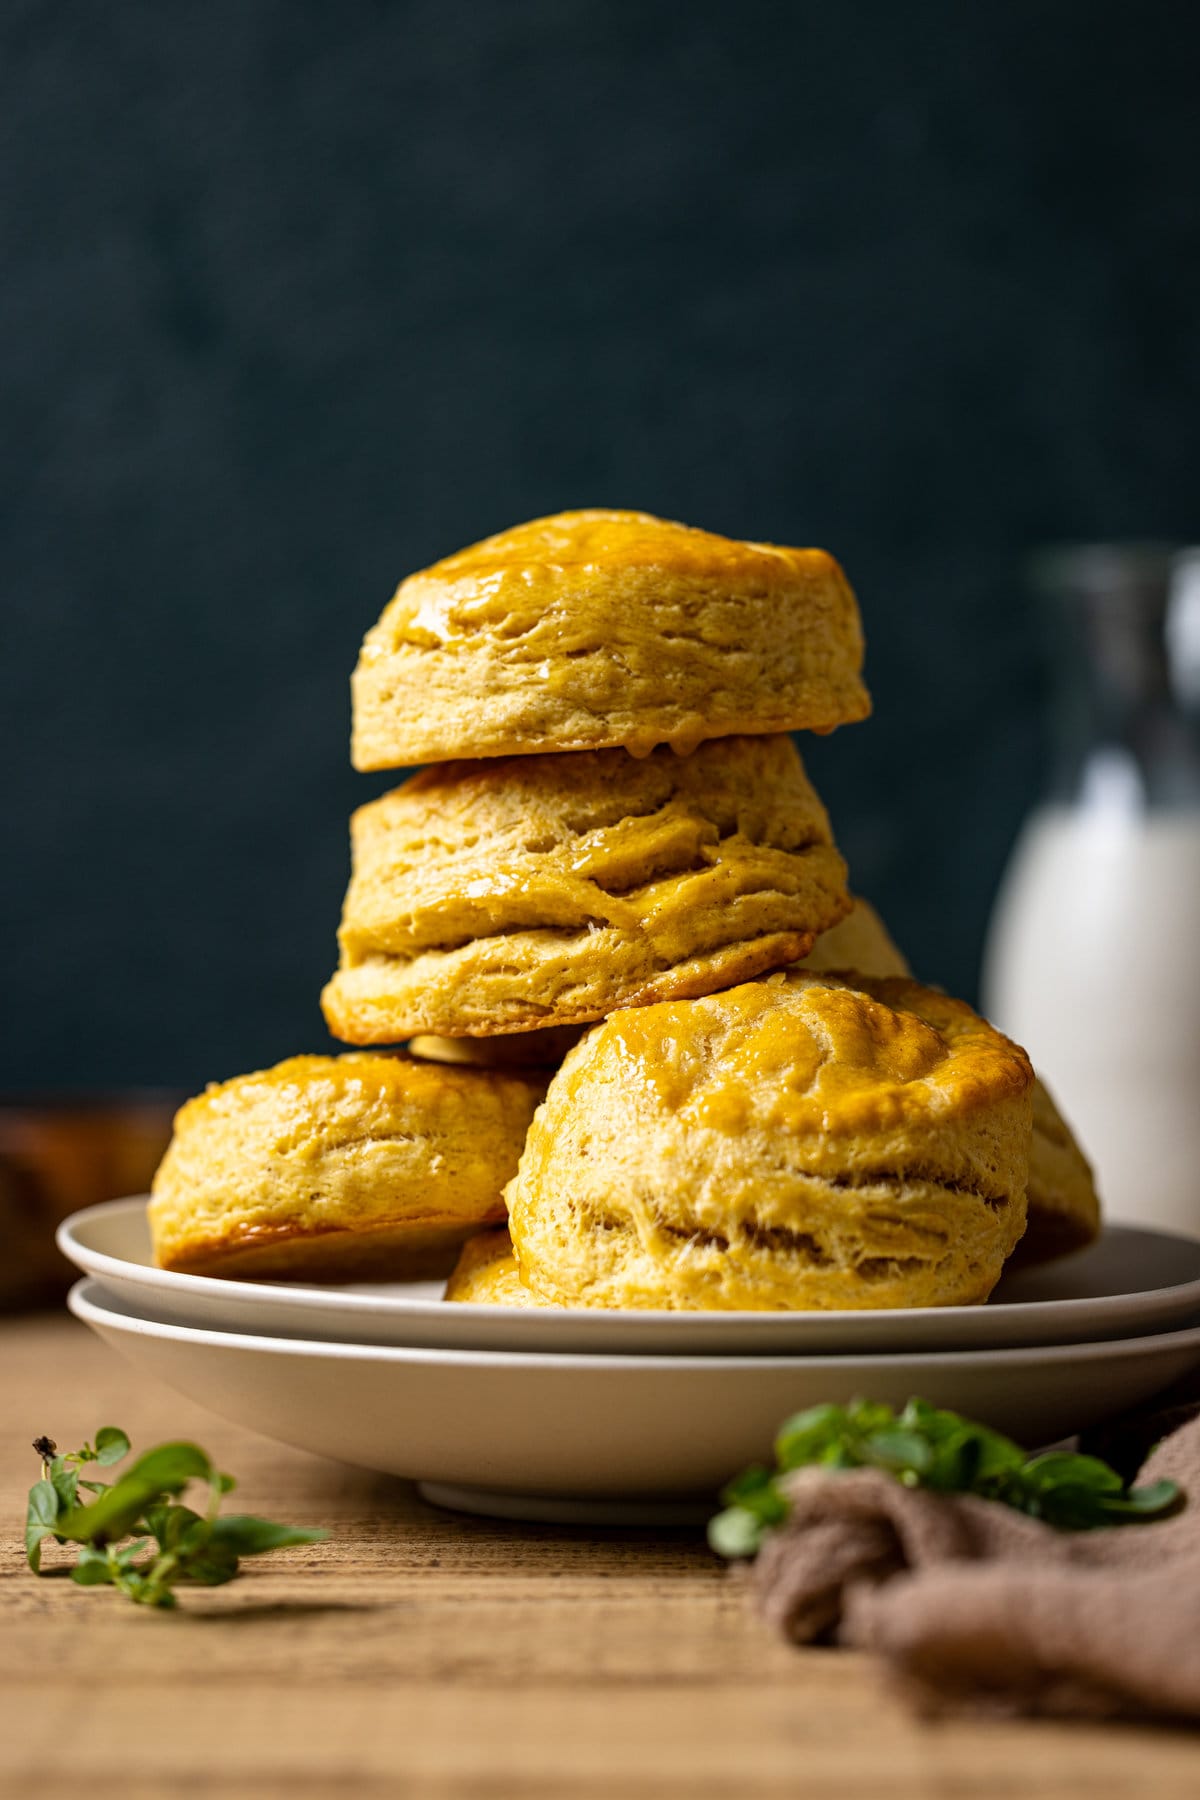
These Flaky Sweet Potato Biscuits are the epitome of sweet potato joy in food form. They are buttery, flaky, tender with a bold sweet potato, hint of sweetness from the maple syrup. Spruce up your mornings with a side of biscuits with jam or butter or add these biscuits as a side dish to your favorite meal. Dairy-Free option available.
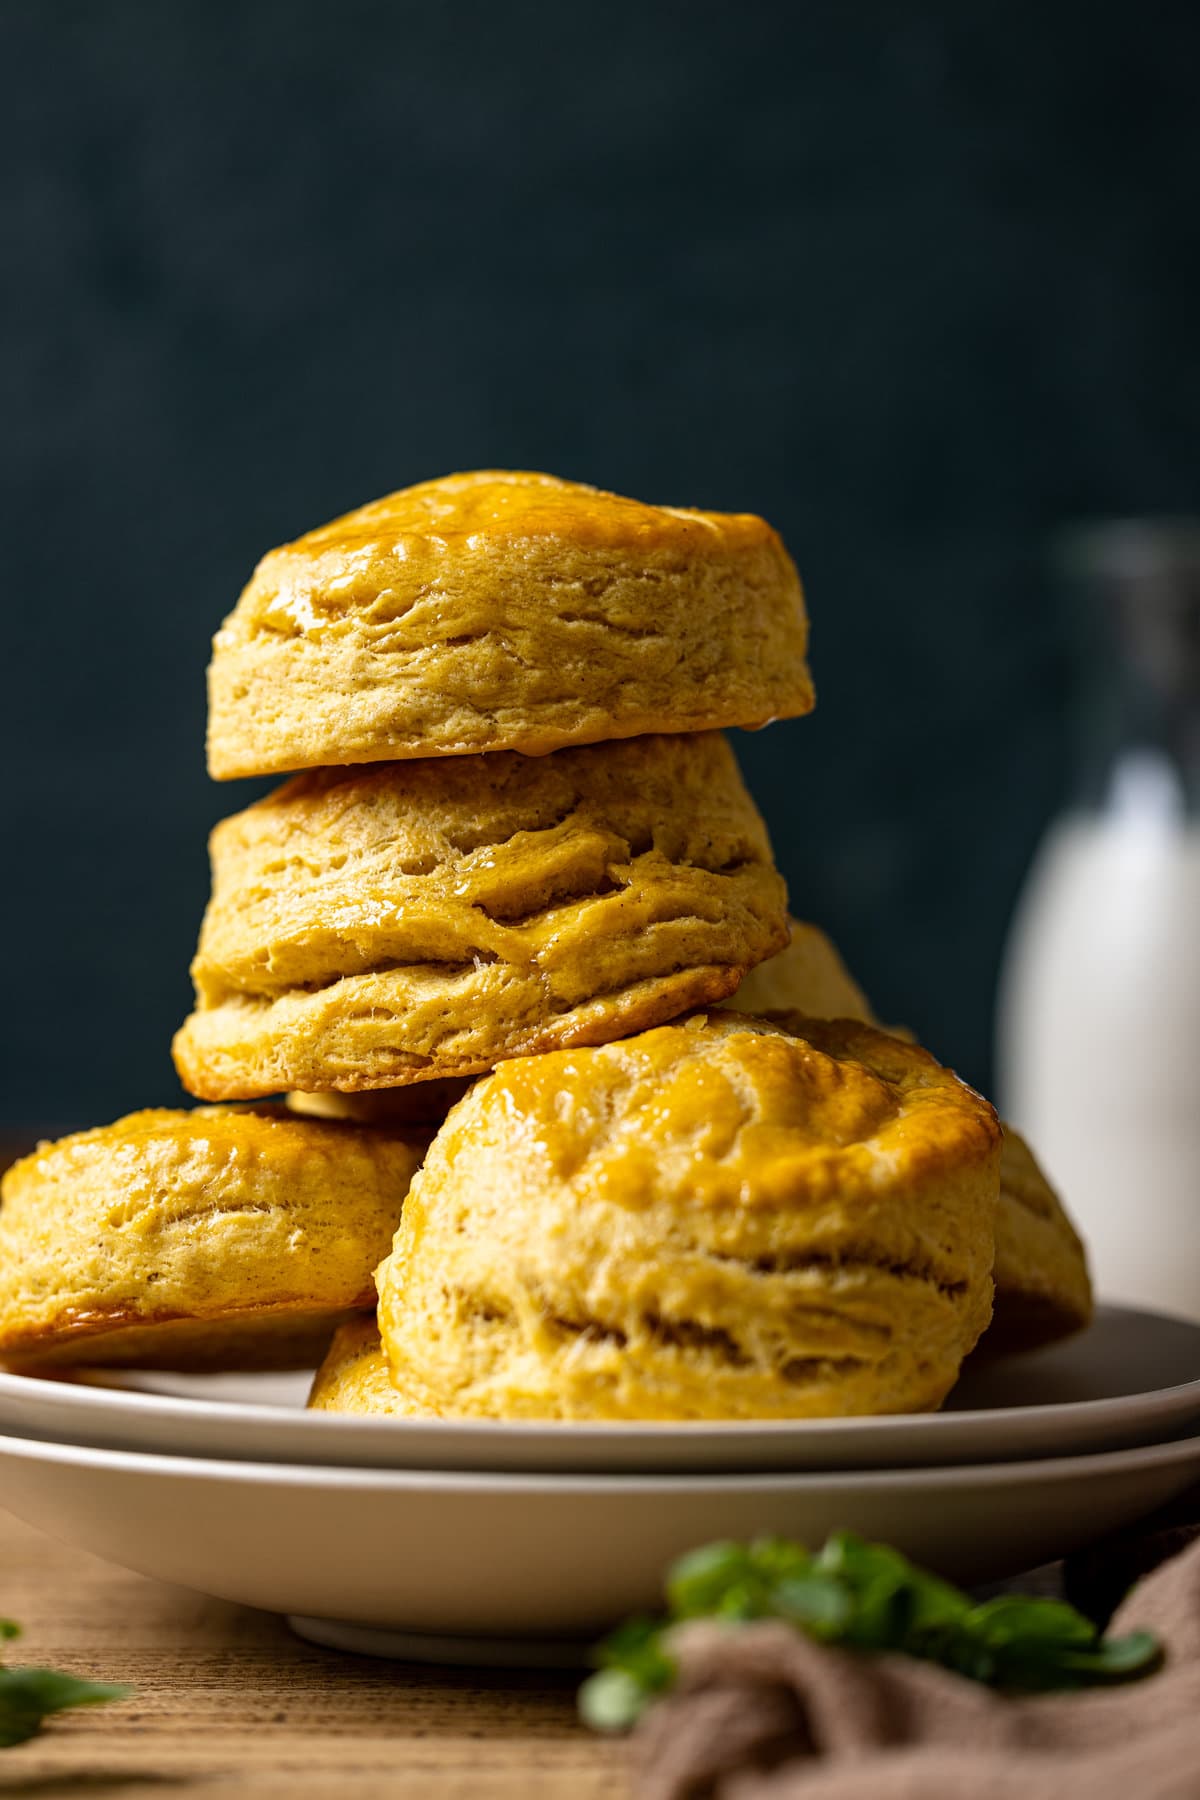
I truly love biscuits. It's been something that I've been loving since childhood. Growing up, my grandmother would bring me to church every Sunday with her and after service, we'd go to Popeyes and enjoy some really good fried chicken and those buttery biscuits. Trust, it was those biscuits with some jam/jelly that truly made the day better. Haha. Ever since then, I've never lost my love for them and these Flaky Sweet Potato Biscuits are SO bomb! Plus, these Honey Butter Cornbread Drop Biscuits are truly something special!
Be sure to follow me on Instagram for all Reels and content. Which have you been loving so far---apples or sweet potatoes?
While you might think that making buttermilk biscuits from scratch is hard, it really isn't. These sweet potato biscuits use a standard biscuit cutter, however, the concept still remains similar to these Flaky Honey Buttermilk Biscuits ----- the"pat and stack" method is worth the work, trust me. It makes the biscuits come out almost in a "pull apart" texture in their standard roundness.
How to Make Flaky Sweet Potato Biscuits
Overall, these flaky sweet potato biscuits aren't very hard to make at all. Like you would any biscuit or pastry recipe, you start with all cold ingredients and adding the dry ingredients together followed by grated/cubed butter, the wet ingredients, and mixing everything together. Then you do the "stack, pat, + roll" method a few times, cut out the biscuits using a biscuit cutter, and bake. Wallah.
Reasons Why You'll Love these Flaky Sweet Potato Biscuits:
They're super easy to make.
Bake time is under 30 minutes.
Is completely a great family recipe. Entirely kid-friendly!
Super fluffy, soft, buttery, + flaky.
Makes for the perfect breakfast, brunch, or dinner situation as a side.
Perfect Fall vibes---thanks to the sweet potato + spices!
Did I mention, it's just TOO good to pass up?
Ingredients in Flaky Sweet Potato Biscuits
- All-purpose flour. I like Bob’s Red Mill or King Arthur’s organic flour, which is certified vegan.
- Baking powder and baking soda. Works as a leavener. See further post below to ensure that they are still fresh.
- Sweet potato puree. I like to make this advance by roasting sweet potatoes, removing the insides, and mashing them until pureed. You can also use a canned organic version.
- Buttermilk. You can use store-bought buttermilk or make your own by mixing heavy cream + lemon juice together.
- Almond Milk – Makes things nice + soft; Sub with your fave plant-based milk or regular dairy milk.
- Unsalted butter. I like to bake with unsalted butter, however, you can substitute with salted butter and omit the additional salt.
- Maple syrup. You can also use honey, but I love the warming sweetness of the maple.
- Cinnamon + allspice. I love using a bit of this spice for a nice warm flavor.
How To Make The Perfect Flaky Biscuits
Creating the perfect flaky sweet potatoes biscuits isn't a tough process once you follow these tips below:
TIP 1: VERY COLD INGREDIENTS ARE KEY!
Ensuring that your butter and buttermilk are cold helps the biscuits to uphold their structure and expand nicely as they bake. This creates a light, fluffy texture which is exactly what you want!
TIP 2: CUTTING WITH A BENCH SCRAPER OR KNIFE WORKS MAGIC!
I love cutting my biscuit dough with a bench scraper or sharp knife because it helps me to avoid any "toggling" of the dough which causes them to come out "lean" or "lop-sided". Usually, I have this trouble with standard biscuit cutters because twisting during the cut is a huge NO, NO!
TIP 3: STACKING THE LAYERS OF THE DOUGH IS A MUST!
Stacking the layers of the dough for these biscuits is a game changer! It definitely creates a flaky, almost pull-apart like texture that you won't regret.
TIP 4: THE OVEN HAS TO BE HOT!
Much like other baking recipes, ensuring that your oven is preheated is super important! In addition, baking these biscuits at 400 degrees Fahrenheit ensures that they rise and crisp up nicely enough to cook through.
How to Make Your Own Sweet Potato Puree
If you're thinking about making your own sweet potato puree instead of using a store-bought canned version, then you'll be happy to know that it is rather simple:
- Step 1: Gather about 3-4 medium sweet potatoes, rinse the skins, and poke a few holes all around them using a knife or fork.
- Step 2: Prepare a baking sheet with foil or parchment and place the sweet potato side-by-side. Rub each sweet potato with olive oil until fully coated.
- Step 3: Roast in the oven at 375 degrees Fahrenheit for about 40-45 minutes or until their insides begin to bubble outwardly and they become super tender once tested with a fork or knife. Let cool until easily handle when cutting them open and scooping out the flesh.
- Step 4: Using a food processor or blender, puree the flesh of the sweet potato along with water or veggie stock, until smooth. You can either use this immediately in whatever sweet potato recipe you'd like, store it in the refrigerator or freezer for later use.
SHOP MY FAVORITE BAKEWARE ITEMS AND ACCESSORIES FOR THESE BISCUITS!
Here, I’ve curated a list of bakeware essentials that I use to achieve my favorite baking treats, especially with these Flaky Sweet Potato Biscuits. Everything from my fave baking sheets, parchment paper, mixing bowls, wooden spoons, pastry cutter, and more. SEE THEM HERE!
The Hidden Secret to Super Flaky Sweet Potato Biscuits
As you can see, I’m no stranger to homemade crusts, pop tarts, or pastries of any sort. With practice, I've managed to learn a thing or two about creating the perfect dough and so, here’s my hidden secret to super flaky sweet potato biscuits:
GRATE + CUBE THE BUTTER!
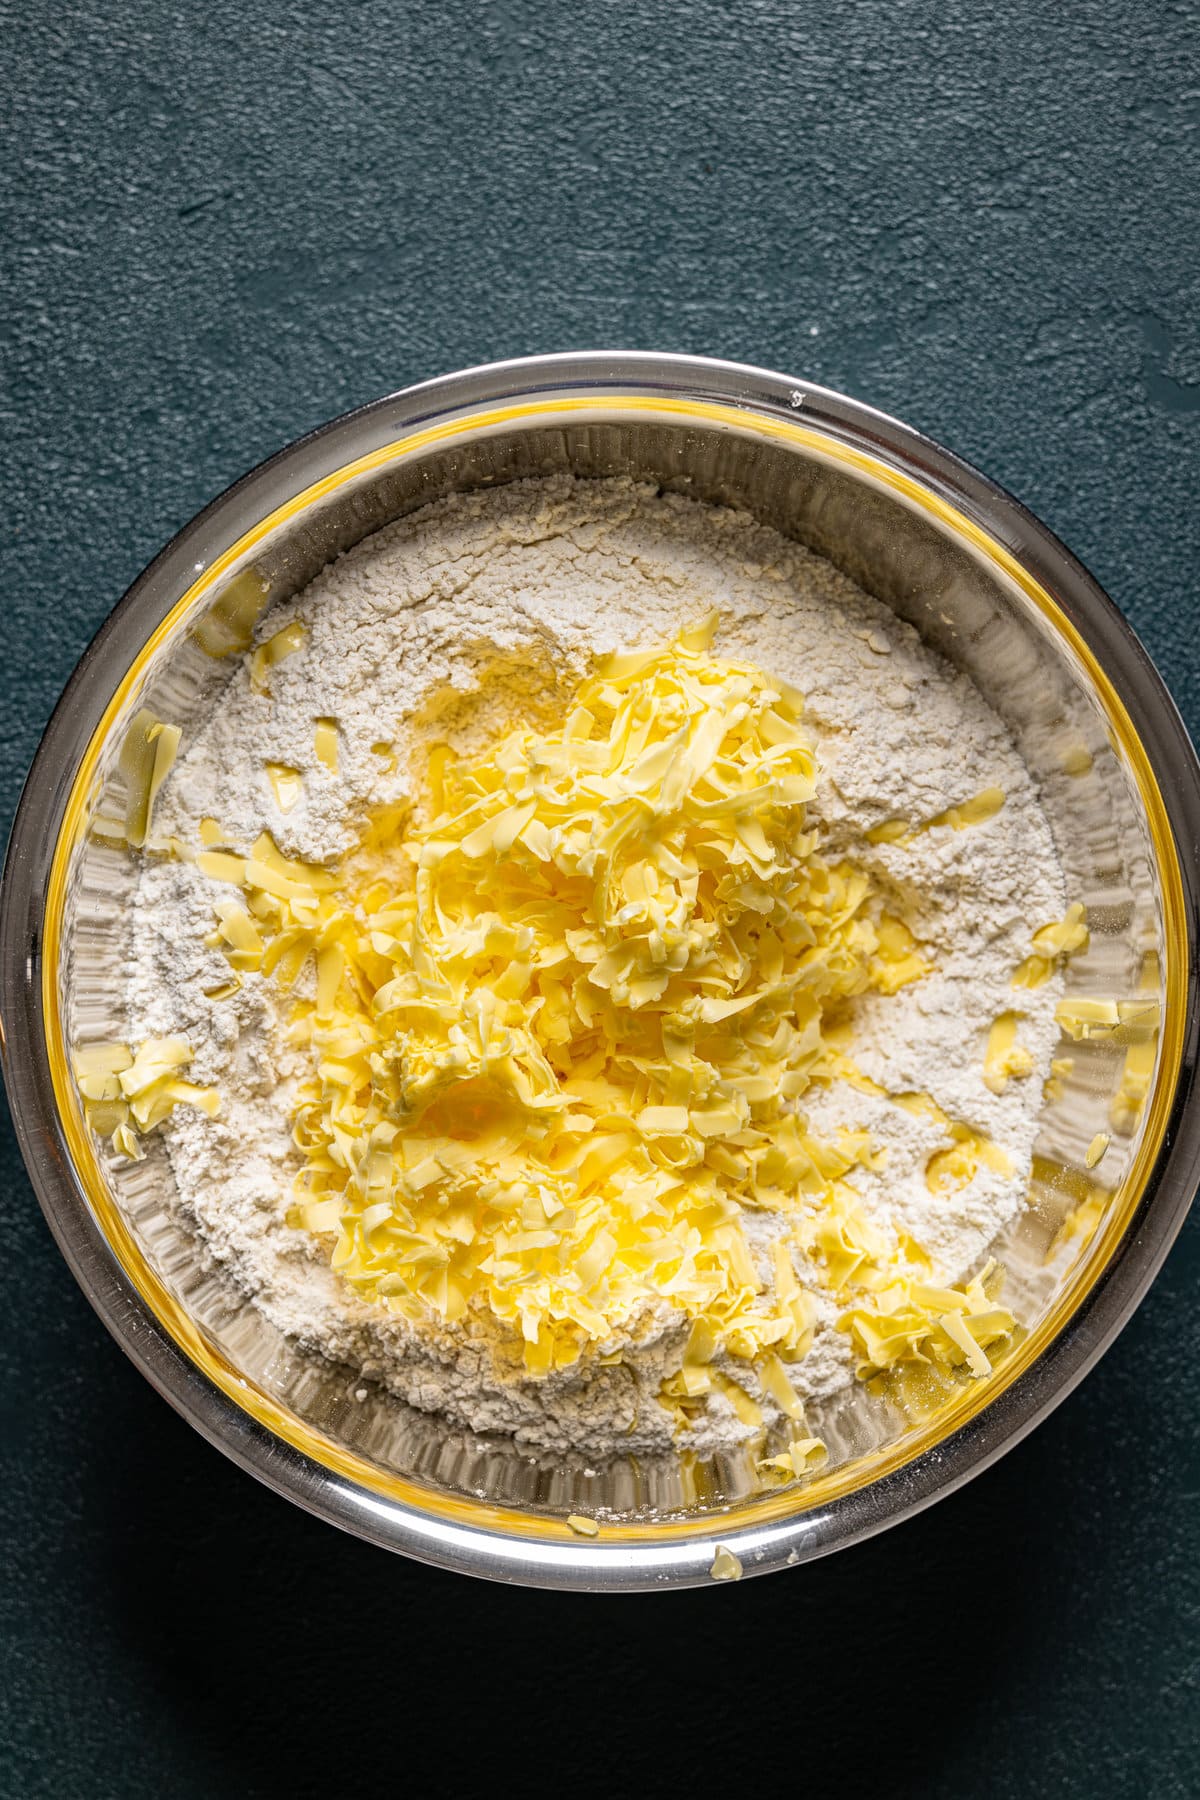
Yes—I know. You might be wondering why I’ve stated this but it works. Since we’ll be using 2 sticks in this recipe, I simply grate 1 stick of butter and cube the other. Honestly, I think that the variation in the butter pieces helps some to melt faster and settle more in the dough, which creates a beautiful flakiness like no other.
To take it a step further, you can add the cubed butter to the dry ingredients and blend it into “peas-like” pieces–leaving out the grated butter for now. Then add the grated butter in, fold a few times and then roll it out. This creates butter in more than one layer which creates a heavenly texture too.
What to Serve with Flaky Sweet Potato Biscuits
Serving these warm sweet potato biscuits with something light like jam or butter (I like to make maple butter) works for those early morning that call for a side of tea or coffee. However, the great part about these sweet potato biscuits is just how versatile they are! You can add gravy for a Southern classic dish or make these biscuits a side dish for dinner or breakfast (with a side of eggs, bacon, etc.).
Also, you can make a sandwich with things like chicken, ham or bacon for a savory food experience or add a fruit compote (strawberry, blueberry, blackberry, etc.) for a nice twist on the shortcake experience.

How to Know If Your Baking Powder + Baking Soda are Fresh
Baking is such a science, but more importantly because certain ingredients like your leaveners (aka baking powder + baking soda) are completely fresh so that your sweet potato biscuits (and other baked goods) fully rise and bake through nicely and are the right texture.
Incase you weren't aware, there's an easy to double check both the baking powder and baking soda. Here's what you need:
BAKING SODA HACK:
-Add 1 teaspoon baking soda with ¼ cup vinegar or lemon juice in a bowl and if it's fresh, the mixture should "bubble/fizz". If no bubble/fizz is present, then your baking soda needs to be replaced.
BAKING POWDER:
-Add 1 teaspoon baking powder with ¼ cup Hot tap water in a bowl and if it's fresh, the mixture should "bubble/fizz". If no bubble/fizz is present, then your baking powder needs to be replaced.
How to Store + Reheat Flaky Sweet Potato Biscuits
Leftovers can be stored in an airtight container for up to 1 week in the refrigerator. To serve warm in the oven or heat in the microwave.
Can I Freeze Flaky Sweet Potato Biscuits?
Absolutely! For longer storage–the biscuits can be stored in the freezer. After they have baked and are completely cooled, simply individually wrap the biscuits with foil paper or plastic wrap and add them to a zip loc bag and freeze.
How to Use a Food Processor for Biscuit Dough
If using a food processor to incorporate buttermilk to flour/butter mixture, ONLY ADD ¼ cup of milk AT A TIME to your dough, keeping it on “pulse” to avoid the dough from breaking down too much and it becoming “watery”.
Can I Make these Sweet Potato Biscuits Dairy-Free?
Yes, definitely! To make these Flaky Sweet Potato Biscuits dairy-free, simply substitute the butter with vegan butter (cold + cut into pieces) and make your own dairy-free 'buttermilk' by mixing plant-based milk with lemon juice.
More Sweet Potato Recipes To Try
- Chocolate Sweet Potato Cupcakes
- Apple Cheddar Sweet Potato Soup
- Sweet Potato Caramel Cheesecake
- Flourless Vegan Sweet Potato Waffles
- Vegan Sweet Potato Cinnamon Rolls
- Creamy Vegan Sweet Potato Pasta Skillet
- Sweet Potato Bundt Cake
- Chipotle Sweet Potato Quinoa Tacos
MADE OUR RECIPE?
If you make these Flaky Sweet Potato Biscuits, be sure to Tag @orchidsnsweettea_ on Instagram and hashtag it #orchidsandsweettea!


Flaky Sweet Potato Biscuits
Ingredients
BISCUITS:
- 4 cups organic all-purpose flour
- 1 ½ Tbsps baking powder
- ¼ teaspoon baking soda
- 1 teaspoon sea salt
- ½ teaspoon ground cinnamon
- ¼ teaspoon ground allspice
- 1 cup unsalted butter, grated or cubed (See Notes!)
- ½ cup sweet potato puree (See Post for more info!)
- 1 ½ cups buttermilk (See Notes for Dairy-Free option!)
- 1 cup Almond milk (You can use your favorite plant-based milk or regular dairy milk)
- 2 Tbsps pure maple syrup + 1 Tbsp!
- 2 Tbsps unsalted butter, melted (For brushing; optional)
EGG WASH:
- 1 egg, beaten
- 1 tablespoon Almond milk (You can use your favorite plant-based milk or regular dairy milk)
Instructions
- Preheat the oven to 400 degrees Fahrenheit and line TWO baking sheets with parchment paper.
TO MAKE HOMEMADE BUTTERMILK:
- If making your own buttermilk, add the organic heavy cream and lemon juice together in a measuring cup, stirring to combine and allowing it to sit for 2-3 minutes until mixture has thickened.
TO MAKE THE BISCUITS:
- In a bowl, add the flour, baking powder, baking soda, cinnamon, allspice, and salt, whisking them all together until combined.
- Add the grated (or cubed) butter and using a pastry blender, blend butter into dry ingredients until the mixture becomes “peas-like” and crumbly.
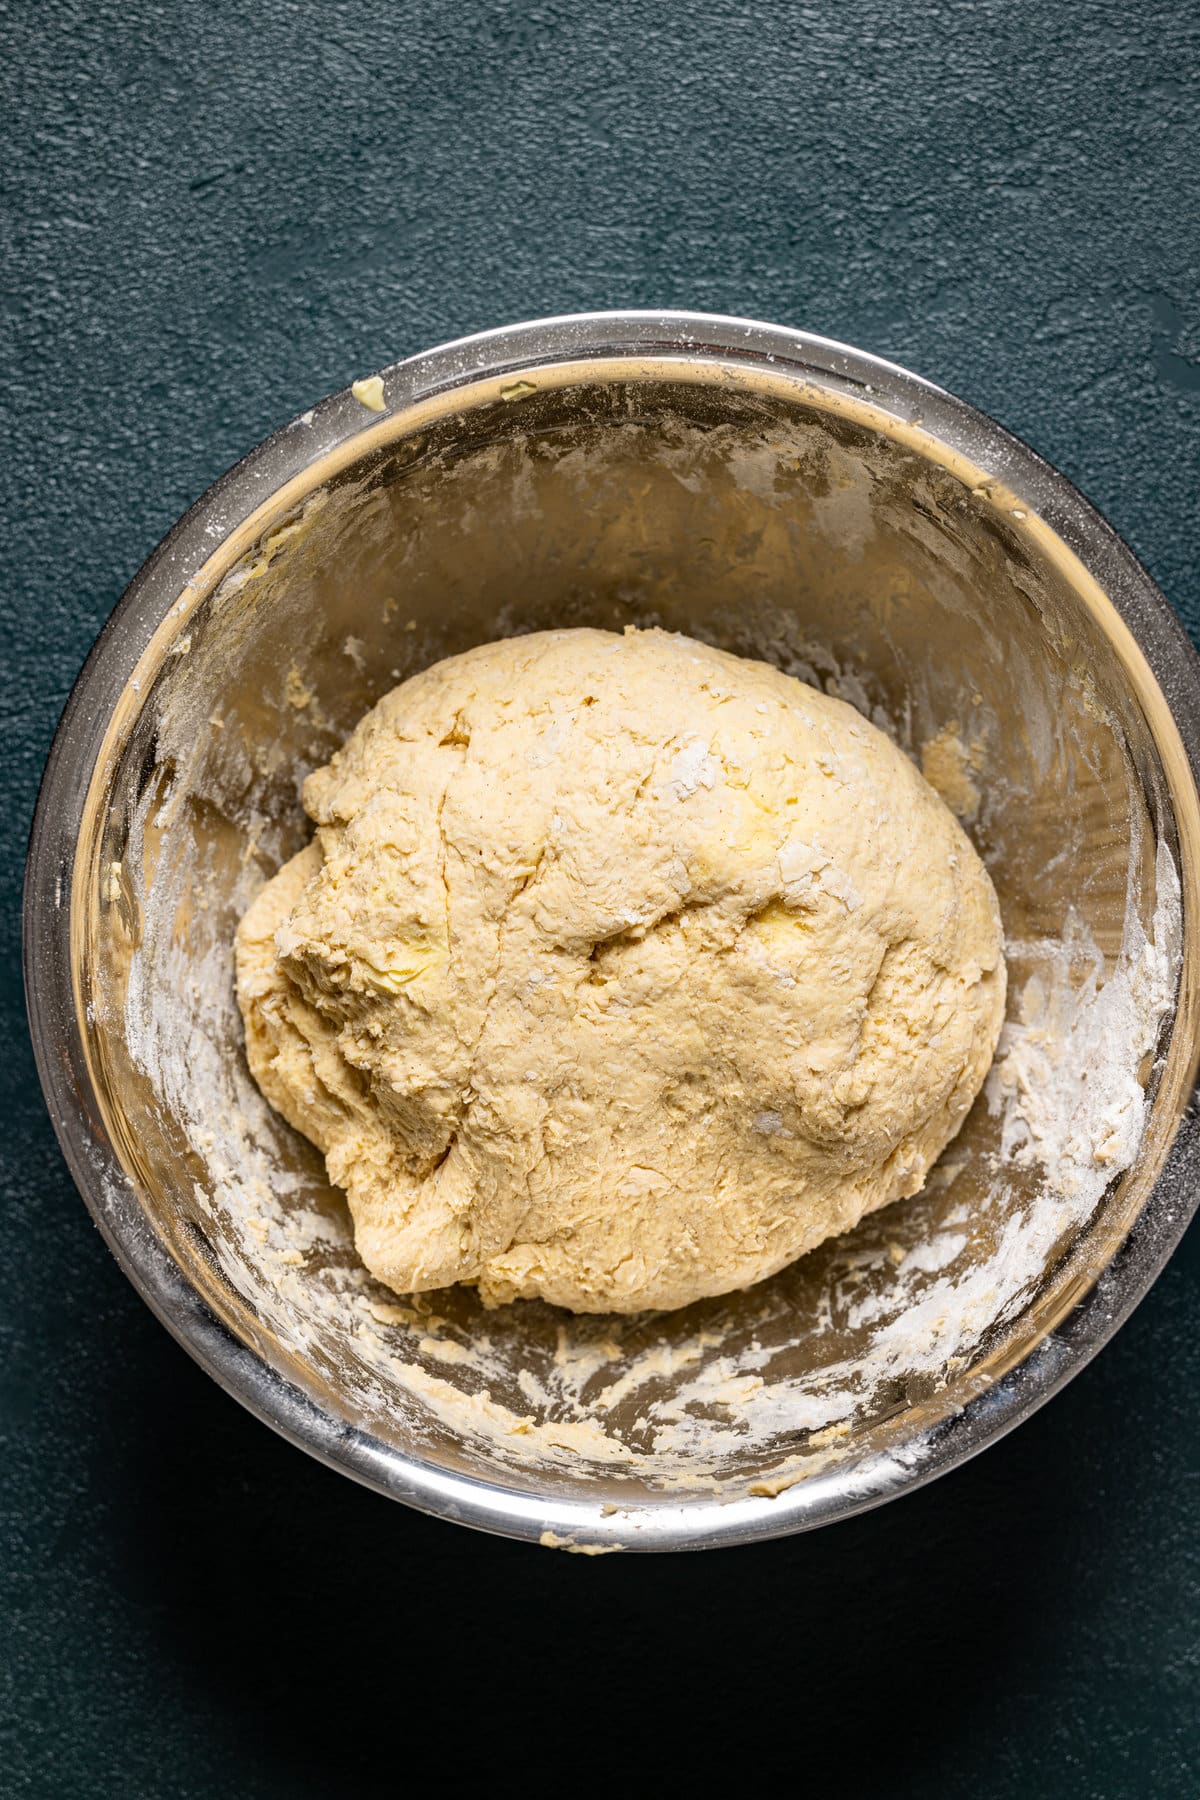
- Pour the cold buttermilk, milk, sweet potato puree, and 2 Tbsps maple syrup and stir (working it together with one hand) until the dry ingredients are moistened and able to form into a ball. NOTE: If the ingredients feels a little too dry, add 1 tablespoon of cold heavy cream at a time, until it’s moistened BUT not too wet!
- Add the dough onto a lightly floured surface and gently pat (or roll using a rolling pin) into an 8-inch square (about 1-inch thick). Then use a bench scraper (or large knife) to cut the dough into 4 equal squares. Stack the squares atop each other and pat or roll into an 8-inch square again. Repeat this process about 2 more times (patting/rolling and stacking).
- Using a biscuit cutter, press it into the dough (NO twisting), lift, and remove the circular biscuit shaped dough and place unto baking sheet. Repeat until all biscuits are cut out. NOTE: Be sure to space out the dough about 1-inch apart when on the baking sheet.
- Once done, add to the fridge for 10-15 minutes to chill slightly.
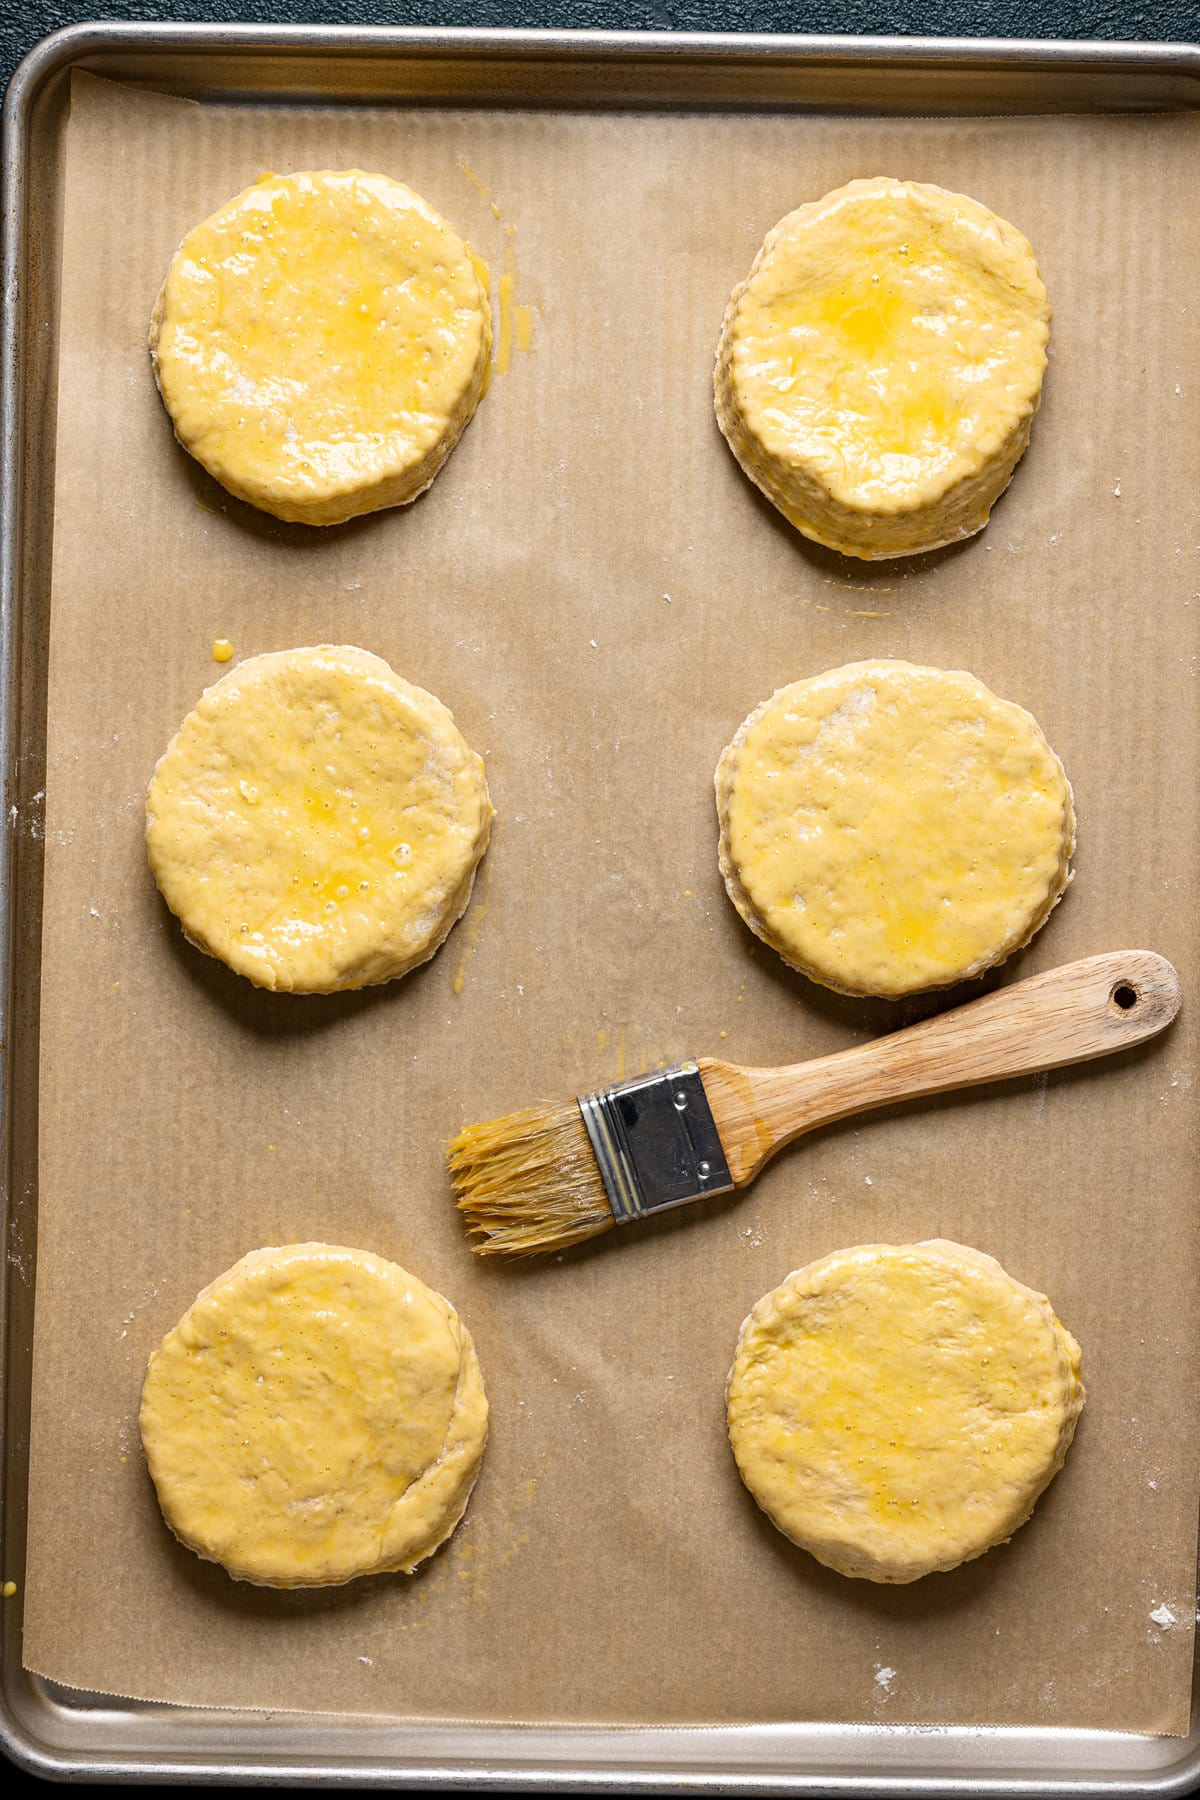
- Remove from the fridge and brush the tops with egg wash (beaten egg + milk + remaining 1 tablespoon maple syrup mixed together) to ensure that they are golden brown with a little extra flavor.
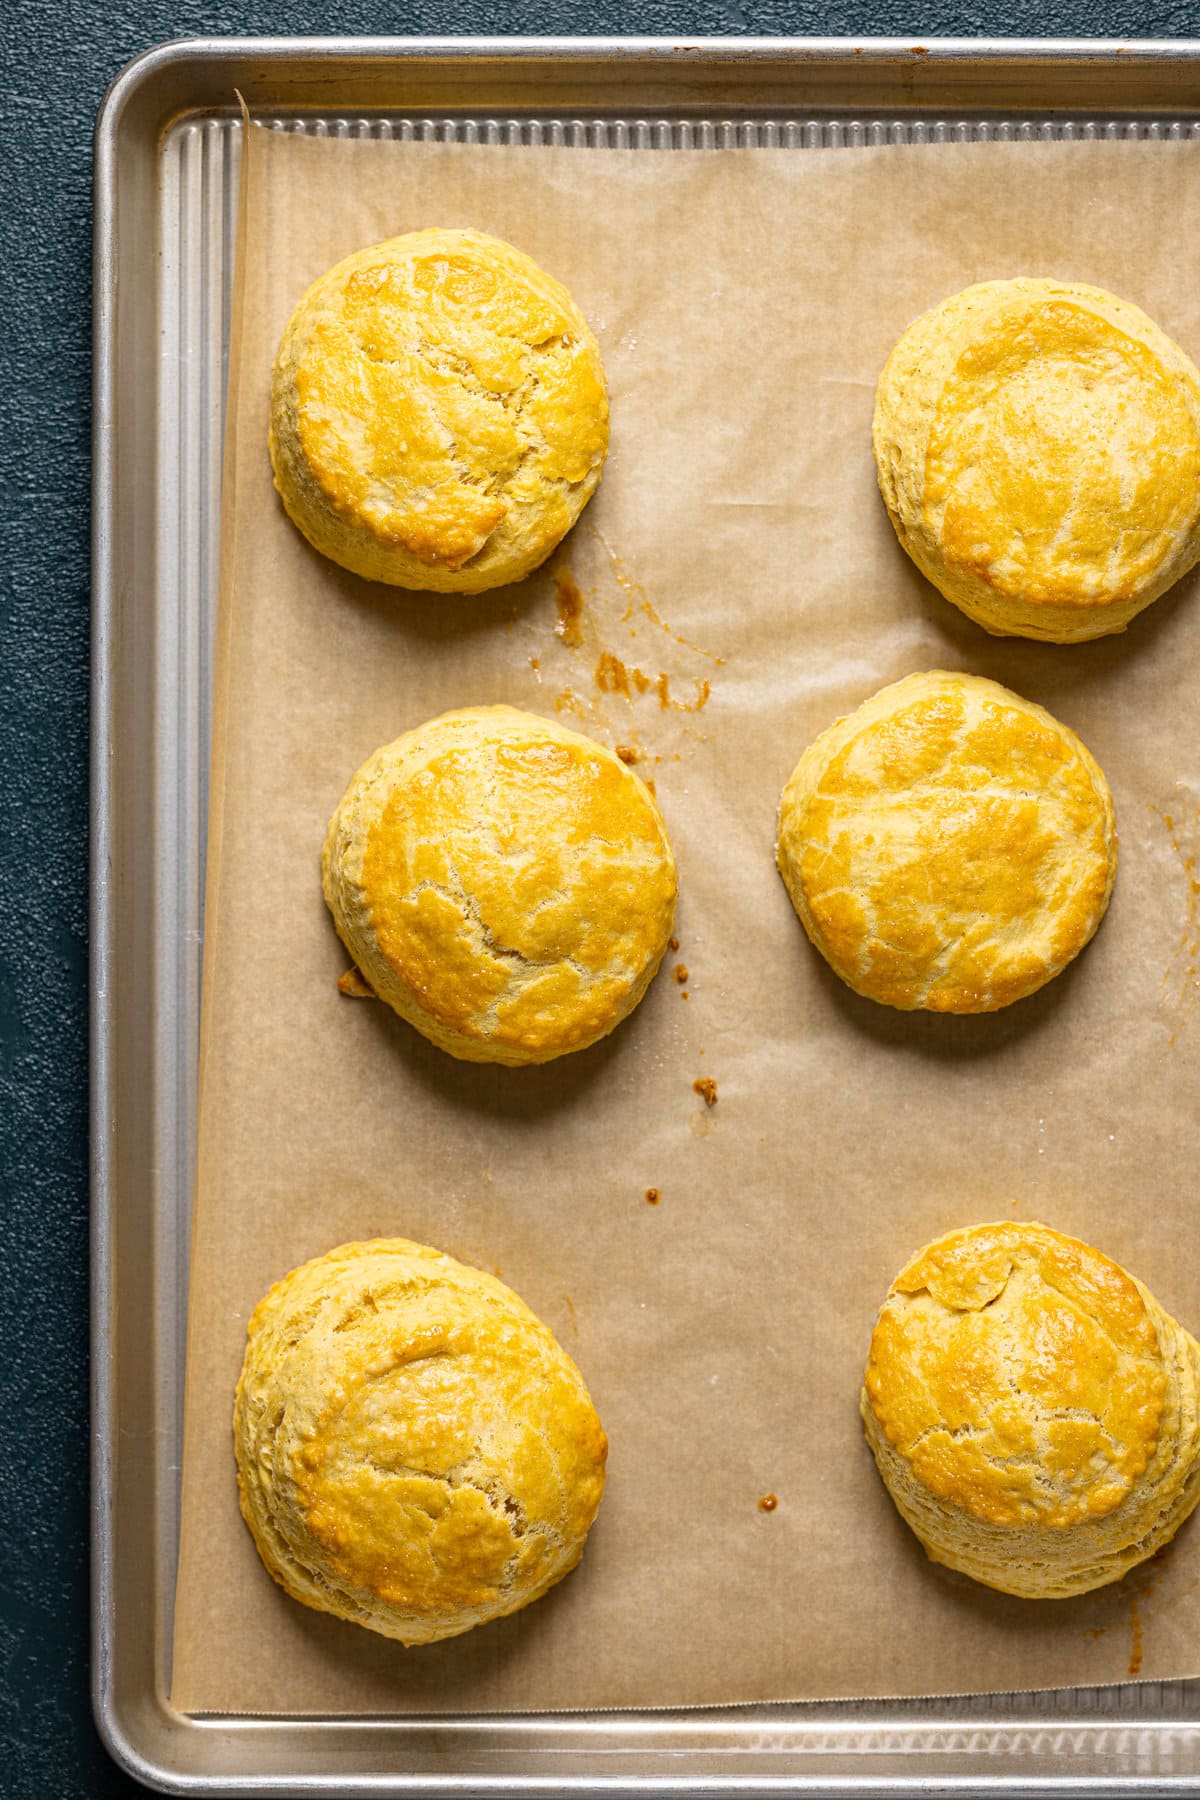
- Bake in the oven 15-18 minutes or until golden brown and everything looks crispy. Remove from oven and let cool until warm and brush with melted butter, if desired. Serve and enjoy!
- Bon Appetit!
Tips & Tricks
- STORAGE: Leftovers can be stored in an airtight container for up to 1 week in the refrigerator. To serve warm in the oven or heat in the microwave.
- FREEZE: For longer storage–the biscuits can be stored in the freezer. After they have baked and are completely cooled, simply individually wrap the biscuits with foil paper or plastic wrap and add them to a zip loc bag and freeze.
- FOOD PROCESSOR FOR DOUGH: If using a food processor to incorporate buttermilk to flour/butter mixture, ONLY ADD ¼ cup of milk AT A TIME to your dough, keeping it on “pulse” to avoid the dough from breaking down too much and it becoming “watery”.
- GRATED + CUBED BUTTER: To create a beautifully crumbly and flaky biscuit, I suggest grating 1 stick of butter and cutting the second stick into cubes. To grate your butter, add the 1 stick to a freezer for 15 minutes. Remove from freezer and using a grater, grate into pieces.
- SALTED VS. UNSALTED BUTTER: You can always substitute the salted butter with unsalted butter. When doing so, you can omit the salt as an ingredient.
- DAIRY-FREE OPTION: To make these flaky biscuits dairy-free, simply substitute the butter with vegan butter (cold + cut into pieces) and make your own dairy-free 'buttermilk' by mixing plant-based milk with lemon juice.
- EQUIPMENT: Here, I’ve curated a list of bakeware essentials that I use to achieve my favorite baking treats, especially with these Flaky Sweet Potato Biscuits. Everything from my fave baking sheets, parchment paper, mixing bowls, wooden spoons, pastry cutter, and more. SEE THEM HERE!
Nutrition
DID YOU MAKE THIS recipe?
Tag @orchidsnsweettea_ on Instagram and hashtag it #orchidsandsweettea


LOVE THIS RECIPE?
LET US KNOW!
I found it to be a difficult recipe to follow. The milk is listed twice in the ingredients.
The directions left out when to add the sweet potato, and what is the 3rd Tablespoon of syrup for?
I have the biscuits in the oven now...
Hi Maree! I'm so sorry to hear that you didn't find this recipe to be easy enough to follow! I do see that the sweet potato + extra maple syrup was missed in the instructions in error and I have since fixed this. Thanks so much for pointing that out! As for the buttermilk + milk---both are seperate because they aren't the same. When creating your own buttermilk using heavy cream + lemon juice-----it'll thicken up greatly. Therefore, you'll still need a bit of liquid from the regular milk to get the batter wet enough. I hope that this makes sense. 🙂
What a fun alternative to traditional sweet potato dishes. I think they'd really go over well at Thanksgiving.
I was really surprised at how flaky these biscuits turned out. I expected them to be much more solid. These were perfect.
I made these biscuits with dinner last night and they were incredibly delicious! Definitely going on our regular rotation!
These are beautiful, delicious, and go well with so many different recipes! Thank you for the fantastic recipe and I love your photos.
wow i always thought these types of biscuits are super hard. thanks for your tips to help me nail this recipe- it was really tasty!