Easy Gluten-Free Pizza Crust Recipe
Easy Gluten-Free Pizza Crust Recipe
This is the best all-around recipe for Easy Gluten-Free Pizza Crust using gluten-free flour, yeast, a bit of sugar and salt. Get ready to upgrade pizza night!
My family is big on pizza. Whether you're digging into Fall Harvest Pizza with Apples and Candied Bacon or a healthier Ultimate Veggie Pizza, we can't get enough. I wanted to be able to make all of my favorite pizza recipes to feed all diets and allergies without sacrificing flavor or texture in the crust. That's where this Easy Gluten-Free Pizza Crust Recipe comes in!
That's why I developed my own easy gluten-free pizza crust recipe. It checks all of the right boxes:
- flavorful
- Stretchy
- Puffy in the right places, but thin-crust
- Crisps up beautifully
- Strong enough to hold any toppings, including my Best Homemade Jamaican Jerk Chicken Pizza
How to Make Gluten-Free Pizza Crust
Pizza shouldn't be complicated, and this crust recipe lives up to expectations. It's simple to make with a few ingredients and a bit of mixing.

Ingredients
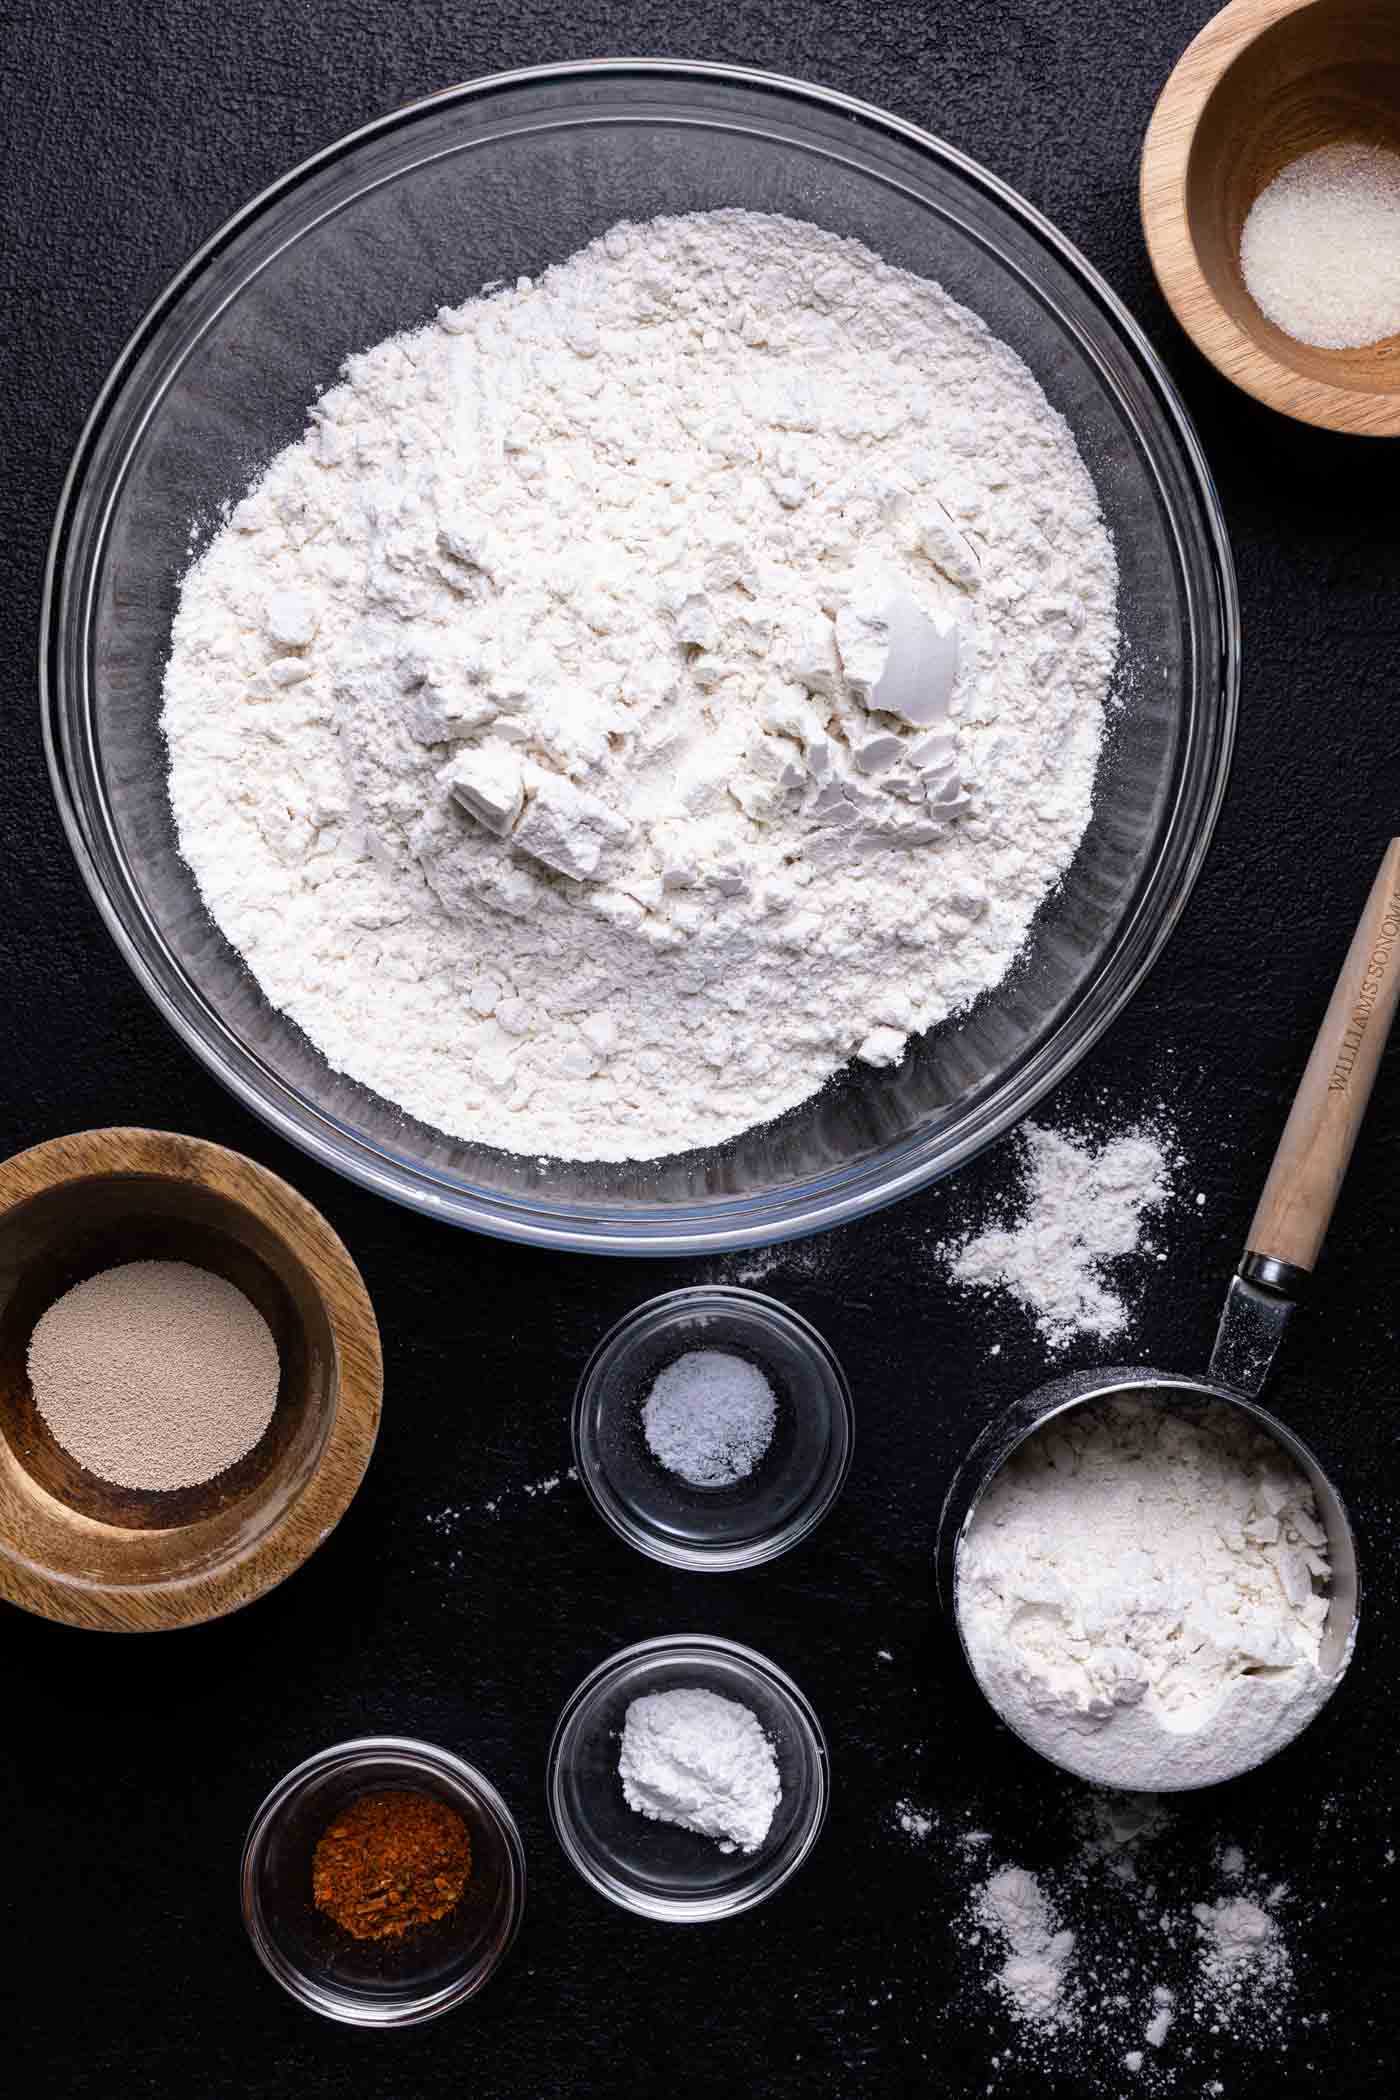
Here's what you need to make gluten-free pizza crust at home:
- Gluten-Free Flour. I recommend Bob's Red Mill or King Arthur 1-to-1 flour blends.
- Yeast. You can use active dry yeast (for a longer rise time) or instant rapid yeast for this recipe and skip the resting time, as instant yeast activates much faster than active dry.
- Honey. Choose organic raw honey or organic cane sugar to ensure it's vegan.
- Arrowroot. For thickening purposes. You can also use all-purpose flour, starch, or tapioca flour.
- Flaxseed meal. This acts as a binder. You can also use Psyllium husk if you have it on hand.
- Olive oil. You can also use Grapeseed oil or coconut oil.
- Sea salt. To flavor and strengthen the structure of the crust.
- Garlic powder. I love adding a hint of garlic flavor to my crust, but this is totally optional.
- Water. Ensure that the water is WARM and not cold or hot. This allows the yeast to activate fully with the sugar.
Rising and Shaping the Dough
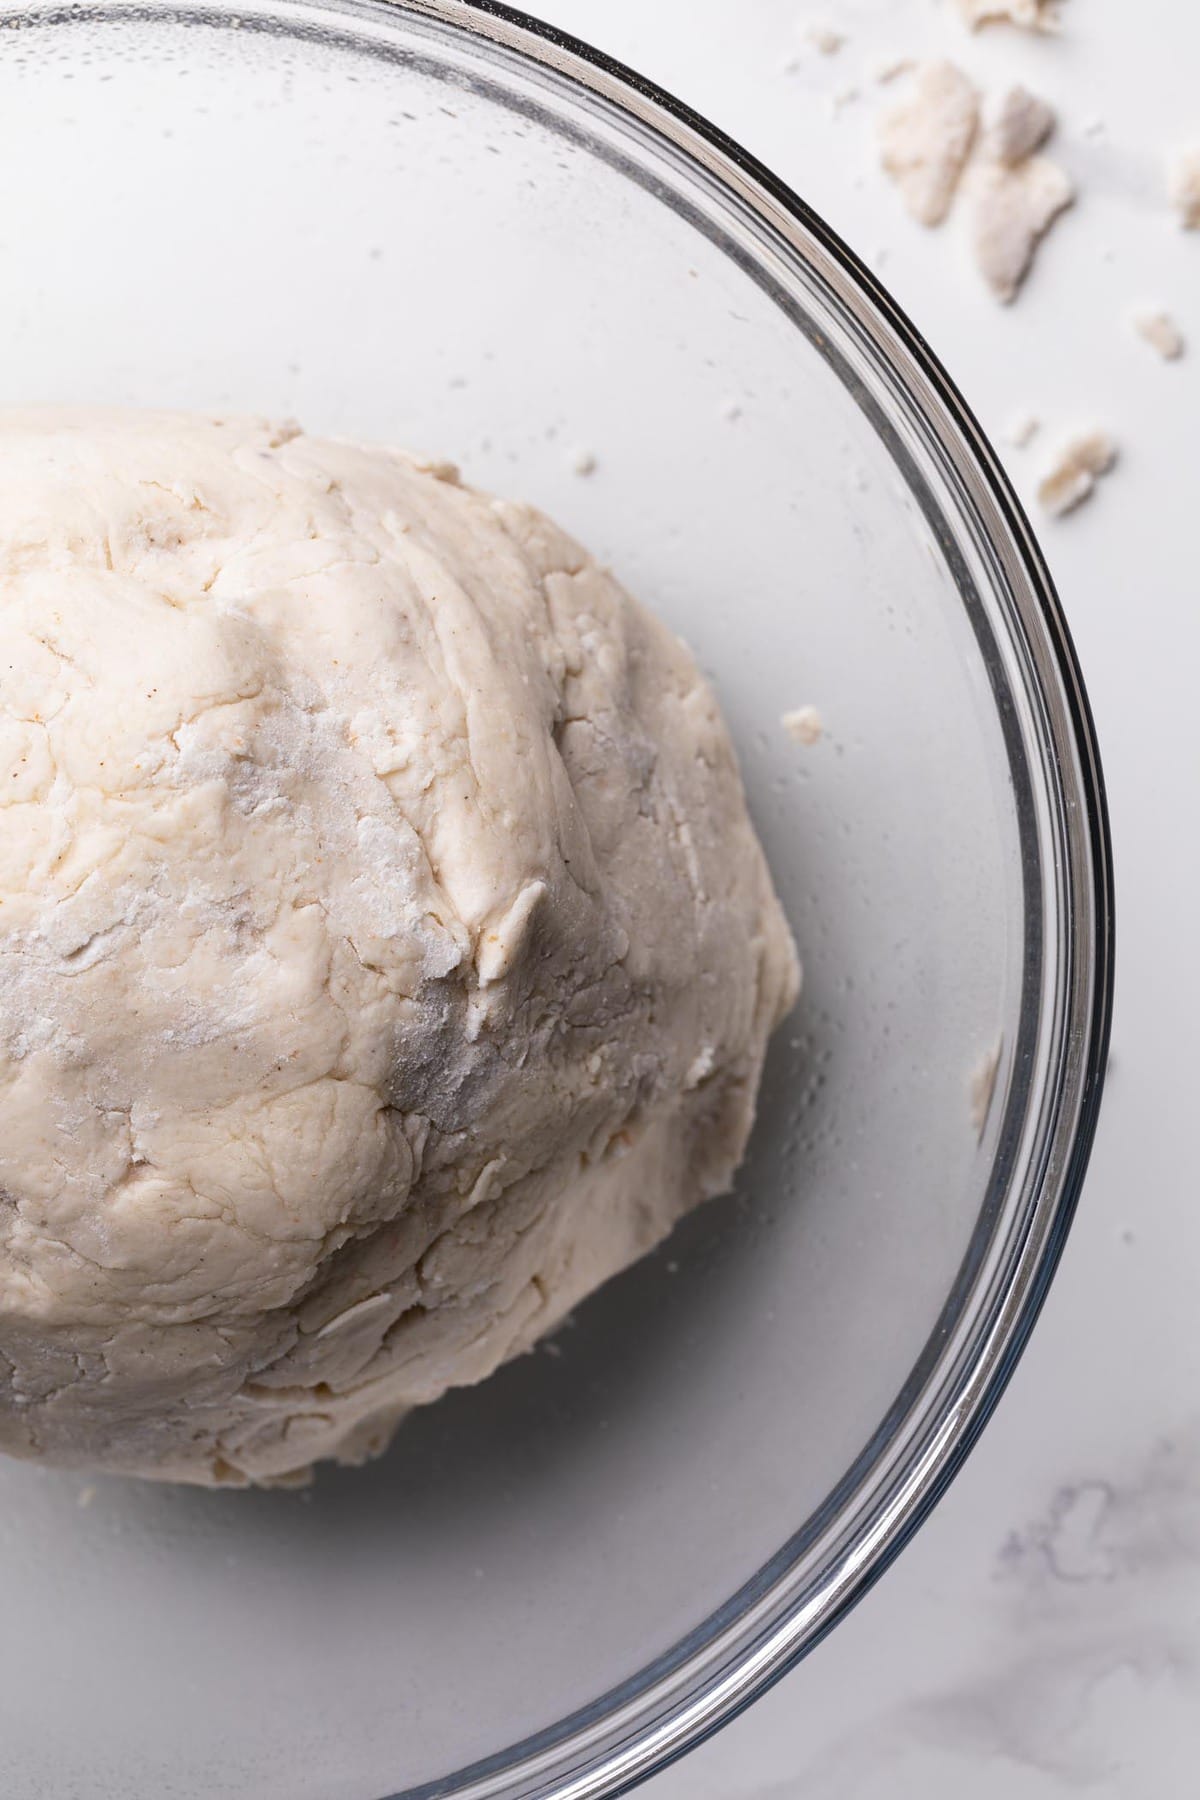
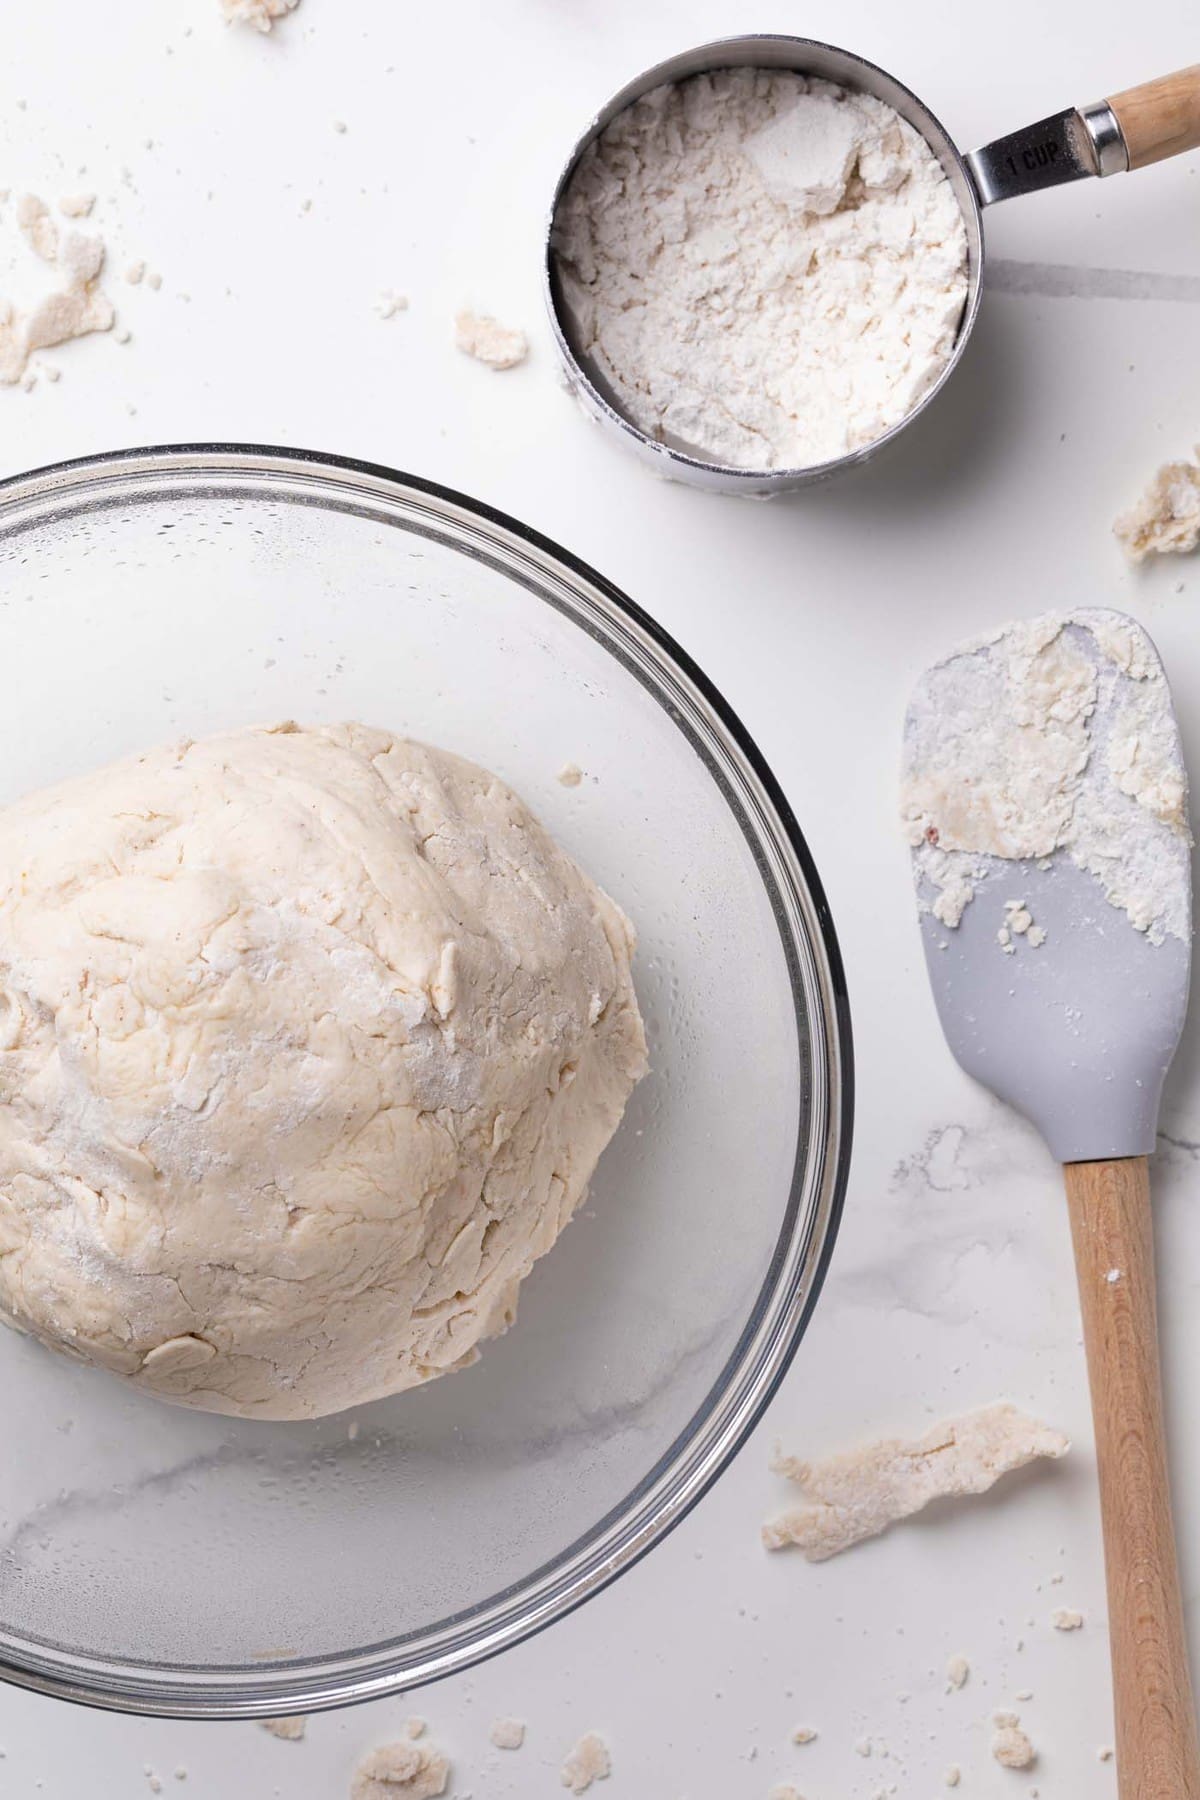
After you mix up the dough and shape it into a ball, it needs to rest. This allows the yeast to activate so your crust puffs up nicely when baked.
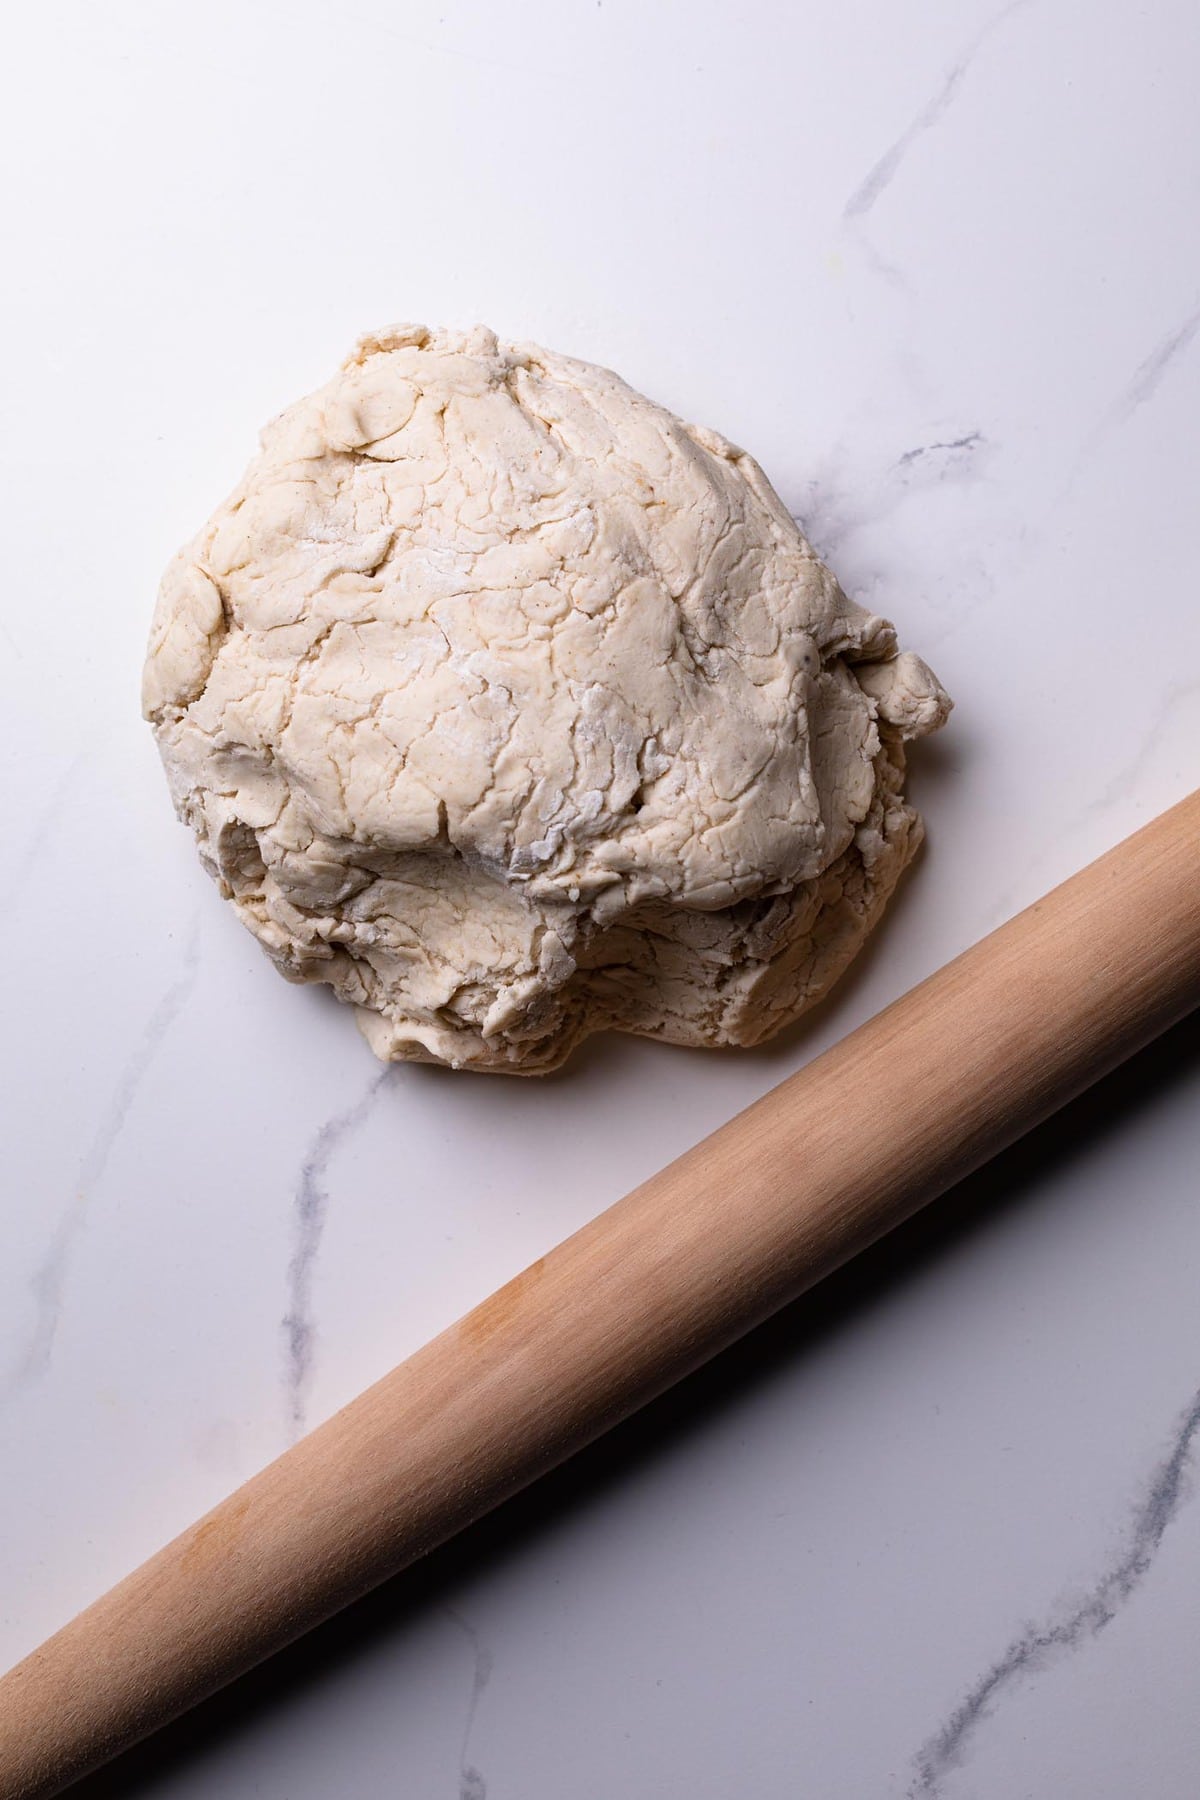
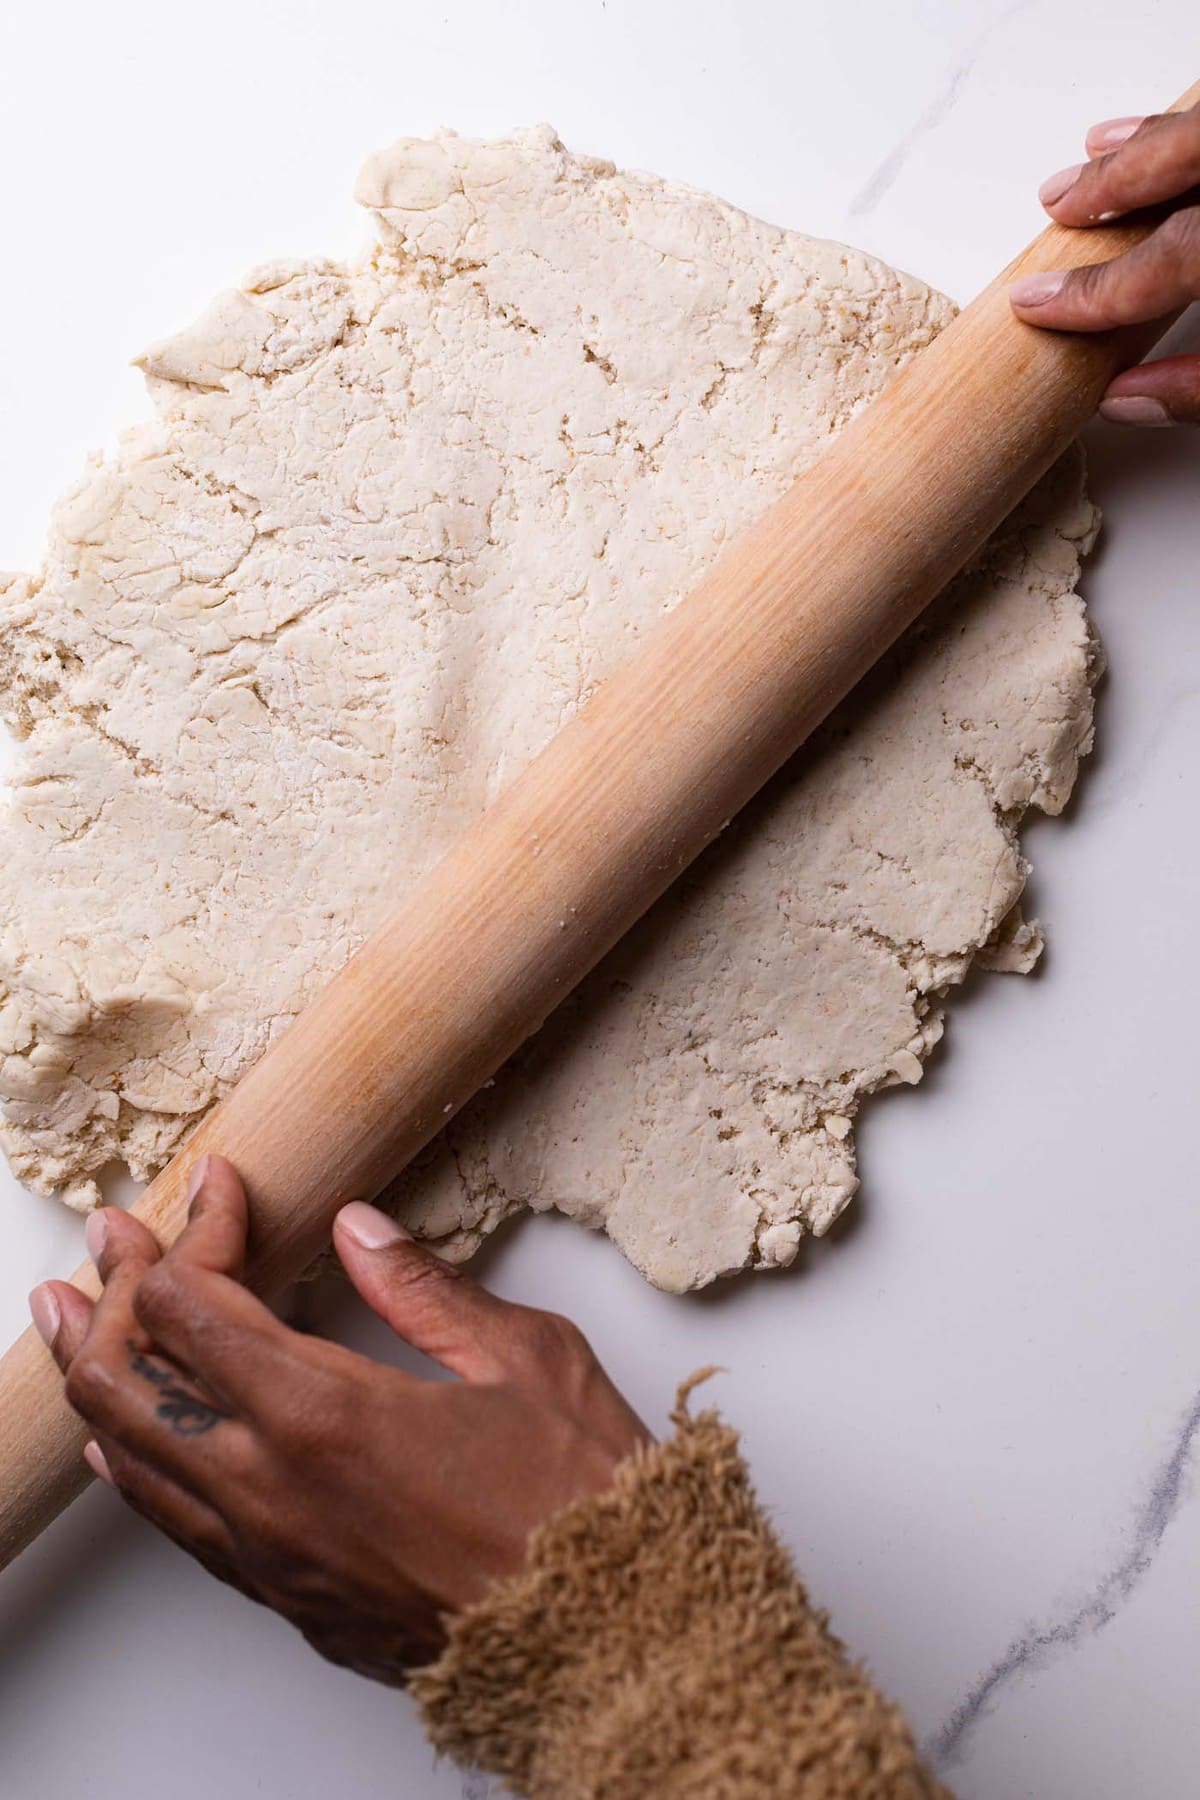
Then, when you're ready to make the pizza, roll the dough into a thin rectangle or circle using a rolling pin. You can also do this directly on the pizza pan you'll bake with and use your hands. Because there's no gluten in the dough, it's easy to stretch and shape this crust.
How to Make Super Crispy Gluten-Free Pizza
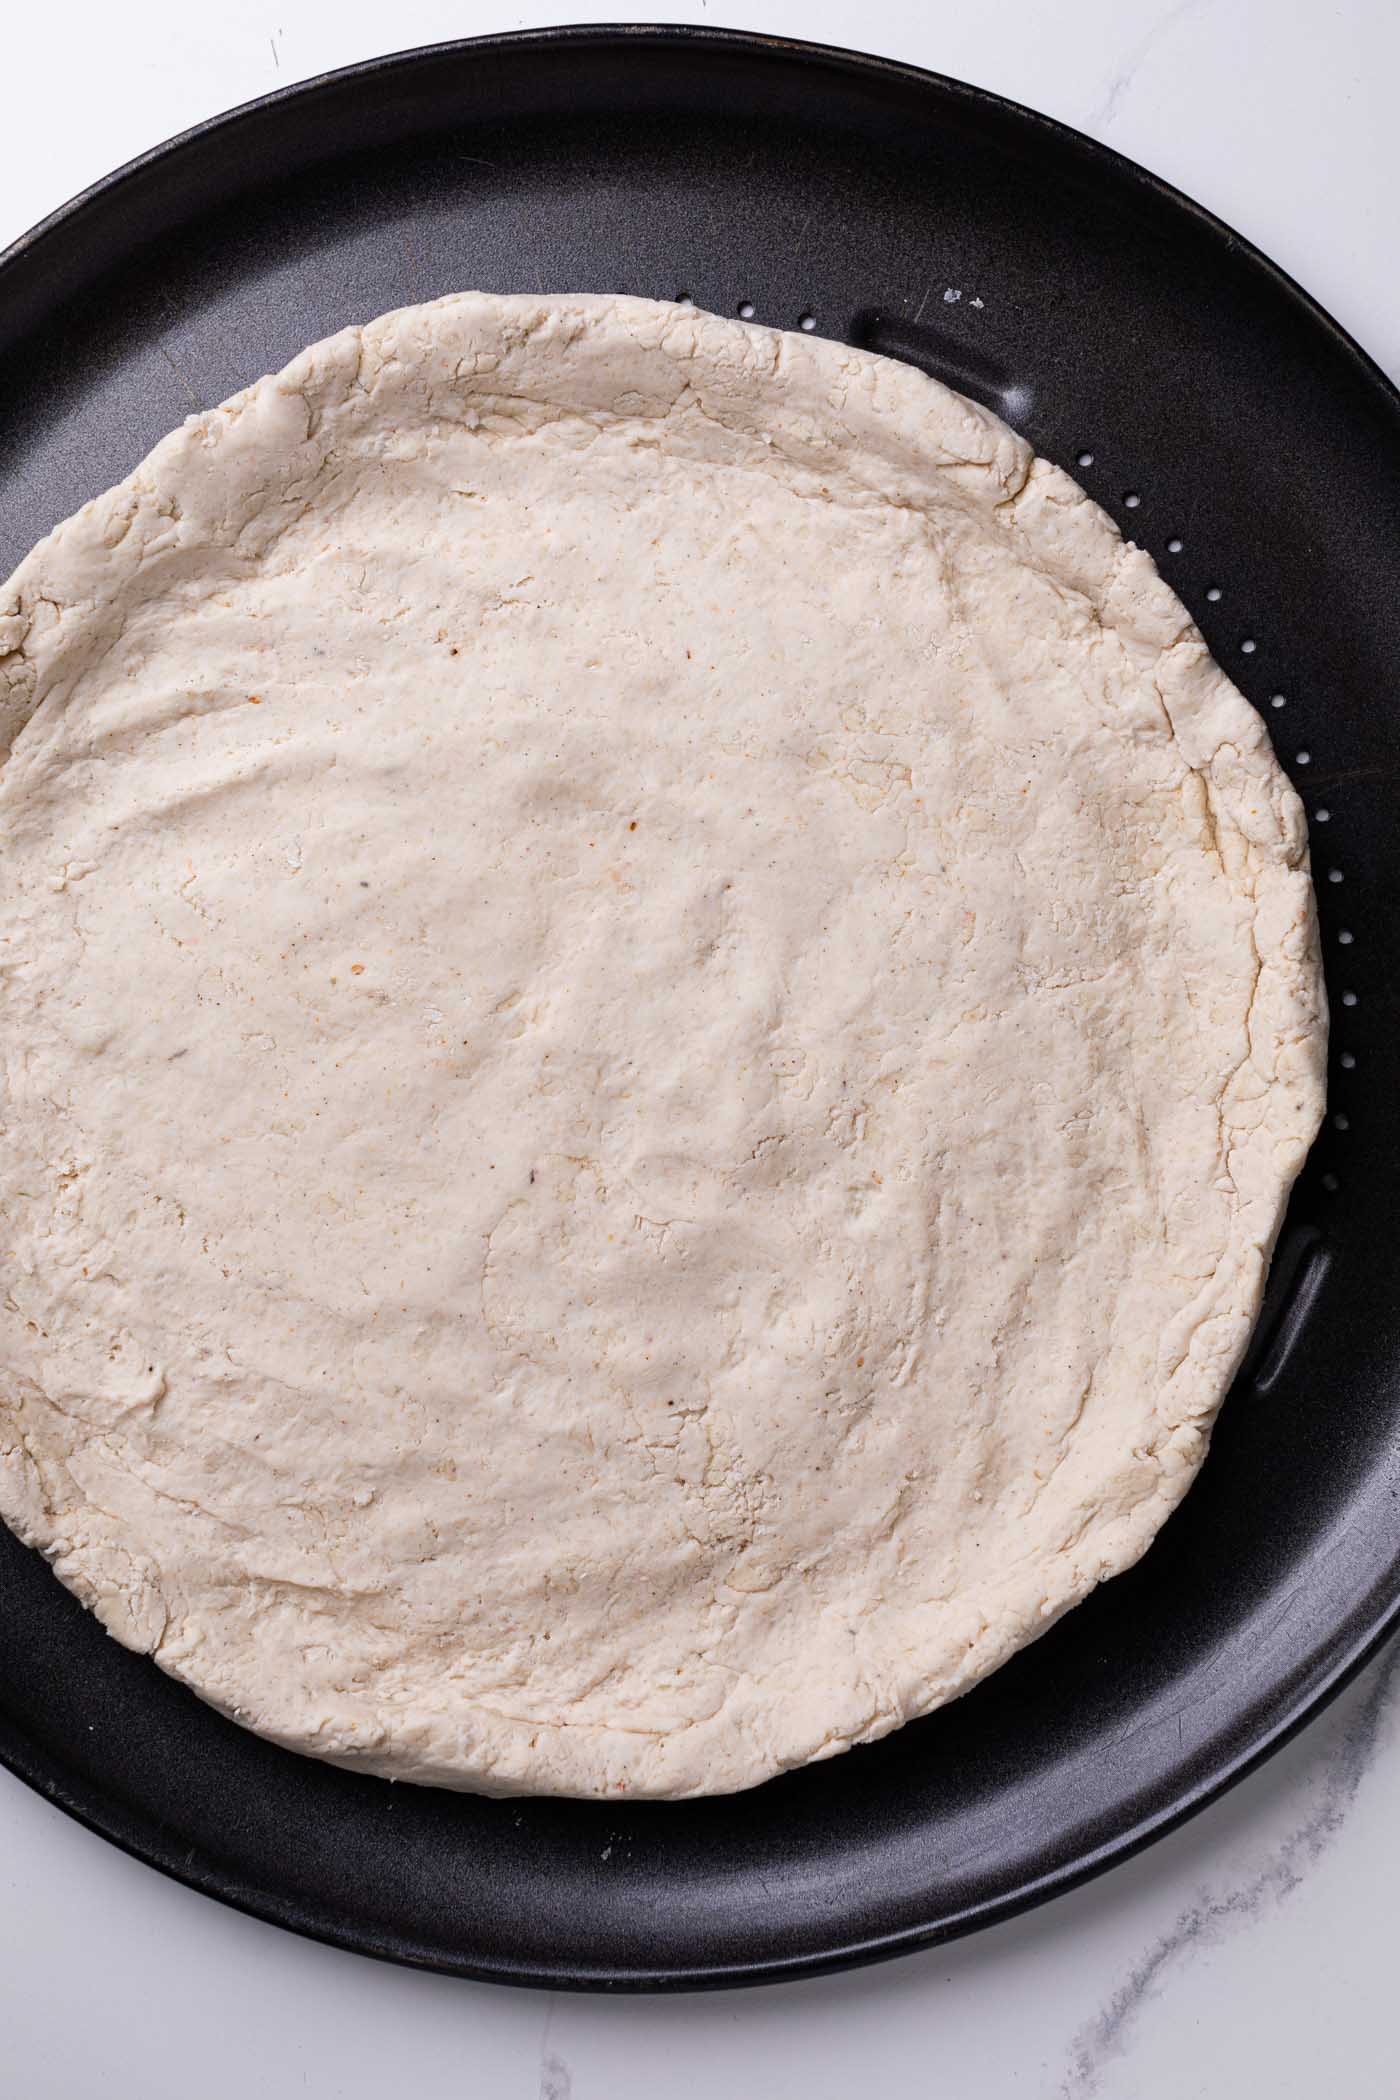
If you love a crisp, crunchy pizza crust, your best bet is to cook the pizza in a pizza pan. This is a round metal tray with wholes in the bottom that allow steam to escape and air to flow around the crust as it bakes for extra crispness. I use the AirBake pan and it works every time.
Topping Ideas For Homemade Gluten-Free Pizza Crust
This is a great go-to recipe for any pizza recipe. Here are some delicious pizza topping combinations my family loves:
- Chickpea + Veggie Gluten-Free Pesto Pizza
- Gluten-Free Hot Honey Bacon Pizza [Valentine's Day Edition]
- Best Jamaican Jerk Chicken Pizza
- Best Texas BBQ Sriracha Meatball Pizza
- Veggie Pizza
- Best Homemade Vodka Pizza
- Hawaiian BBQ Buffalo Chicken Pizza
What's your favorite pizza topping combo? Let me know in the comments and I'll be sure to give it a try next time I make a gluten-free crust!
MADE OUR RECIPE(S)?
If you choose to make this Gluten-Free Pizza Crust or any other recipe from us, be sure to tag us on Instagram at #Orchidsandsweettea so that we can share the love, rate, comment below, + share!

Easy Homemade Gluten-Free Pizza Crust
Ingredients
DOUGH:
- 3 cups Gluten-free 1-to-1 Flour (I like to use Bob's Red Mill or King Arthur)
- 1 ¾ cup WARM water
- 1 packet rapid-rise yeast (That's 2 ¼ tsps!; See Notes)
- 1 tablespoon raw honey (You can also use organic cane sugar or brown sugar)
- 2 Tbsps Extra virgin olive oil
- 1 tablespoon arrowroot starch (See Notes)
- 1 tablespoon flaxseed meal (You can also sub w/ Psyllium husk, if desired)
- 1 teaspoon sea salt
- ½ teaspoon garlic powder
Instructions
TO MAKE THE CRUST:
- In the bowl, whisk together the WARM water, honey, olive oil, and yeast (you might need to use a whisk to ensure that everything combines together well). Let is sit for at least 5 minutes, until yeast begins to activate and foam.
- Slowly add the flour, arrowroot, flaxseed meal, salt, and garlic powder and using a spatula or wooden spoon, mix together until combined and a dough can be formed when pressed together. NOTE: if dough is too sticky, add ½ cup of additional flour at a time).
- Now, using your hands, lightly knead the dough for about a minute to further work it so that it forms nicely into a dough ball.
LET IT RISE:
- To allow the dough to 'rest' and rise a bit, formulate the dough into a ball and add it to a lightly greased bowl and cover while letting it sit for 20-25 minutes.
- Once done, add the dough onto a floured surface and slightly roll out the dough until it’s flat enough to form a flat circle the rest of the way with your hands, about 11 inches in diameter. Lightly grease your pizza pan with extra virgin olive oil and place dough on one end of pan, evenly pressing it and flattening it out to fit the entire pan. Gently use your finger to stretch dough until pan is fully covered and gently pinch the edges of the dough together to form the crust.
- Add your favorite pizza sauce/toppings and bake as recipe instructs!
- Bon Appetit!
Tips & Tricks
- STORAGE: Leftover pizza crust dough can be tightly covered in a bowl and refrigerated for up to 2 weeks. Can be frozen for up to 3 weeks.
- PIZZA CRUST: For a crispy pizza (especially on the bottom), I suggest using a pizza pan with holes to allow the crust to bake through nicely. I used the AirBake Pizza Pan, which can be found at Target!
- RESTING TIME: You can always skip this step if needed. It isn't a requirement at all. Just substitute active dry yeast with rapid rise yeast.
- RAPID (INSTANT) RISE YEAST VS. ACTIVE DRY YEAST: If you’re not using the Rapid Rise Yeast for this recipe, please know that the rise time will be twice as long (about 3 hours) since regular Active Yeast doesn’t work as quickly.
- STARCH: If you don't have arrowroot starch, you can simply substitute with all-purpose flour, starch or tapioca flour.
Nutrition
DID YOU MAKE THIS recipe?
Tag @orchidsnsweettea_ on Instagram and hashtag it #orchidsandsweettea


LOVE THIS RECIPE?
LET US KNOW!
If using Rapid Rise Instant Yeast does that still need to be hydrated in the 1.5 cups of warm water?
Hi Linda, I usually let the yeast sit in the water for 5 minutes or so regardless of it being rapid rise or not to ensure that the yeast gets activated before the remaining ingredients are added. 🙂
Oh the gloriousness of this pizza! I can’t tell you how incredibly beautiful the crust and the method. I tried it out ( same method different vessel) with a pizza stone ( flying in the face of traditional pizza stone usage) and was rewarded with fabulous results. Am I gushing? You bet I am!!!!
Hi Laila! OMG! I'm so happy to hear that you truly enjoyed this pizza! It's definitely one of my newest faves! Thanks so much for giving it a try! 🙂