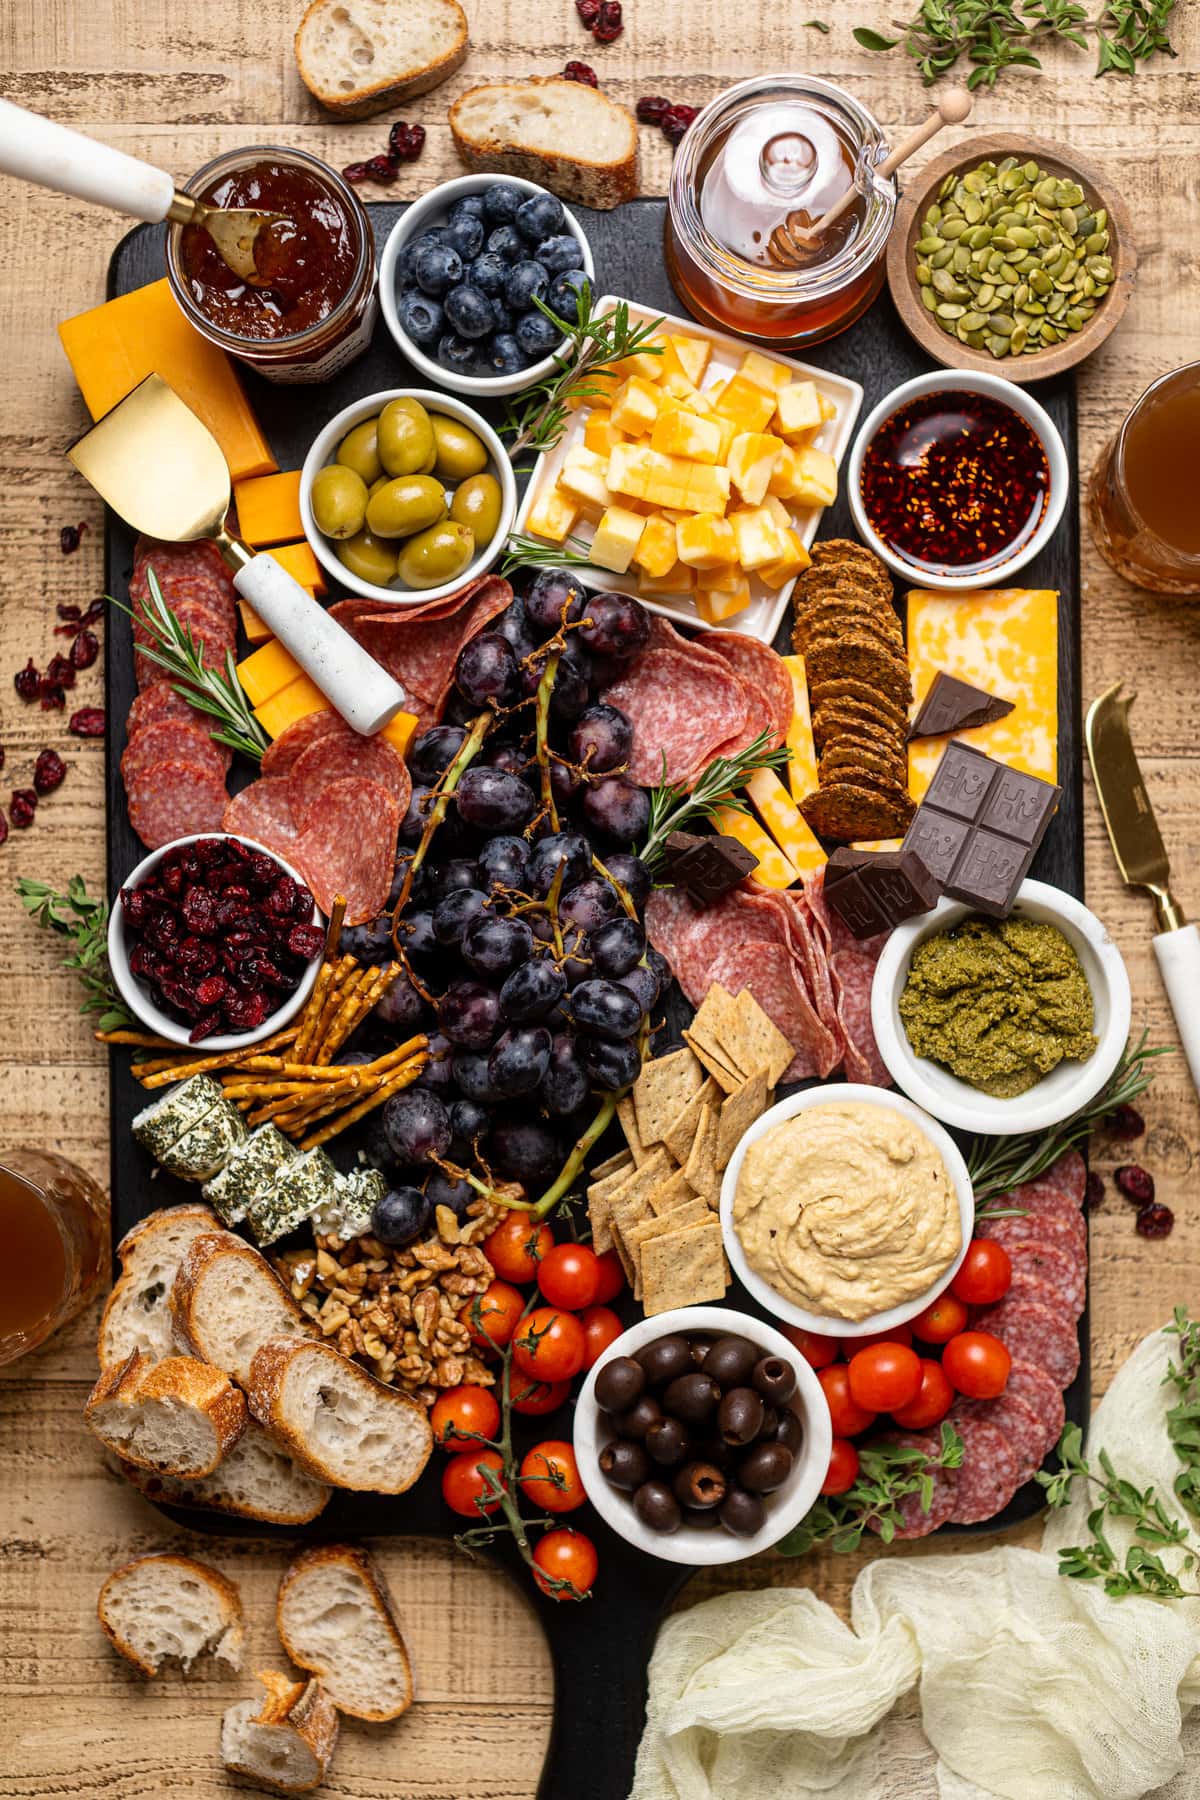
How To Make the Best Charcuterie Board
DISCLAIMER: This post may contain affiliate links, which means that I make a small commission off items you purchase at no additional cost to you. Please read my policy page!
How To Make the Best Charcuterie Board
How To Make the Best Charcuterie Board is your go-to guide for crafting a beautiful spread for any occasion. I believe variety is the spice of life, so I've packed in easy tips to help you create the best cheese board possible! Any time of the year—summer, spring, fall, or winter—these charcuterie board ideas will make your gatherings extra special. Meatless, Gluten-free, Dairy-free + Vegan Options.
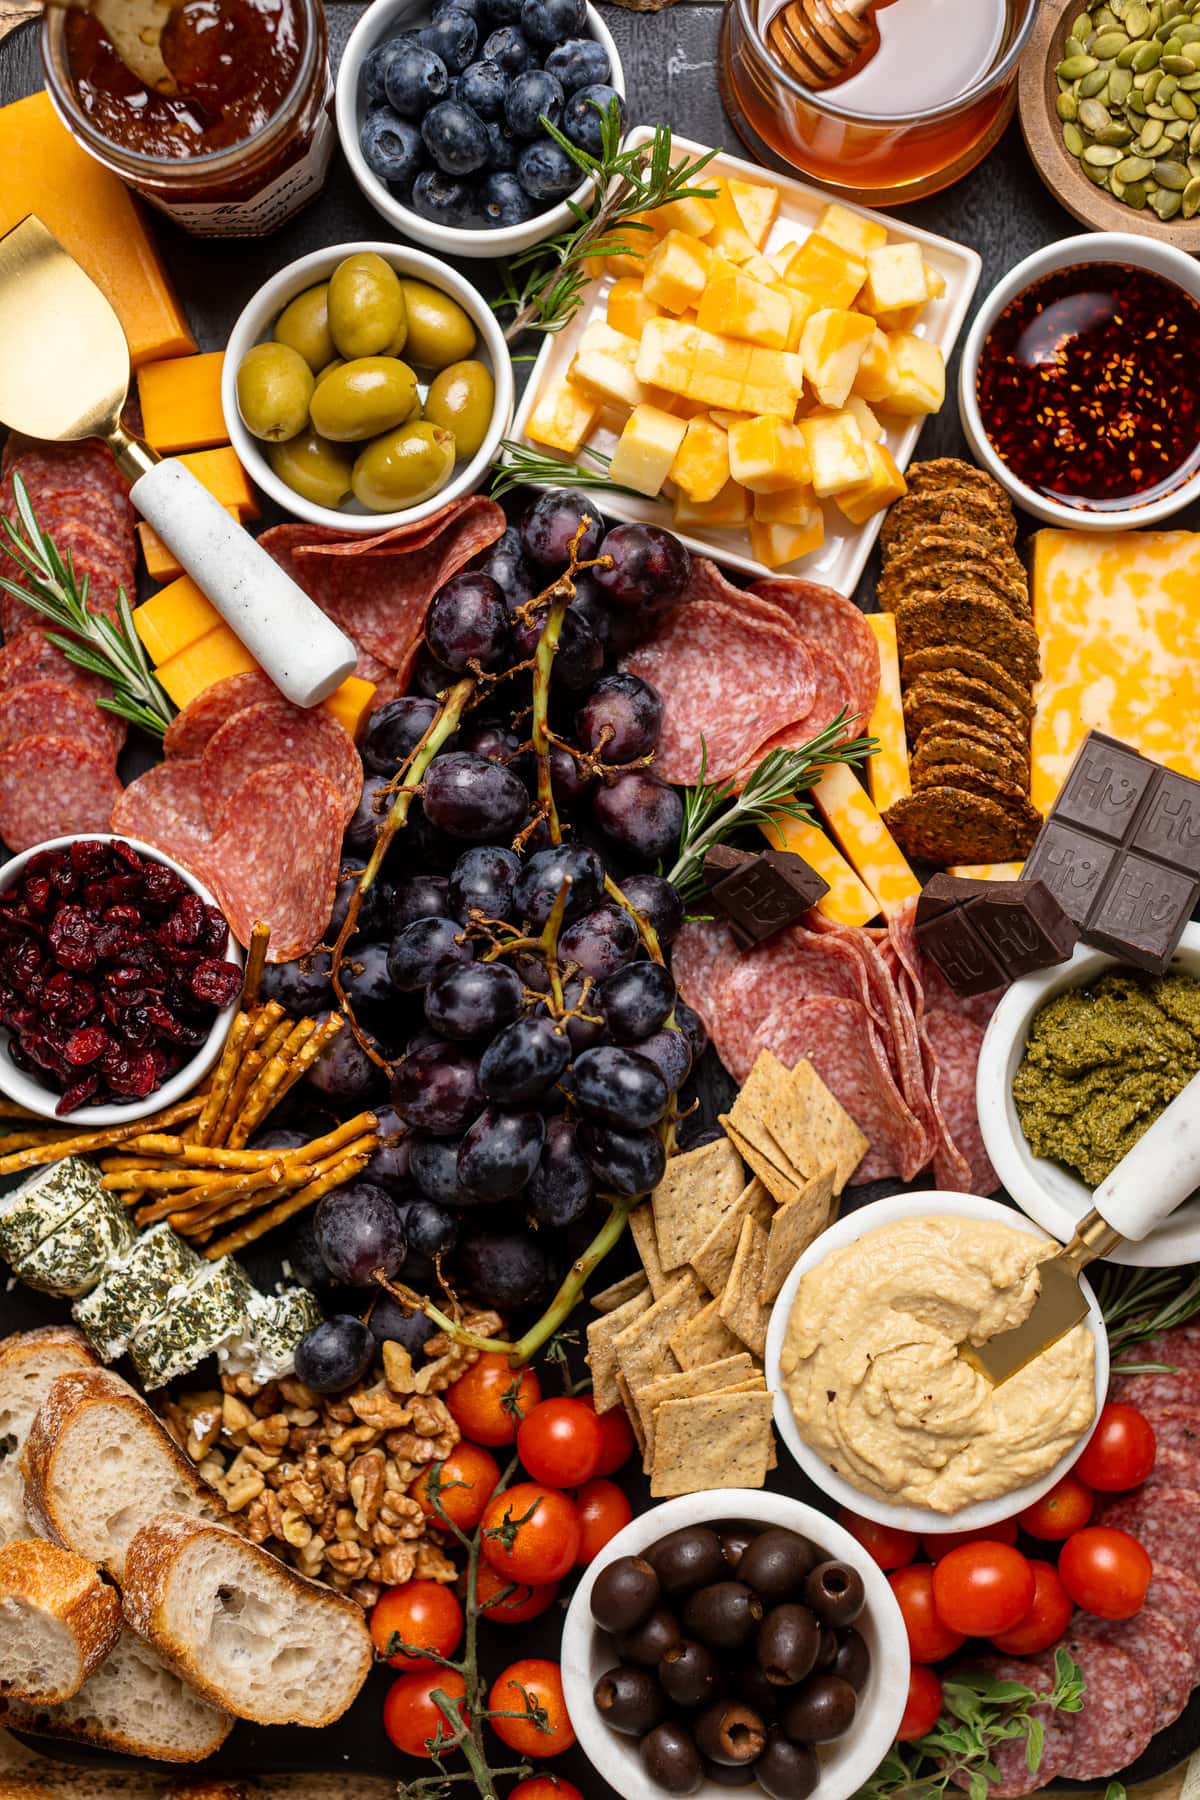
I'm truly in love with charcuterie boards, and whenever I see one, my eyes light up with excitement. They’re the latest trend, and if you’ve been on TikTok or Instagram, you’ve probably seen them everywhere. If you haven’t tried making one yet, now's the time!
Charcuterie boards can seem a little daunting—that’s how I felt for a long time. But this guide on "How To Make the Best Charcuterie Board" will walk you through every step to create an amazing board + ideas. I love using these for party gathering appetizers, as the perfect snack, whether it's for game days, summer BBQs, or holiday parties.
I also put together a 'How To Build a Vegan Brunch Charcuterie Board' for my plant-based peeps who want specific ideas for a morning spread so definitely check that out next!
Jump to:
- What Is A Charcuterie Board?
- How is Charcuterie Pronounced?
- What Kind of Wood is Best to Make a Charcuterie Board?
- How To Make a Charcuterie Board
- Tools I Reccomend For Charcuterie
- Making Your Charcuterie Board Vegan
- What is Typically on a Charcuterie Board?
- How to Make a Small Charcuterie Board or For Two?
- The Best Cheeses to Use
- What Kind of Meats to Use
- Best Fruit to Add
- Fill in the Spaces with Seeds, Dried Fruit, Nuts, and More
- What Crackers Should I Use?
- Don't Forget the Drinks!
- That's A Wrap!
- Appetizer Recipes To Inspire You
- MADE OUR RECIPE(S)?
- How To Make the Best Charcuterie Board
What Is A Charcuterie Board?
Basically, a Charcuterie Board (aka Cheeseboard) is a delicious spread that includes a variety of ingredients all towered onto a board or your favorite platter or serving plate. It's like having a roundup of handheld foods that your guests can enjoy.
My favorite part about doing cheese and charcuterie boards is that it's entirely DIY and totally up to you when it comes to the ingredients that you choose to add. So you can add vegan + gluten-free options to suit everyone!
How is Charcuterie Pronounced?
If you're anything like me then you've probably butchered the name "charcuterie" board a ton of times. Haha. However, I have since properly learned how pronounce charcuterie and how to properly “say” charcuterie. It’s pronounced “shahr-kyu-tuh-ree.” Wallah!
What Kind of Wood is Best to Make a Charcuterie Board?
OK, so I might be going off a ledge here, but if you've got the DIY gene and you enjoy making your own things, then making a charcuterie could definitely be your next project. If so, the best type of wood to use is a non-porous hardwood wood.
Woods such as teak, hard maple, American Cherry, Olive, and acacia are ideal. Other materials that make the best charcuterie boards include kitchen slate, marble & bamboo.
But if you're not one who cares to make your own charcuterie board, then I've made a great list of my faves in my Amazon Storefront, in various shapes + sizes. And if you want to get fancy or want extremely large boards, I recommend looking for handmade ones from Etsy or great ones from Crate & Barrel---both my personal faves!
How To Make a Charcuterie Board
When it comes to making the best charcuterie or cheese board in particular, it all starts with the actual board being used. For one, I like to choose the right size that meets the needs of how many people I'll be entertaining, and then comes to the color choice, which sets the "mood" for the occasion (i.e. darker woods give a more Fall or holiday mood, marble is classy, black wood creates a nice mature mood and also great for Fall + winter months, etc.).
For this board, I chose a large one with the following dimensions (Width: 28”, Depth: 16”, Height: 0.75"), but again---you can find boards of all shapes and sizes to best fit your needs. This particular board is from Crate & Barrel and is called the Tondo Ebonized Rectangle Serving Board.
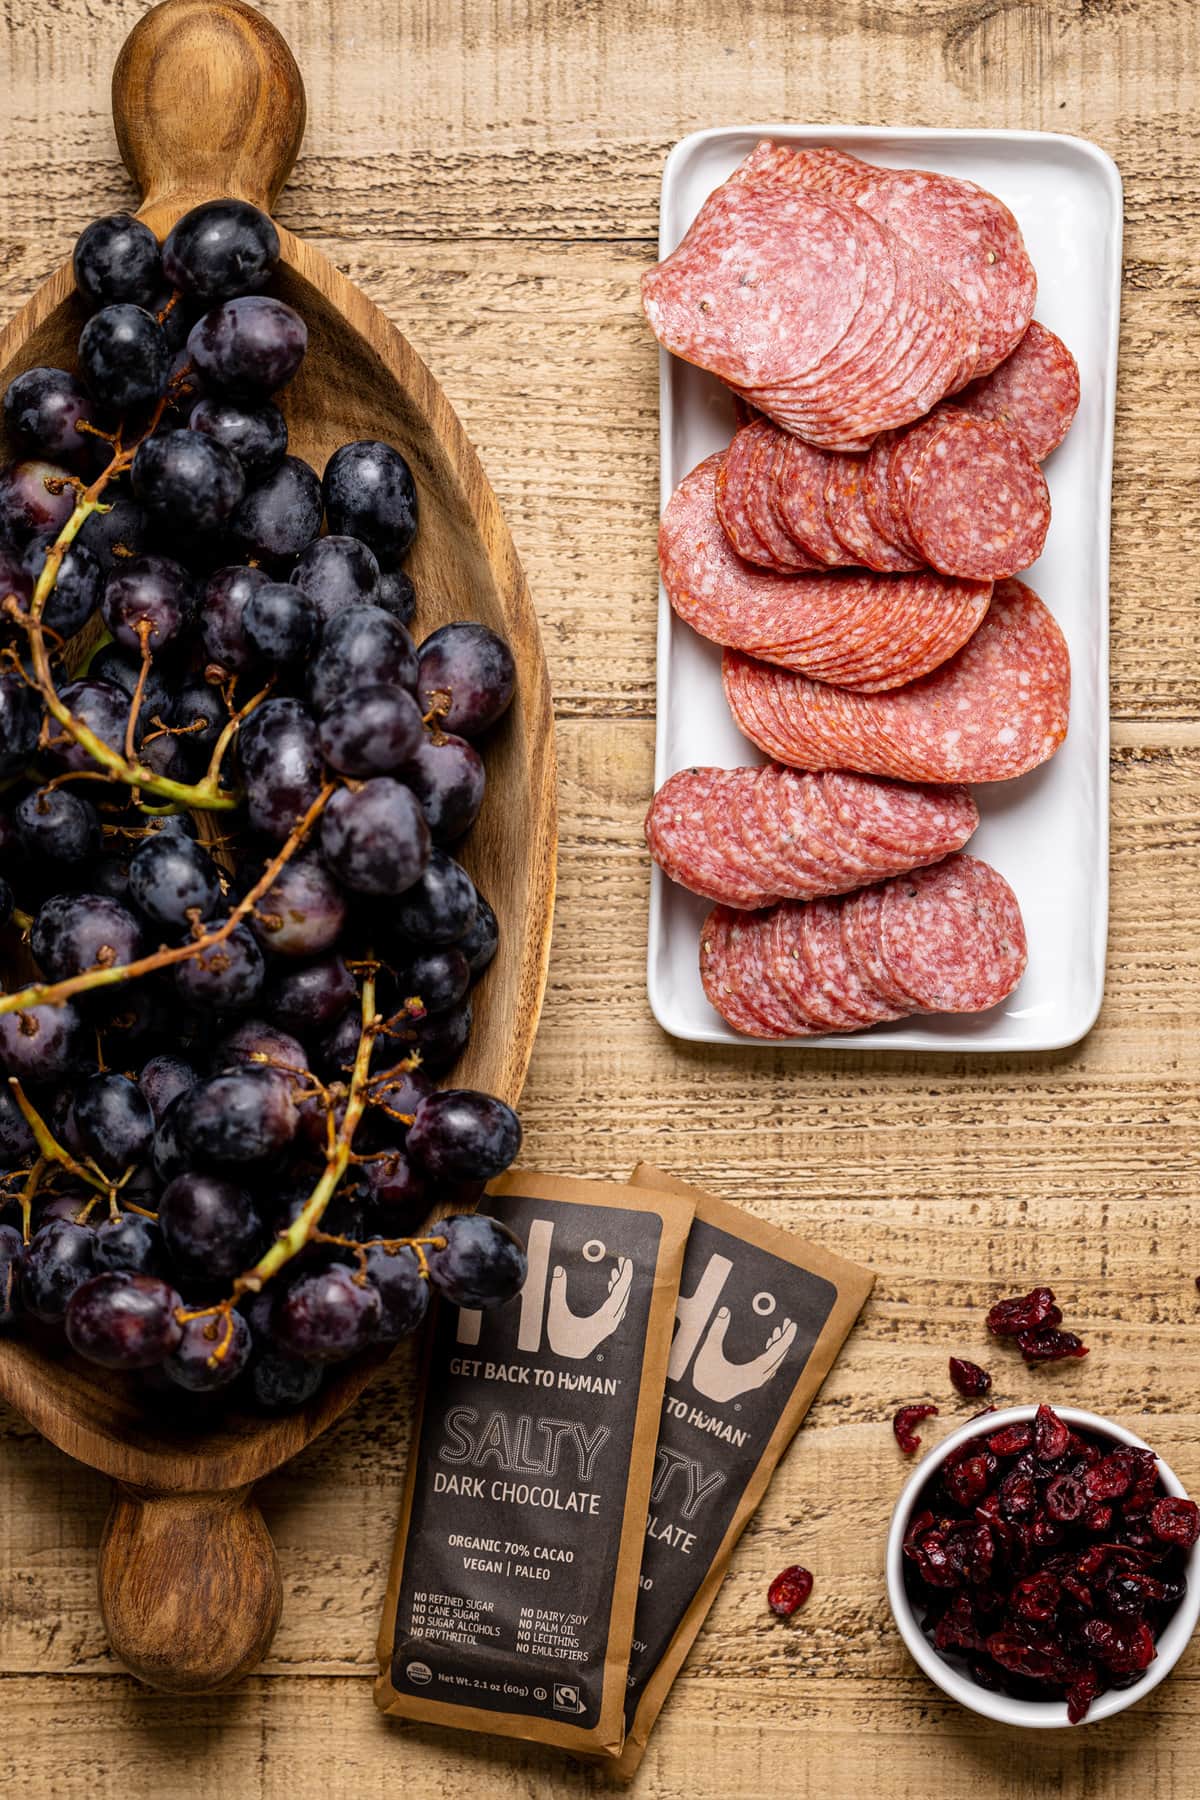
Tools I Reccomend For Charcuterie
Once you've figured out the board ideas, then the next few things you'll need are:
- Cheese slicer
- Cheese knives + servers
- Meat carver
- Cheese labels
- Small prep bowls
- Mini (appetizer) plates
- Small jam or condiment spoon(s)
- Honey pot & stick
- Napkins
- Small utensils for serving or eating
Here, I’ve curated a list of Charcuterie Board Must-Haves that I use to achieve the best charcuterie experience. Everything from my fave boards, cheese knives, honey pots, prep bowls, cheese labels, and more. SEE THEM HERE!
Once you have those mini plates and bowls, you start by adding them to the board after the cheese as a guide in your styling. So easy!
Making Your Charcuterie Board Vegan
With the many ingredient choices in the grocery store these days, creating an entirely dairy-free or vegan charcuterie board isn't so far-fetched. The great thing is that many of the ingredients used for a board are already vegan-friendly (i.e. nuts, dried fruit, fruit, seeds, veggies, that sort of thing.
For the more specialty ingredients like jams, cheeses, breads, crackers, etc.---just ensure that they are vegan-friendly. There are so many types of vegan cheeses in different shapes & sizes from some of my faves like Violife, So Delicious Dairy-Free, Treeline, Kite Hill, Follow Your Heart, and a few others.
Instead of using honey, be sure to use an alternative like maple syrup, date syrup, etc. Meats can be subbed with plant-based meats or meatballs or just additional veggies and fruits. Other things like hummus, pesto + guacamole are vegan-friendly are great fillers also.
What is Typically on a Charcuterie Board?
As I've stated in the recipe card, your charcuterie ideas can consist of any of your favorite ingredients, however, for a general rule of thumb here are a few different options:
- A variety of cheeses
- Cured meats
- Fresh fruit
- Dried fruit
- Crackers
- Breads
- Nuts
- Seeds
- Preserves (jelly or jam)
- Olives, etc.
Of course, it just depends on how fancy you'd like to get with your charcuterie ideas or cheese board. I definitely recommend planning your list ahead of time, writing the ingredients needed down, and then going to the grocery for those items to avoid re-visits.
PICK YOUR THEME
As you're filling in your ingredients for your Charcuterie board, be sure to pick the perfect theme and "feel" that you hope to bring. Let your props and other accessories tie in with that theme (i.e. cheese knives, bowls, plates to board color coordination) so that everything becomes a compliment.
Understand the colors needed for your theme----whether it's bright colors and Springy/Summery or more darker, bold colors for the Fall/Winter; understand which direction that you'd like to take this.
Once decided, you can even add extra touches things like flowers, plant leaves, fresh herbs (rosemary, thyme, sage, etc.), cloth napkins, holiday decor ----you name it. This all brings the complete look together.

How to Make a Small Charcuterie Board or For Two?
Making a smaller charcuterie board or one that only serves two people is super easy! Again, it goes back to the size of your board, which in this case would make sense to have a small one. Once you've chosen your board, simply purchase a small quantity of all of the ingredients you'd like to use and layout things out in the same and steps as a larger one.
In this case, I definitely recommend not having more than two different options for each ingredient type (i.e. two types of cheese, meats, crackers, fruit, etc.) to avoid over-crowding or running out of space.
The Best Cheeses to Use
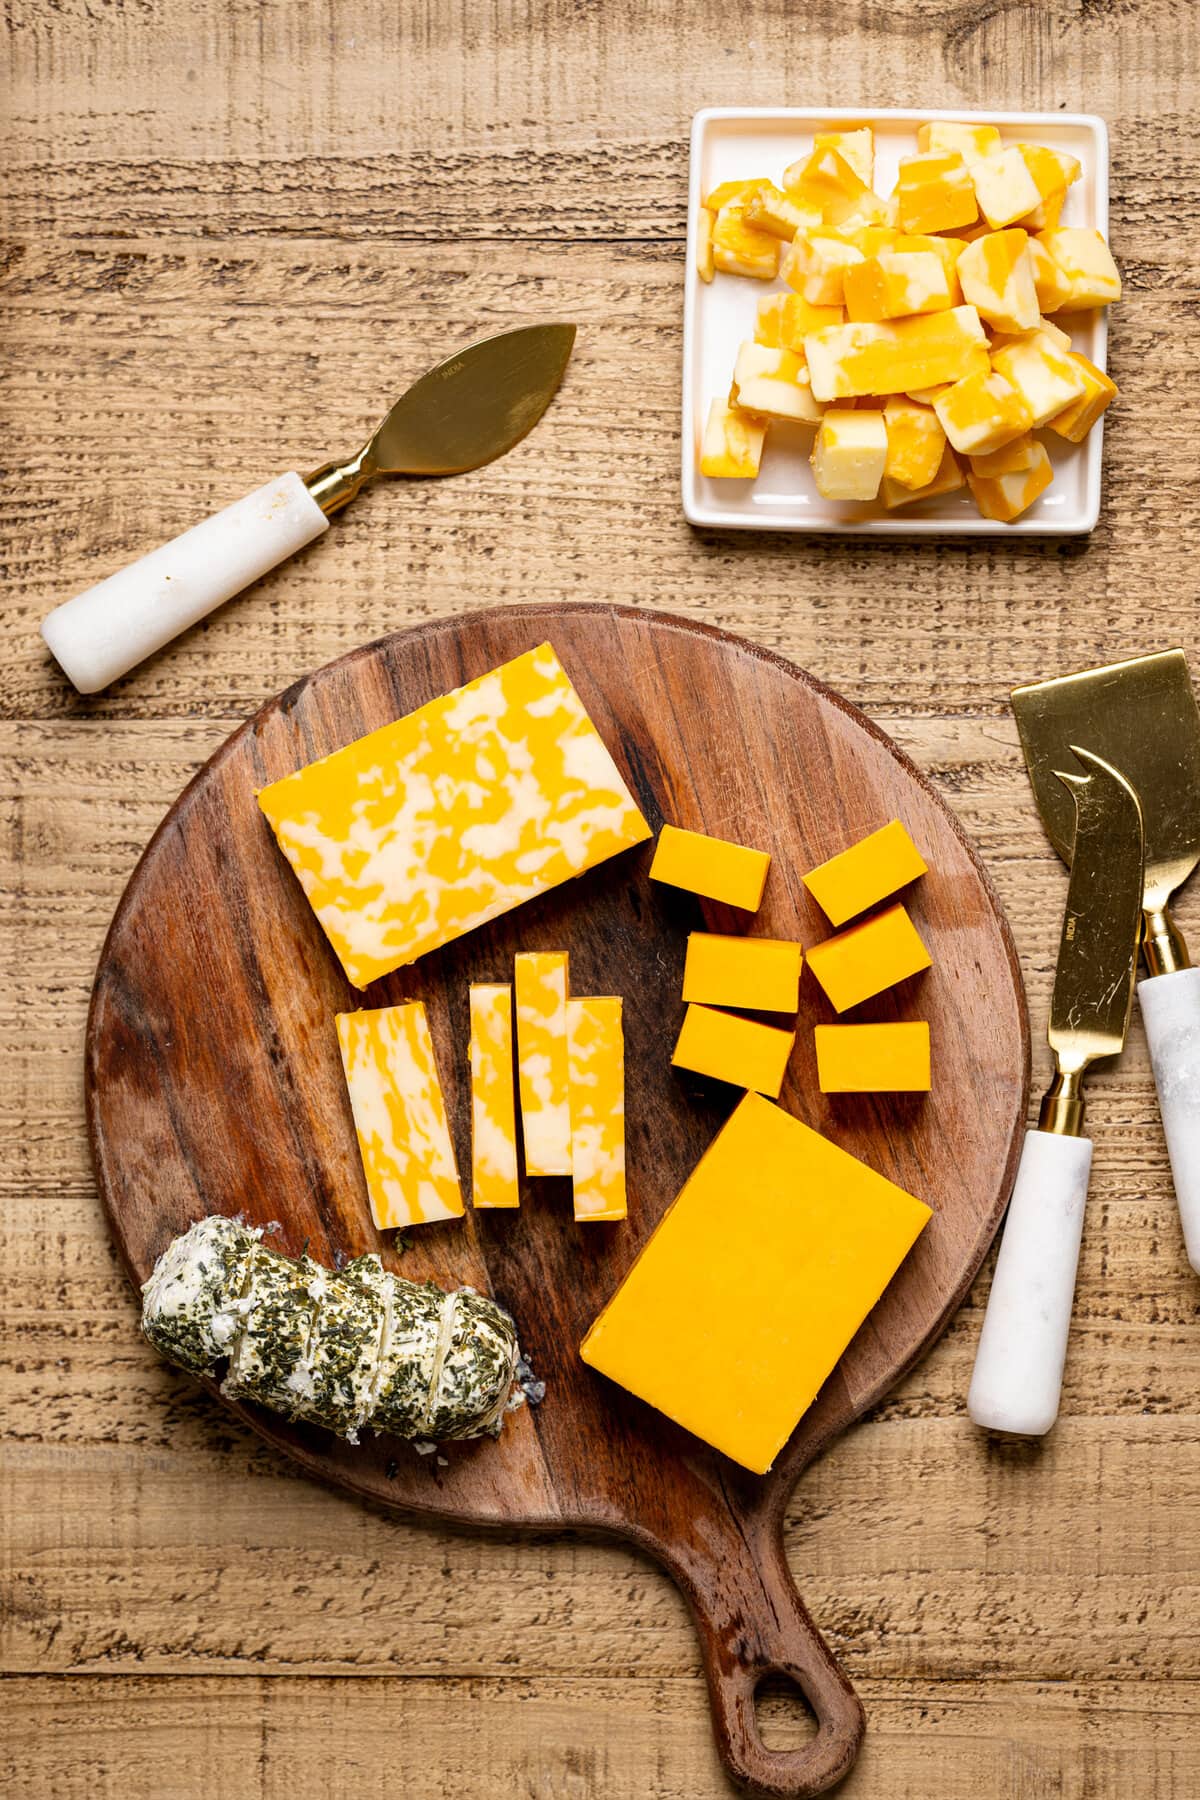
First things first-----the cheese. Personally, love to use different flavors and textures of cheese when it comes to decorating my charcuterie or cheese board. You can choose your favorite flavor or variation and slice them and/or add them as a whole brick onto the board.
There aren't any cheeses that you can't add necessarily, however, my rule of thumb is when creating a decent size board, always have roughly 4 or so different varieties of cheeses. For my board, I used goat cheese, Colby jack, sharp cheddar, and parmesan. In addition, you can also use ones like gouda, mozzarella, blue cheese, romano, brie, etc.
What Kind of Meats to Use
The same notion goes for the meat as it relates to introducing a variety. Of course, if you aren't a fan of meats like pepperoni, salami, prosciutto, and so on----no worries! I've literally been extra creative with my charcuterie boards by adding other meats like different flavored chicken wings, appetizer meatballs, cauliflower bites, candied bacon, cocktail sized seafood like shrimp, etc.
The sky is the limit and honestly, the best board comes from your own personal preference and tase buds.
As for the fancy way of adding your meats to your board, there are so many ways to do so. You can either do a beautiful "meat rose", quarterfold, half-fold, or just plain flat. It all depends on how you'd like your board to appear visually.
Best Fruit to Add
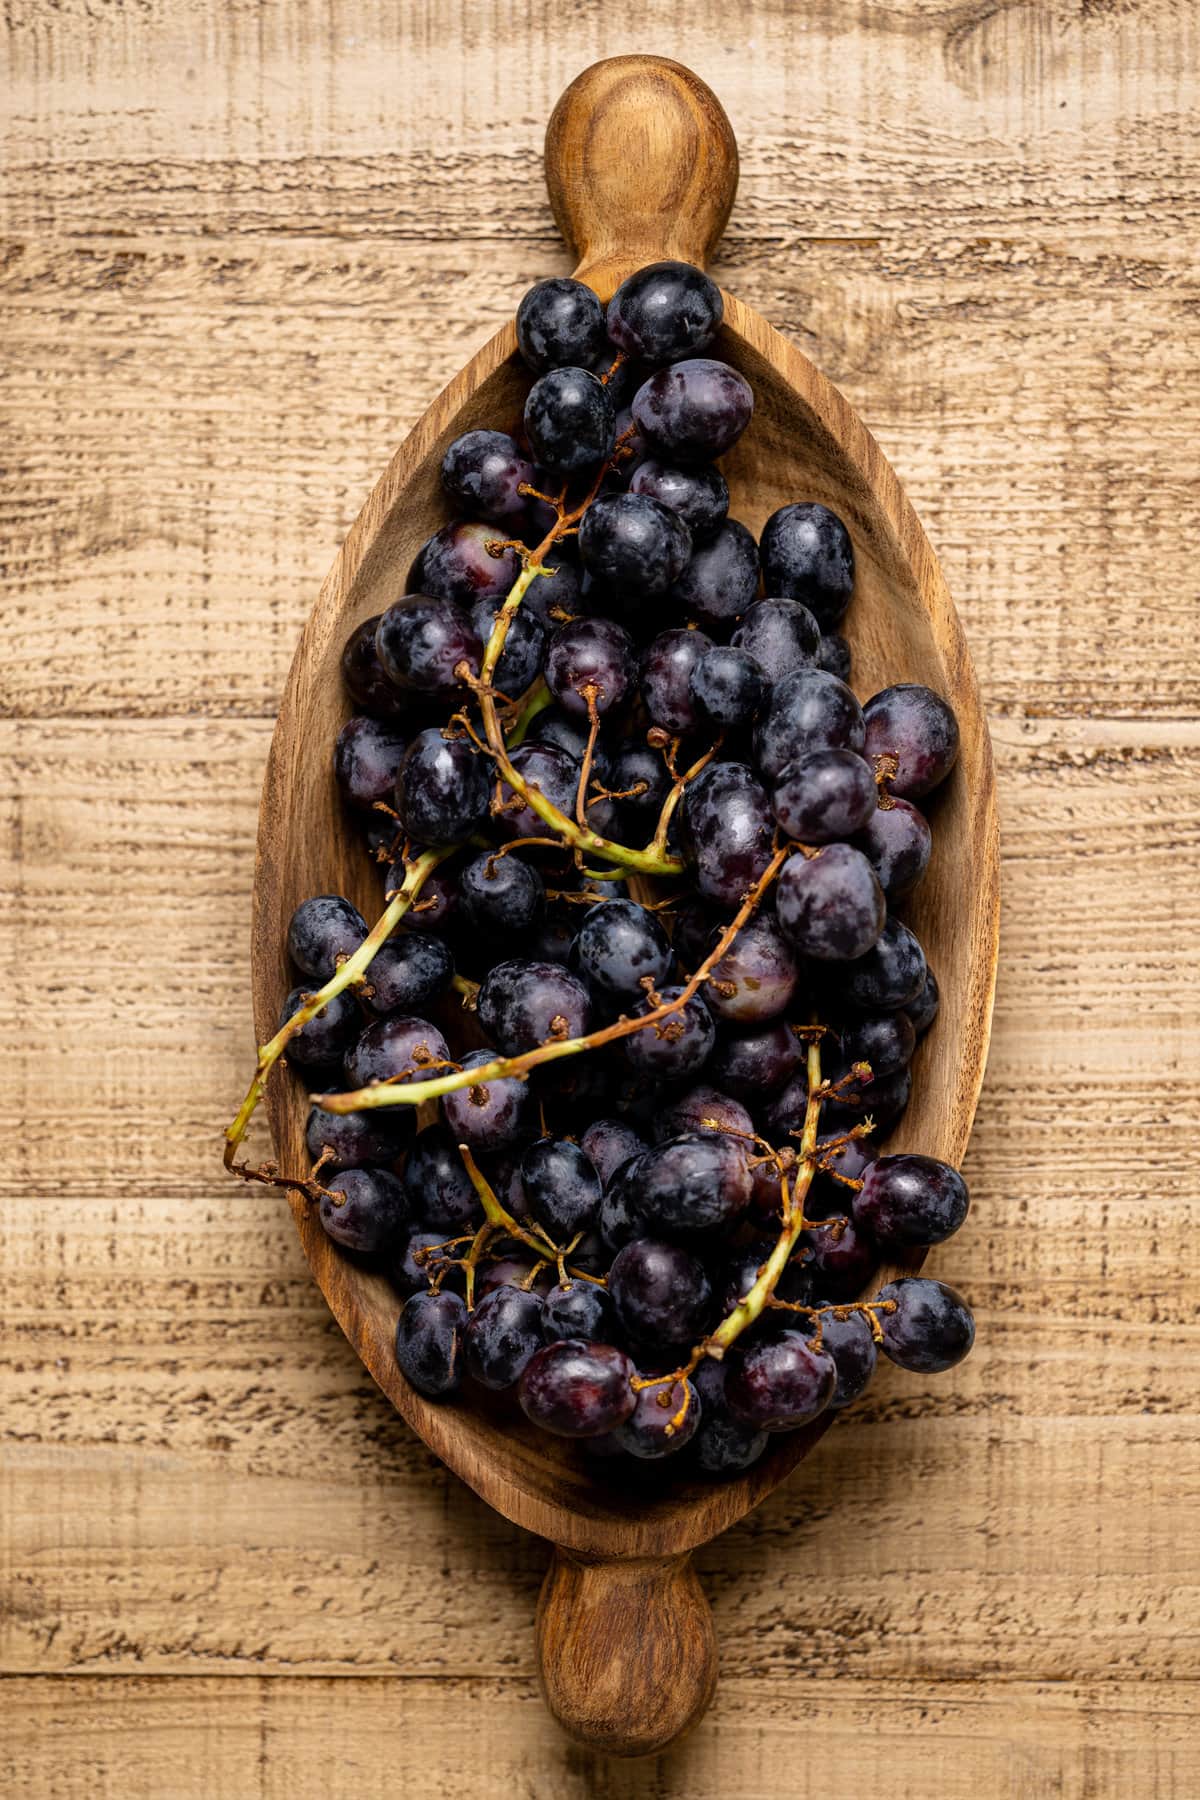
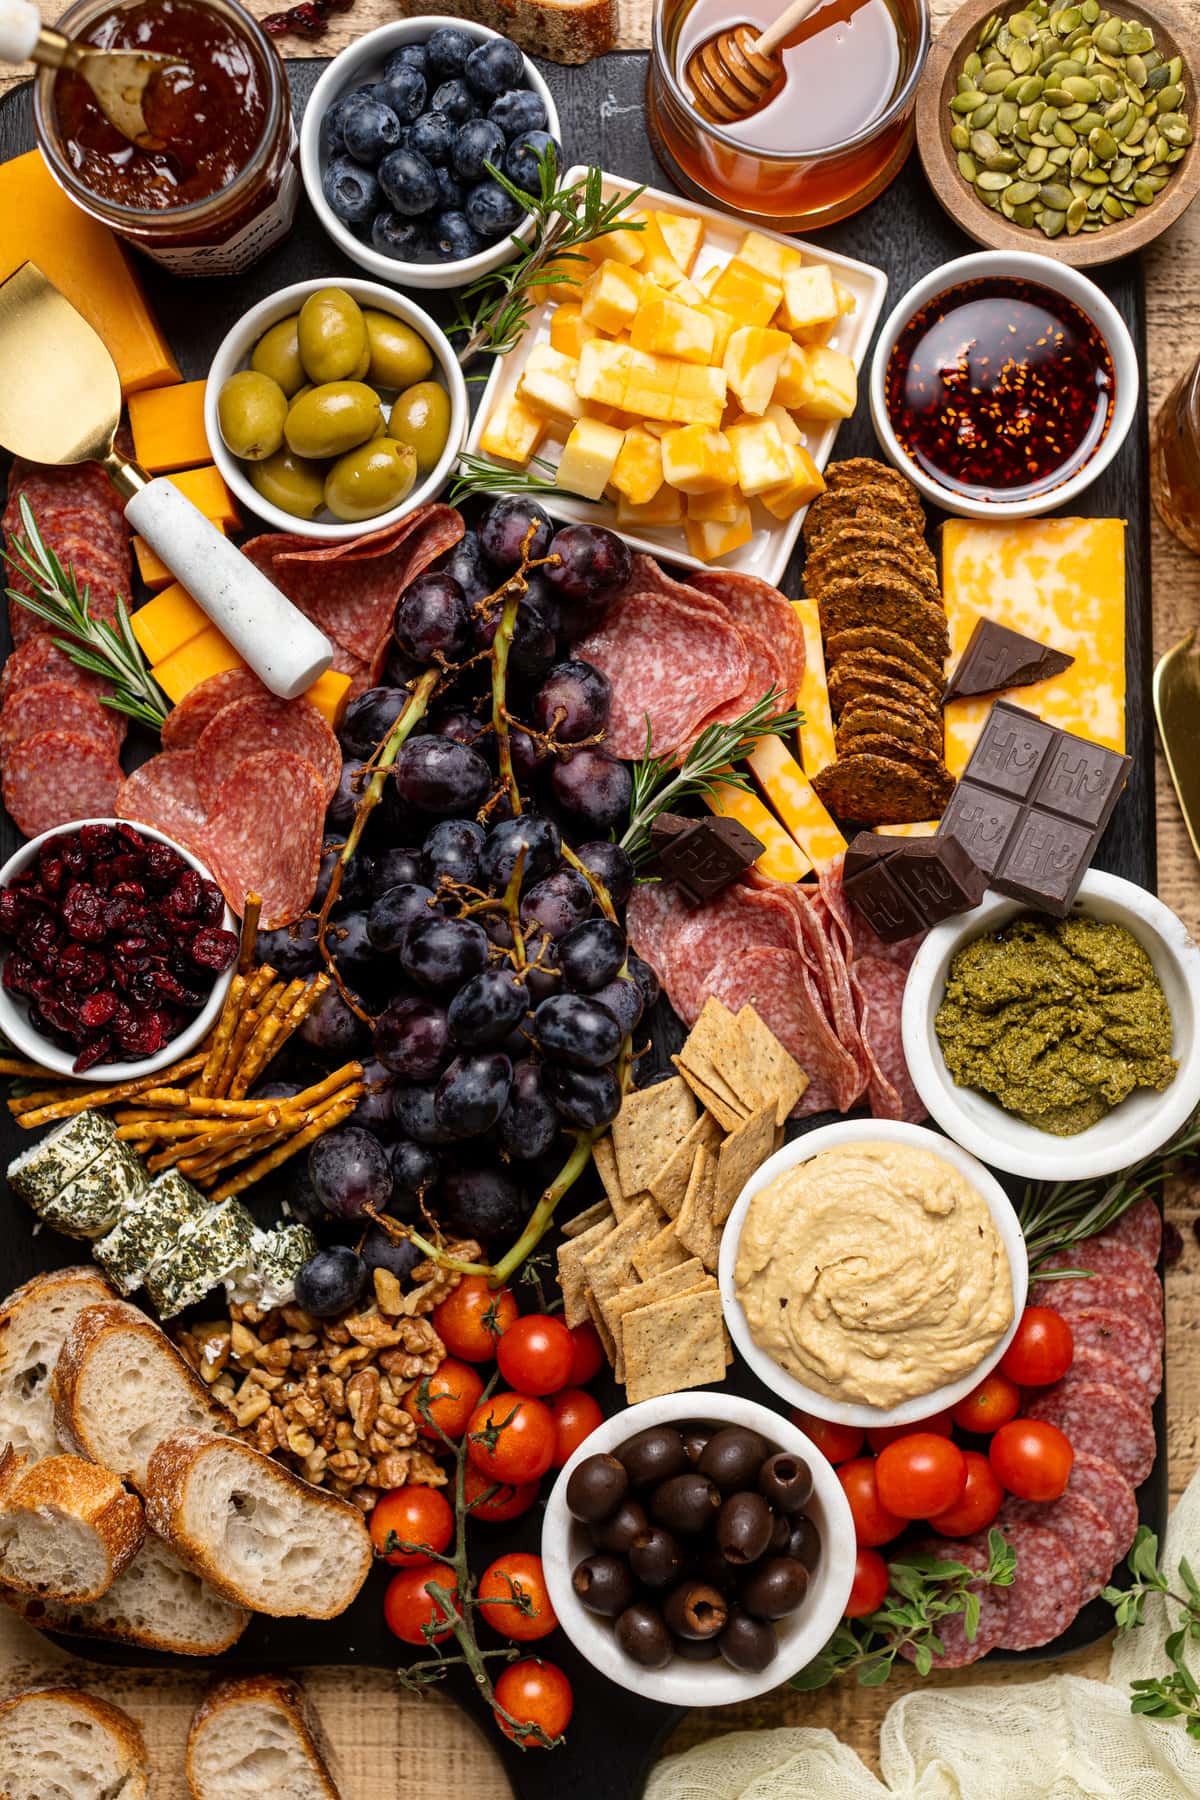
Another great ingredient to use for your charcuterie or cheese board is the fruit. I love using an array of seasonal fresh fruits like oranges, kiwis, strawberries, blueberries, blackberries, grapes, raspberries, and so on. It just depends again on your preference and which fruits are in season.
You can definitely slice them up or keep them whole or both for a nice look.
Fill in the Spaces with Seeds, Dried Fruit, Nuts, and More
Depending on how large your board is, you might have a lot of space to fill in once your mains like the cheese, meat, and fruit are on the board. This is where adding your favorite nuts, dried fruit, seeds, jams, honey, sauces, etc. So easy!
What Crackers Should I Use?
Just like many of the other ingredients, I'm definitely a believer in personal preference. I like to choose crackers on the healthier side and of different shapes and colors. In my board, I chose superseded crackers by Mary's Gone and my fave sweet + spicy crackers.
If you're not that much into crackers or just want something different, I would recommend adding sliced French bread to make crostinis with or any of the following:
- Tortilla chips
- Kale chips
- Roasted chickpeas
- Popcorn
- Cucumber or carrot slices
- Granola
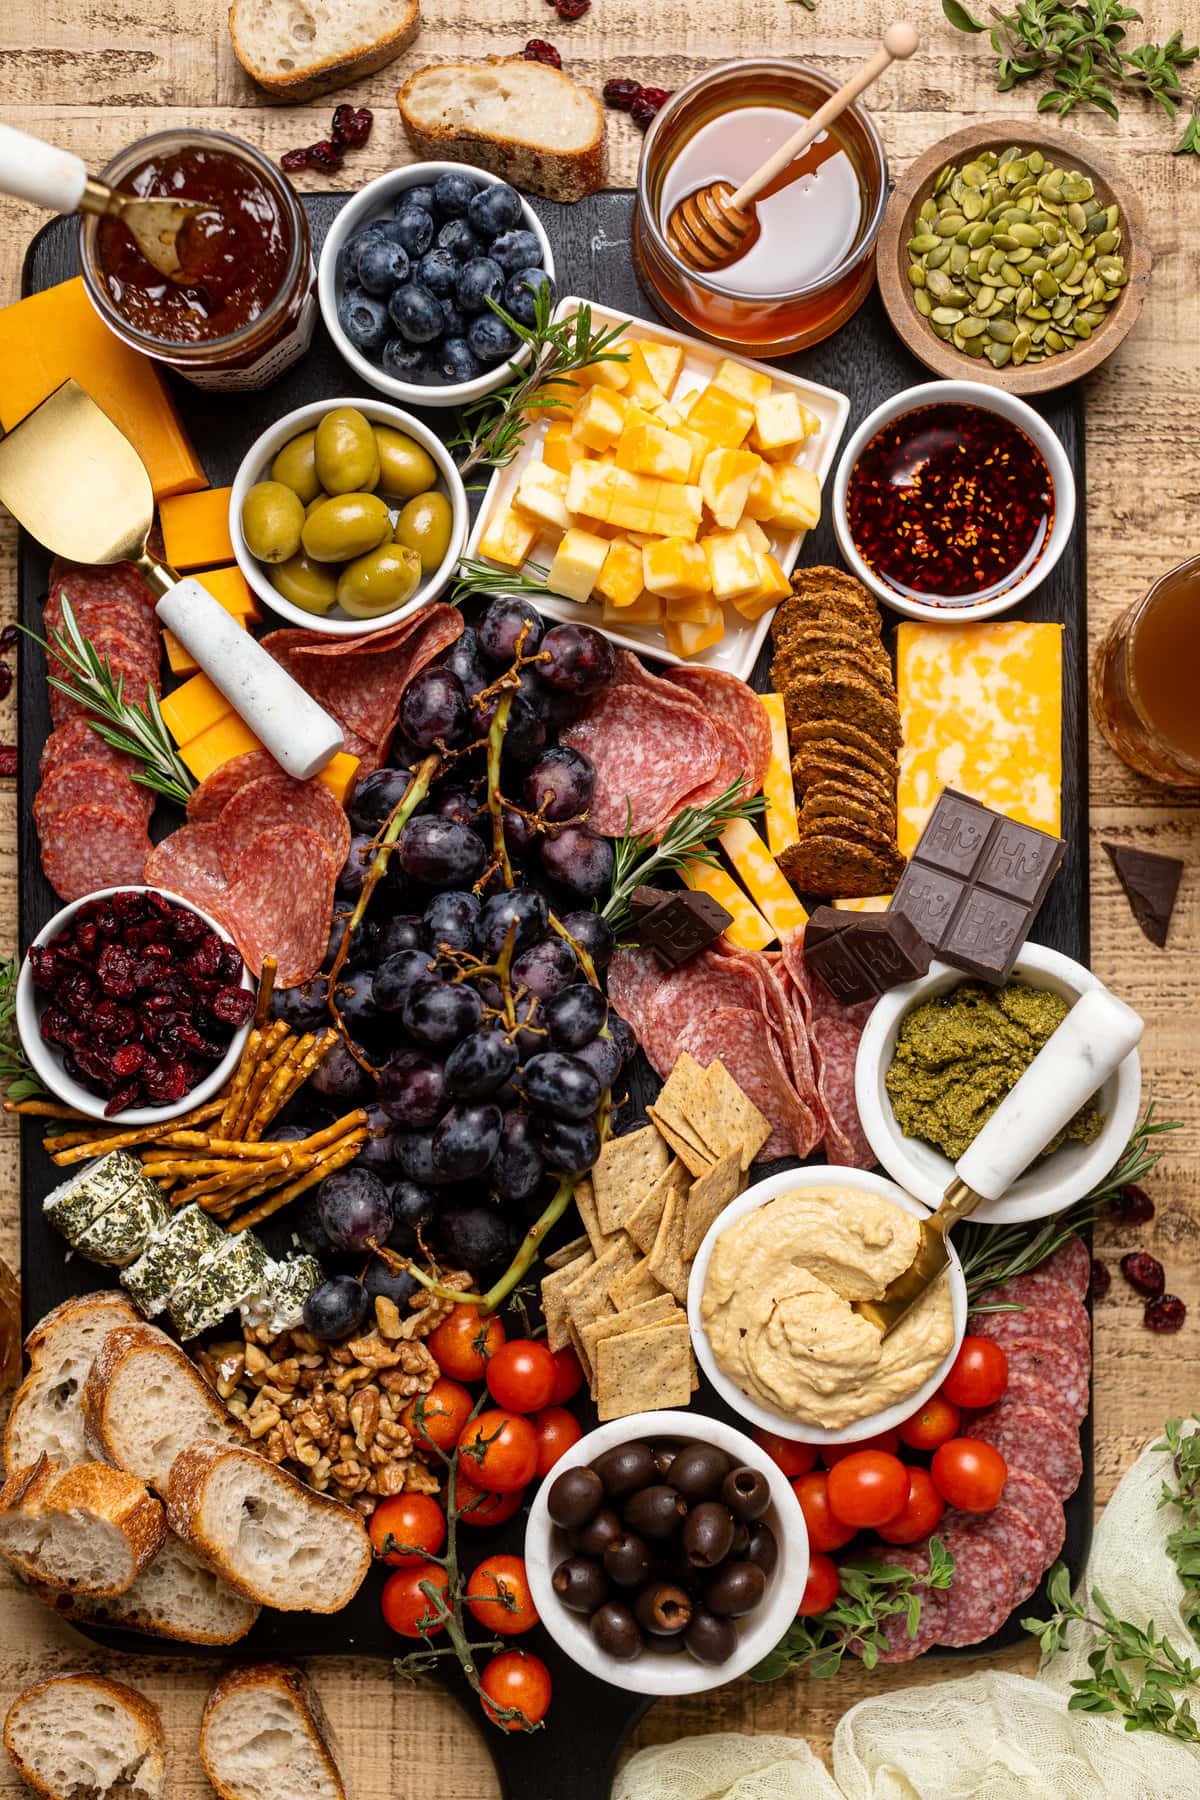
Again, the best charcuterie board will only be possible once you only add YOUR FAVORITE things to eat. Because after it's all beautiful, you want to be able to enjoy the things on it---right? Exactly.
So, regardless of whether you're making the perfect charcuterie or cheese board "just because", for a special occasion, the holidays, or date night ----you'll be able to achieve the best version with these tips and steps.
Don't Forget the Drinks!
Of course, you have to serve the best drink(s) with your beautiful hand-held eats and if you're looking for something a bit more fun than wine or you're in need of an alcohol-free drink, then I have you covered with the Mocktails. Just remember that you can add alcohol if you'd like! Here are a few of my top faves:
- Hot Honey Peach Margarita Mocktail
- Pineapple Guava Kombucha Lemonade
- Dragonfruit Pineapple Smash Mocktail
- Watermelon Margarita Mocktail
- Orange Marmalade Ginger Beer Mocktail
That's A Wrap!
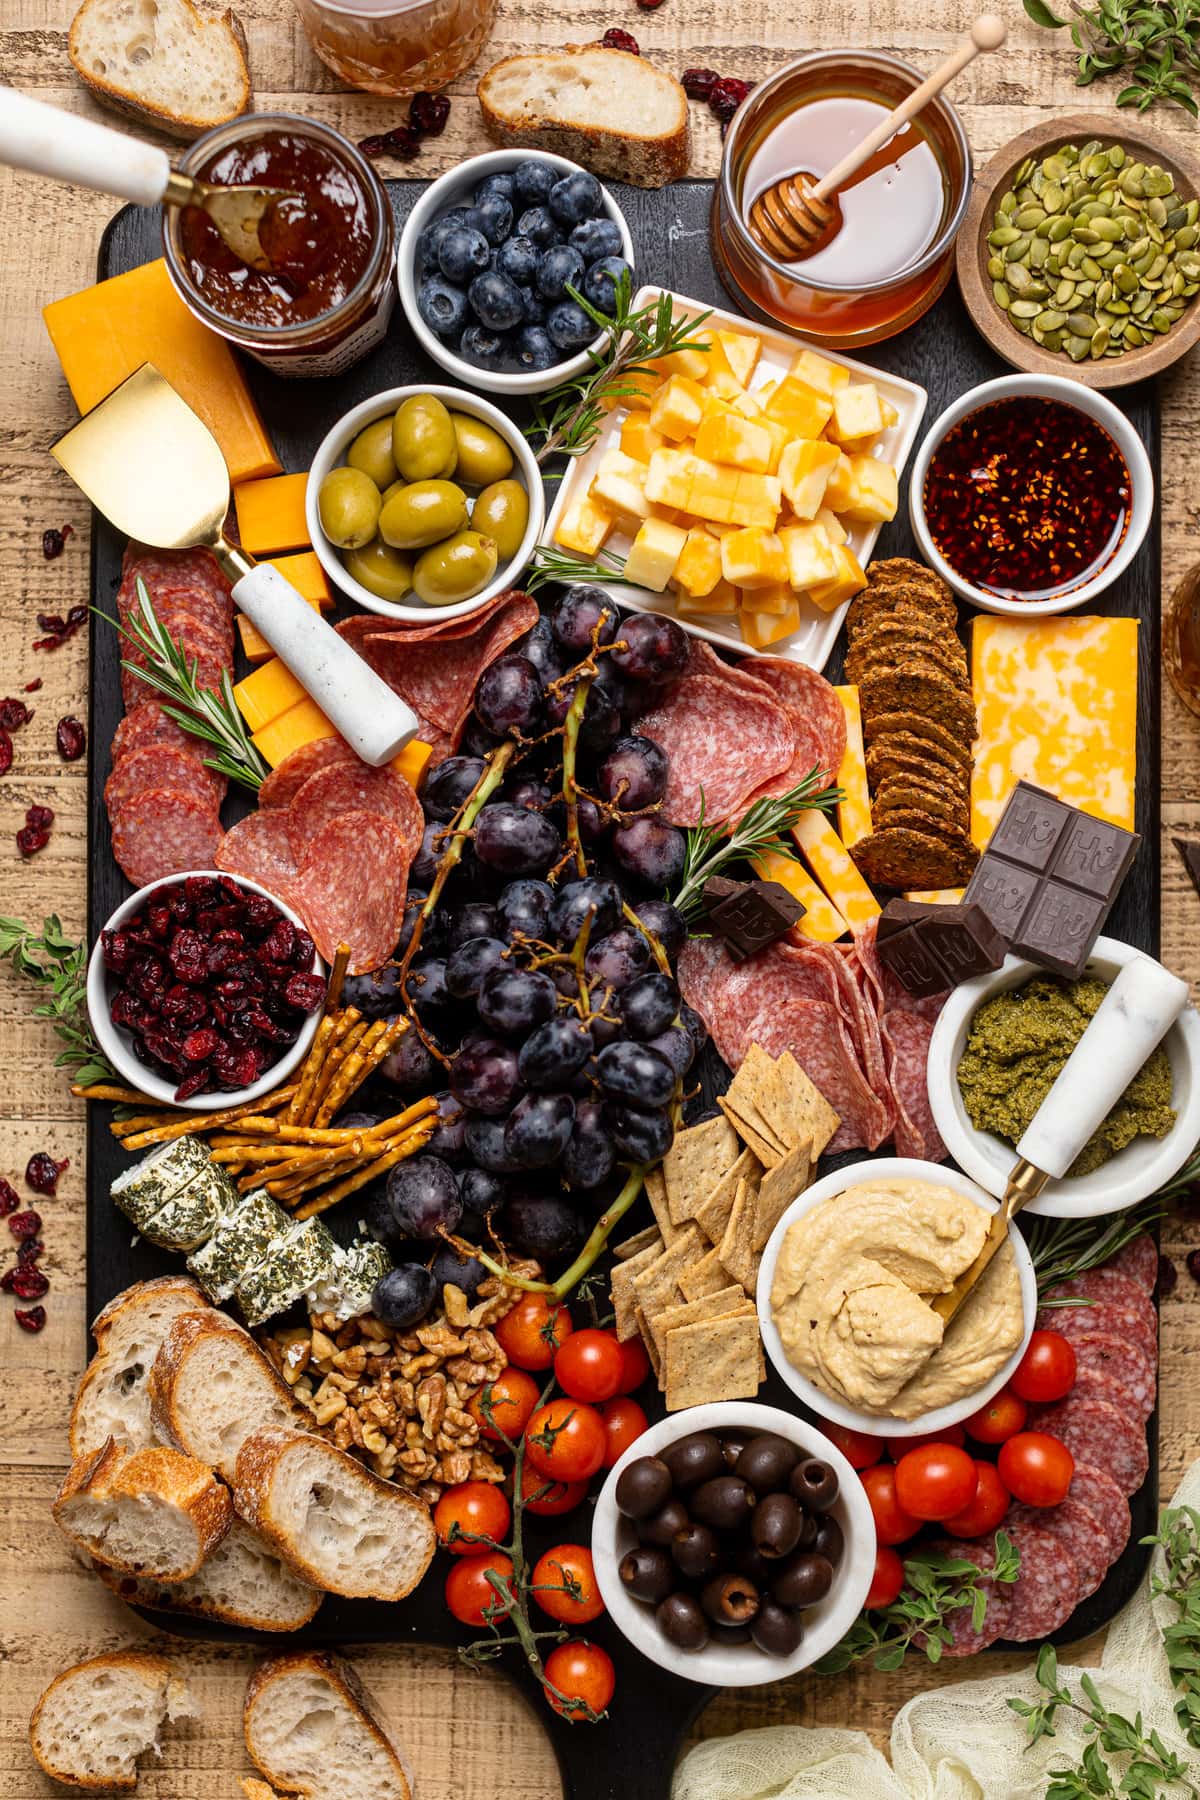
And there you have it! If you're craving more recipe inspiration, feel free to explore my appetizers + snacks categories! I hope you enjoyed this guide on How To Make the Best Charcuterie Board and it gives you some new ideas!
Appetizer Recipes To Inspire You
Sometimes, all you need is a scroll through for a little food inspiration, and that's exactly what these recipes are here for!
- My Fave Easy Classic Bruschetta
- Healthy Green Goddess Salad Dip
- Crispy Baked Sticky Orange Cauliflower Bites
- Whipped Pesto Feta Dip
- Gluten-Free Cheddar Bay Biscuits
- Crispy Vegan Ranch Popcorn Cauliflower Bites
MADE OUR RECIPE(S)?
If you tried any recipes from How To Make the Best Charcuterie Board or any other recipes on my website, please please leave a 🌟 star rating and let me know how you go in the 📝 comments below. And don't forget to tag @orchidsnsweettea_ on Instagram and hashtag it #orchidsandsweettea! I love hearing from you!

How To Make the Best Charcuterie Board
Ingredients
CHEESES:
- Goat cheese
- Colby jack cheese
- Sharp cheddar cheese
- Parmesan cheese
CRACKERS:
- Superseed crackers
- Rosemary & Sea Salt crackers
- Pretzel sticks
MEAT:
- Calabrese salame
- Genoa salame
- Italian dry salame
- Sopressata salame
OTHERS:
- 1 bottle Olives (Black or green work!)
- handful cherry tomatoes (Roasted or not)
- dried cranberries
- chopped nuts (pecans, walnuts, etc.)
- Seeds (pumpkin seeds, etc.)
- Hummus
- Preserves or Jams (Any flavor works!)
- Chili crunch, optional (It's a paste-like sauce similar to pesto)
- Grapes (black, red, or green based on preference)
- Pesto
- sliced french bread
- Other fruit (blueberries, raspberries, blackberries, strawberries, etc.)
- Raw honey, organic
- Chocolate bars, chopped or whole
Instructions
- To start, select your board size, which will give you the best idea of how much ingredients to purchase for your charcuterie board.
TO MAKE THE CHARCUTERIE BOARD:
- Place your cheeses around the board with a couple cheese knives. Next, add a few small plates and bowls in vacant spaces to help guide you in styling your board. NOTE: I like to space out my plates and bowls or group them a bit based on similarity.
- Now, start adding the meat unto the board by slightly folding some, leaving some flat, and fanning out others to help create visual variety.
- Add some berries, hummus or other dips, and seeds to the bowls and plates that you've placed on the board. You can also add olives and a few cheeses (that are cubed) as well.
- At this point, you'll begin to fill in any spaces on the board with crackers, seeds, nuts, pretzels, chocolate, french bread slices, etc.
- Be sure to add any honey, preserves/jam, pesto, etc. to also fill in a few spaces, mostly around the bread or crackers.
- NOTE: The ingredients that I chose were based on preference. Please feel free to choose your most favorite ingredients and have fun!
- Bon Appetit!
Tips & Tricks
- TIPS + BOARD IDEAS: To see tips and other ideas for assembling the perfect board, be sure to check out the information within the post!
- MAKE AHEAD: You can always prep + and make your ingredients ahead of time. be sure to check out the post for details.
- EQUIPMENT: Here, I’ve curated a list of Charcuterie Board Must-Haves that I use to achieve the best charcuterie experience. Everything from my fave boards, cheese knives, honey pots, prep bowls, cheese labels, and more.SEE THEM HERE!
- ROASTED TOMATOES: If you're thinking of adding tomatoes to your board and would love to roast them for an enhanced flavor profile, check out my Herb Roasted Tomatoes recipe.
DID YOU MAKE THIS recipe?
Tag @orchidsnsweettea_ on Instagram and hashtag it #orchidsandsweettea


LOVE THIS RECIPE?
LET US KNOW!