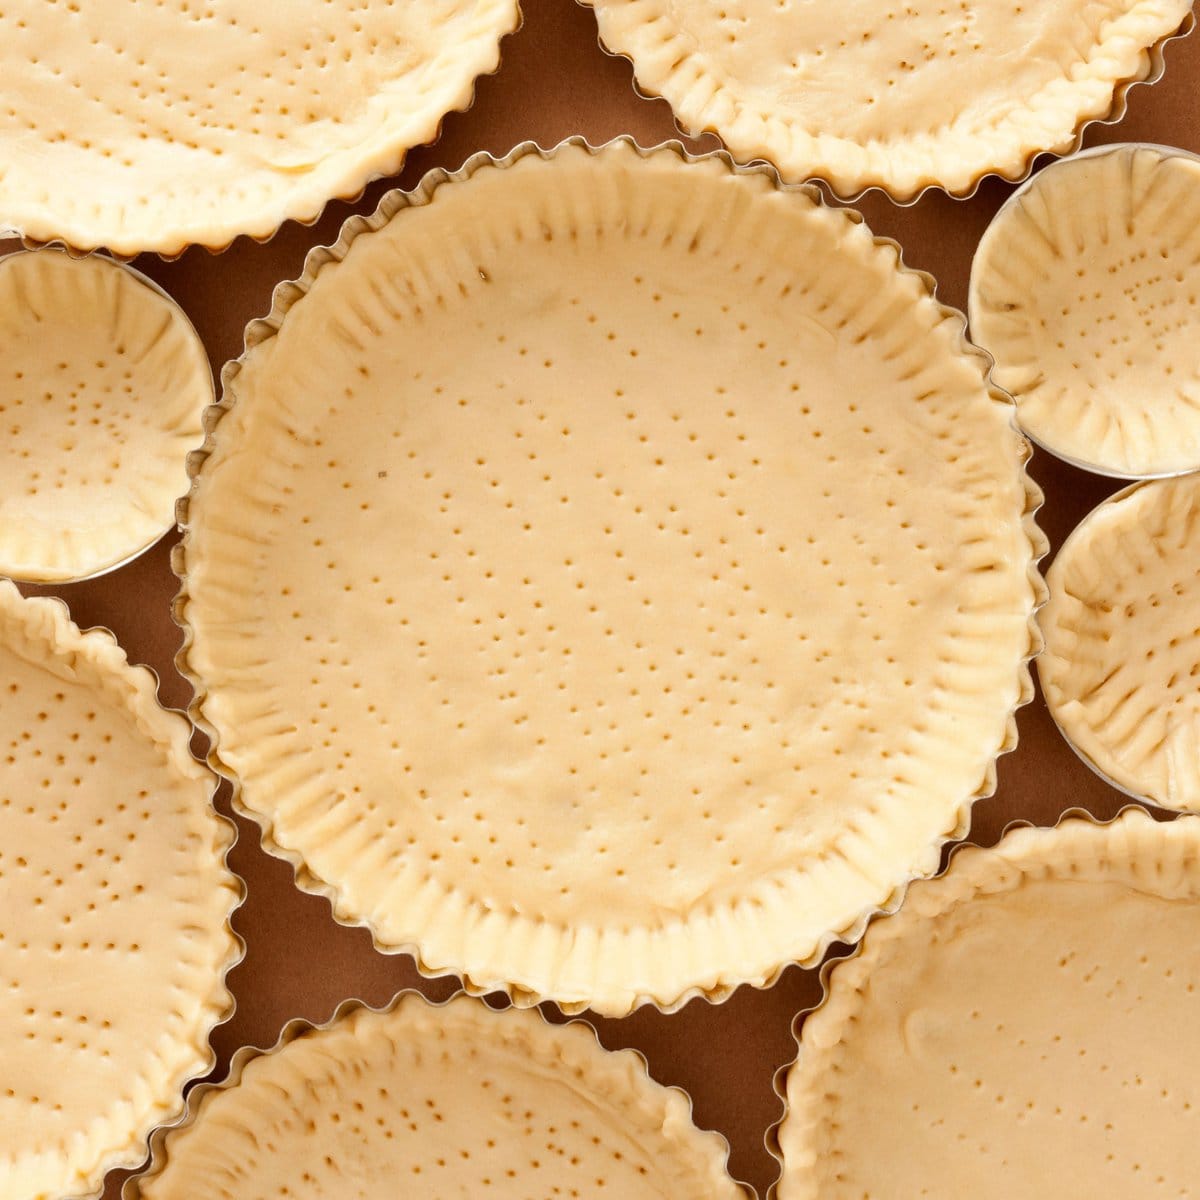
How to Make the Perfect Pie Crust
DISCLAIMER: This post may contain affiliate links, which means that I make a small commission off items you purchase at no additional cost to you. Please read my policy page!
How to Make the Perfect Pie Crust
When it comes to pies, nothing says comfort quite like a flaky, golden-brown crust, and learning How to Make The Perfect Pie Crust can elevate any dessert. Whether you're filling it with apples, pumpkin, or chocolate cream, the secret to an unforgettable pie starts with a well-made crust. Let’s break down the essentials to help you create that perfect crust every time! Gluten-free Option.
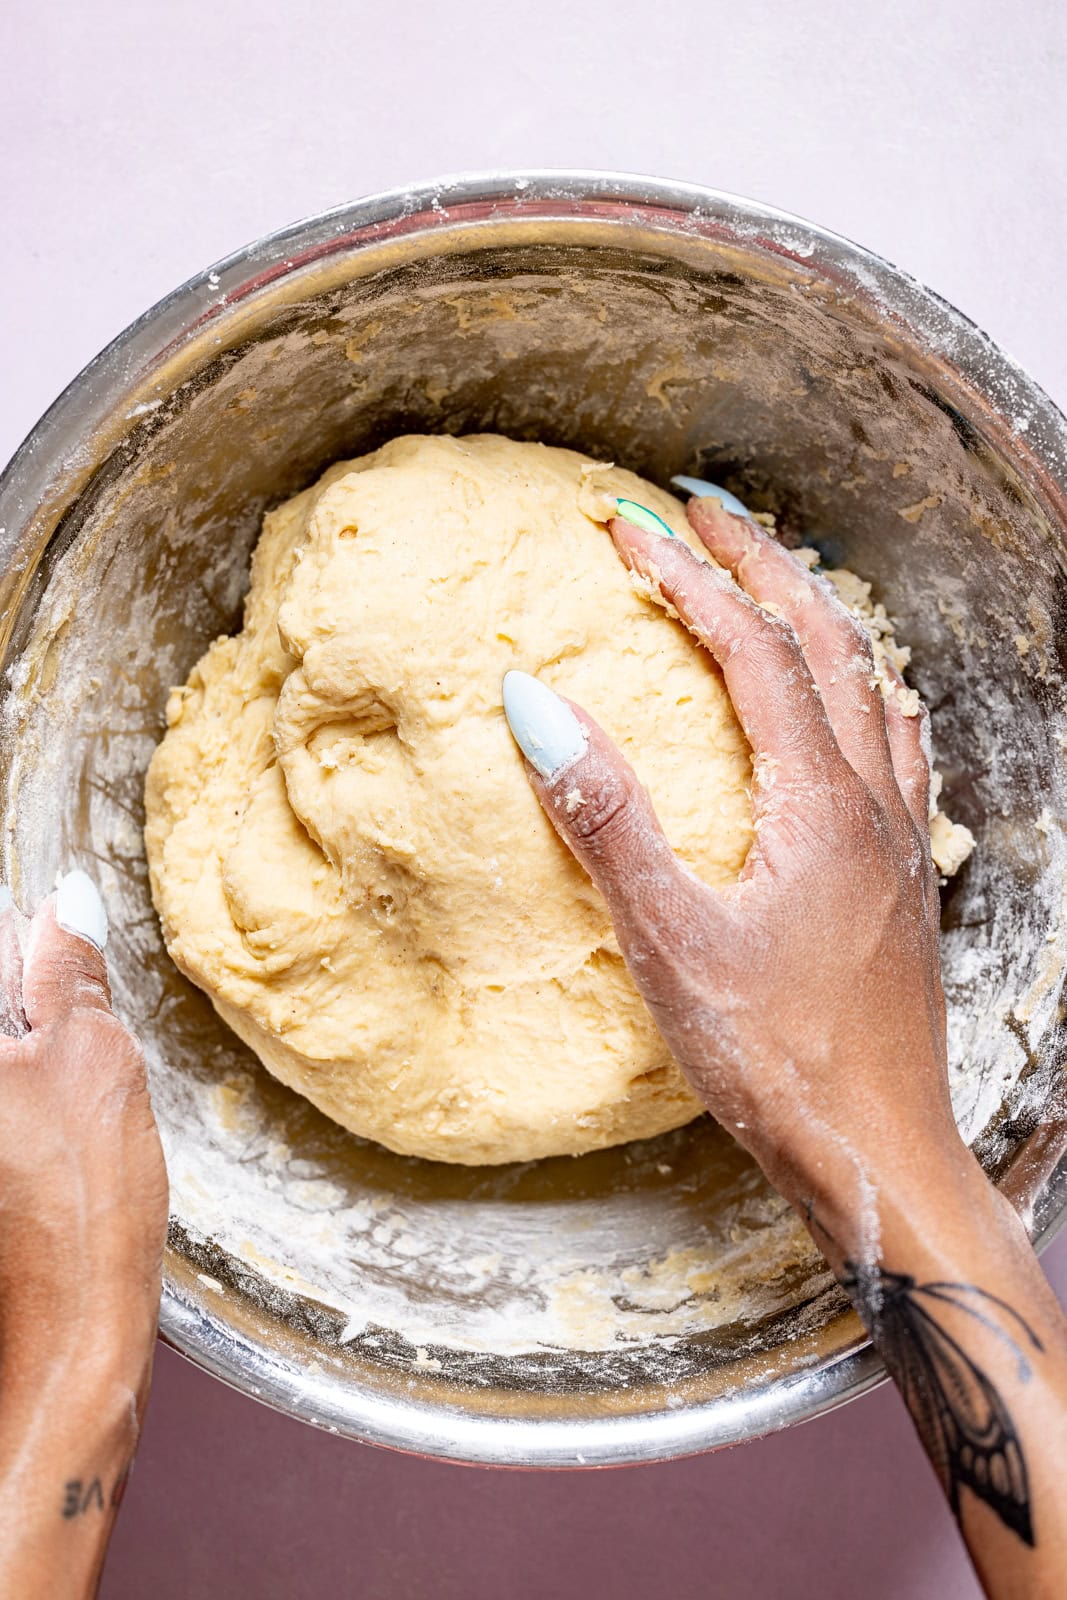
It’s officially pie season, y’all, and I couldn't be more excited! We’re talking pumpkin, apple, blueberry, sweet potato, pecan pie—you name it! And the secret to making each pie truly unforgettable? A wonderfully flaky crust that melts in your mouth. Let’s dive into How to Make the Perfect Pie Crust so you can impress your friends and family this baking season!
Jump to:
- What Makes For A Perfect Pie Crust?
- Ingredients for a Perfect Pie Crust
- 5 Tips For The Perfect Pie Crust
- Why is Cold Butter Important?
- How Do I Know When My Dough is Ready?
- How Long Should I Chill the Dough?
- How Can I Prevent My Pie Crust from Shrinking?
- Should I Use a Food Processor or My Hands?
- What’s the Best Way to Roll Out My Dough?
- How Do I Transfer My Dough to the Pie Pan?
- What Should I Do if My Crust is Too Dry?
- Should I Blind Bake My Crust?
- How Can I Tell When My Pie Crust is Done?
- What Are Common Mistakes to Avoid?
- How Do I Store My Pie Crust?
- Can I Make Pie Crust Ahead of Time?
- What’s the Best Way to Flavor My Pie Crust?
- My Favorite Pie Recipes
- DID THIS HELP IN ANY WAY?
- How to Make the Perfect Pie Crust
What Makes For A Perfect Pie Crust?
- A perfect pie crust is flaky and buttery, giving you that melt-in-your-mouth experience.
- It should have a golden-brown color, indicating it’s baked just right.
- The crust needs to be crisp on the outside, with a tender interior that holds its shape beautifully.
- It’s all about that balance of flavors—just the right hint of salt enhances the sweetness of your filling.
- And let’s not forget the aroma! A freshly baked pie crust fills your kitchen with the most inviting scent that screams comfort.
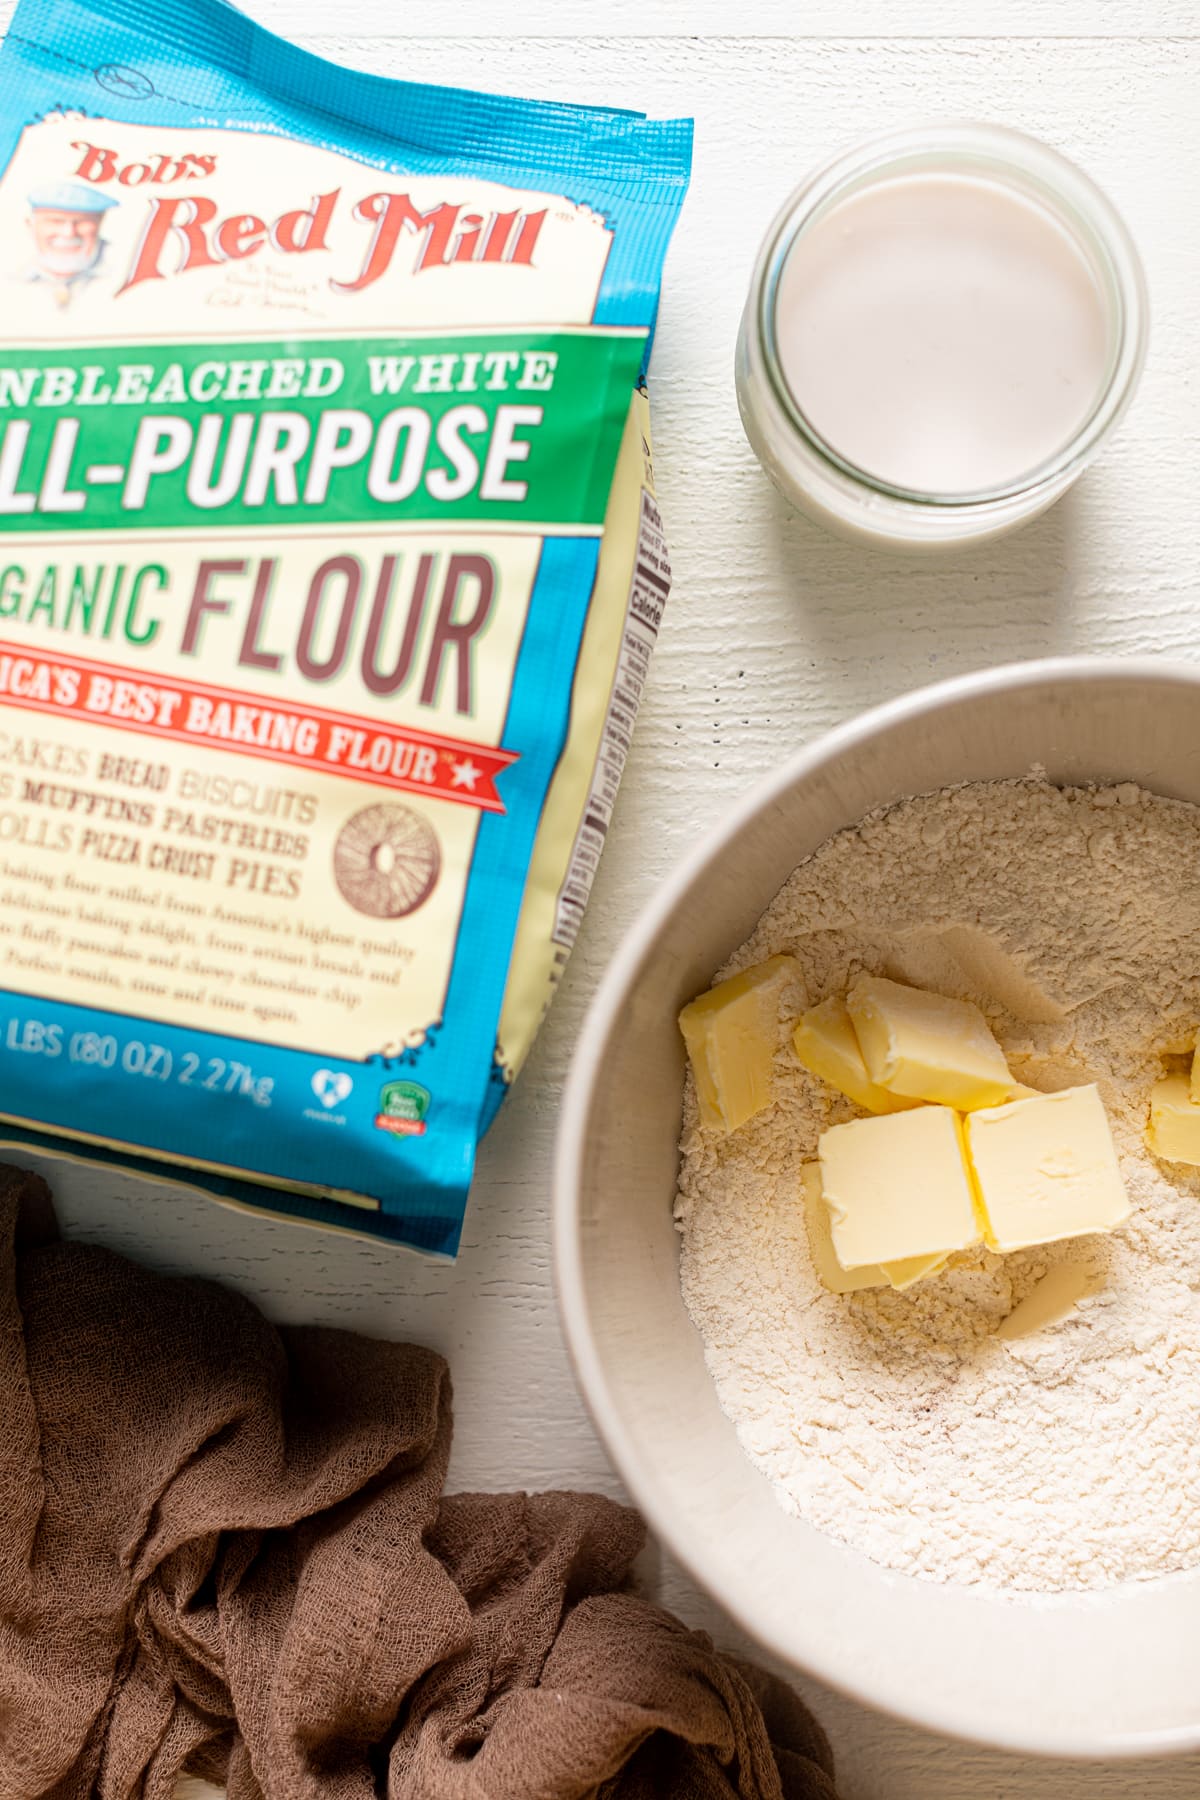
Ingredients for a Perfect Pie Crust
- All-Purpose Flour. Provides structure and serves as the base for your crust, creating a tender yet strong dough. For the gluten-free option, use high-quality GF flour from Bob's Red Mill or King Arthur.
- Butter. Unsalted, cold + cubed. Adds richness and flavor, giving the crust that flaky, layered texture.
- Salt. Enhances the flavors in the crust, making it taste more well-rounded.
- Cold water. Helps bind the dough without overworking, which keeps the crust tender.
- Vinegar (optional). Aids in tenderizing the dough and reduces gluten formation, resulting in a more tender, flaky crust.
SHOP MY FAVORITE BAKEWARE ITEMS AND ACCESSORIES!
Here, I’ve curated a list of bakeware essentials that I use to achieve my favorite baking treats, especially with this Perfect Pie Crust recipe. Everything from my fave, pie molds, mixing bowls, and more. SEE THEM HERE!
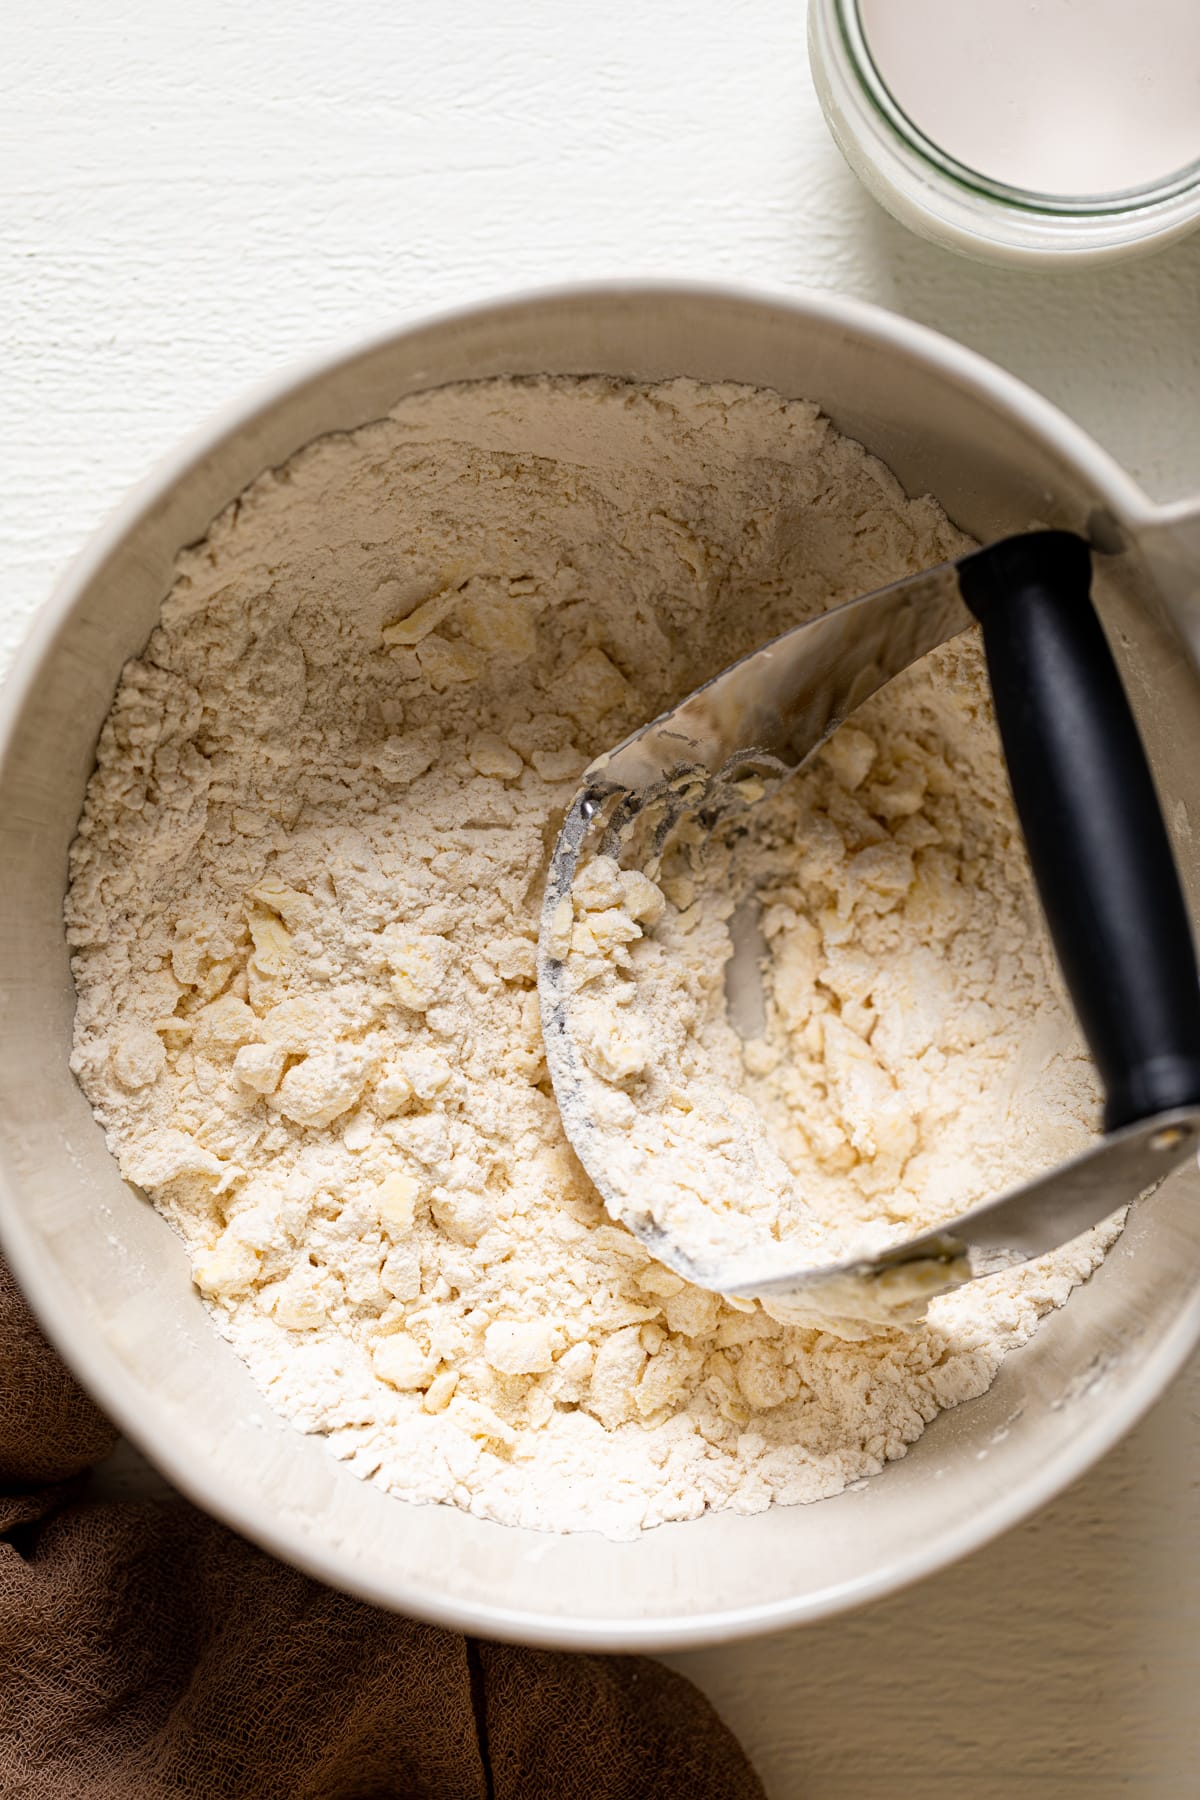
5 Tips For The Perfect Pie Crust
Here are five tips for achieving the best flaky pie crust:
1. Use Cold Ingredients
Keep your butter and water cold. Chilled butter creates steam when baking, leading to that delightful flakiness. Consider chilling your mixing bowl and utensils too for extra precaution.
2. Don’t Overwork the Dough
Mix just until the ingredients are combined. Overworking develops gluten, making the crust tough instead of tender and flaky. Aim for a crumbly texture before forming it into a disk.
3. Rest the Dough
Allow the dough to rest in the fridge for at least 30 minutes before rolling it out. This helps relax the gluten and makes it easier to roll without shrinking.
4. Use a Blend of Fats
For extra flavor and texture, consider using a combination of butter and shortening (or lard). Butter adds a rich flavor while shortening contributes to a tender, flaky texture.
5. Roll Evenly
When rolling out your dough, start from the center and work outward, turning the dough frequently to maintain an even thickness. This ensures the crust bakes evenly and prevents tearing.
Why is Cold Butter Important?
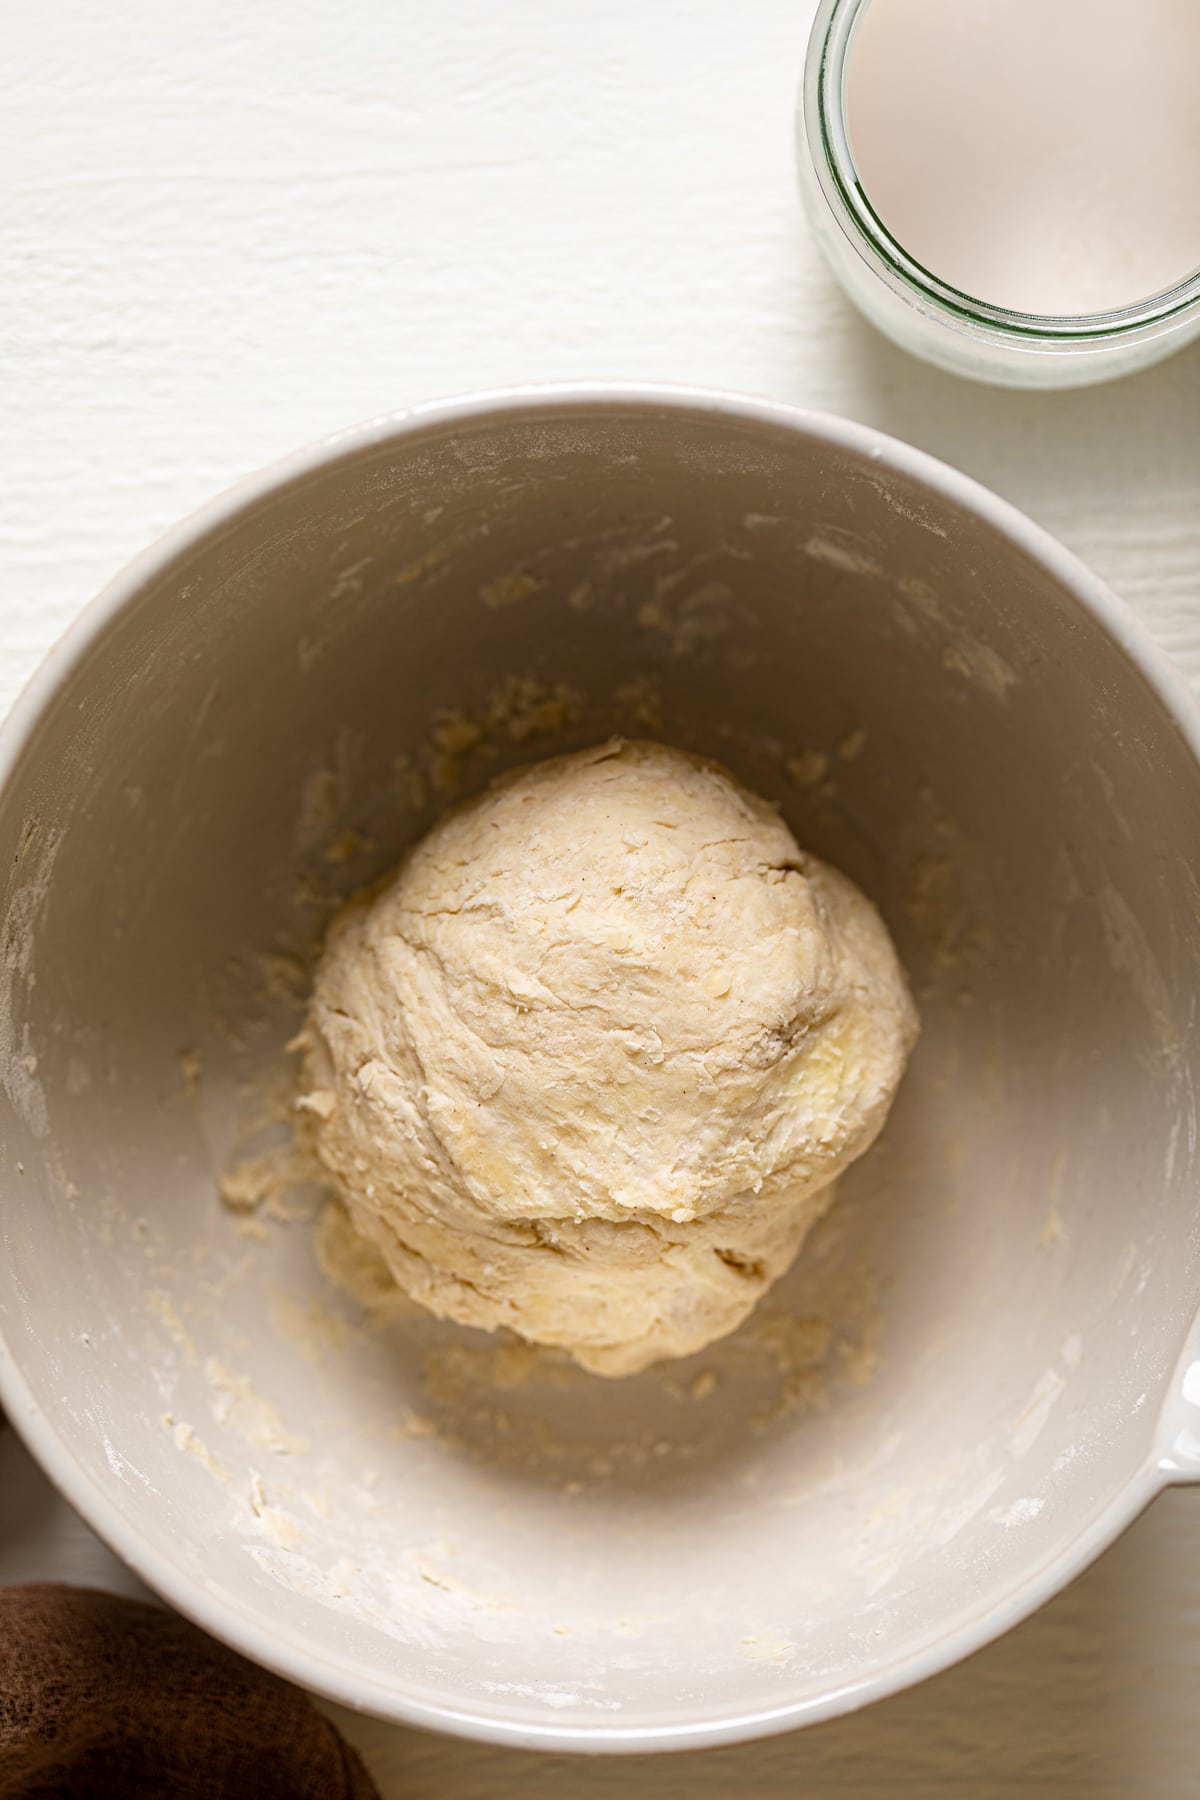
Using VERY cold butter is vital for a flaky crust. When the butter is cold, it remains solid in the dough. As the crust bakes, the water in the butter turns to steam, creating pockets that puff up the dough and lead to flakiness. If the butter is too warm, it can blend too much with the flour, resulting in a tougher, denser crust.
How Do I Know When My Dough is Ready?
A good pie crust dough should come together without being overly sticky or dry. Here’s what to look for:
- Moisture. The dough should hold together when pressed without crumbling.
- Texture. It should have a slightly rough texture due to visible bits of butter, which is ideal for flakiness.
- Form. If the dough can easily form a ball and holds its shape, you’re on the right track.
How Long Should I Chill the Dough?
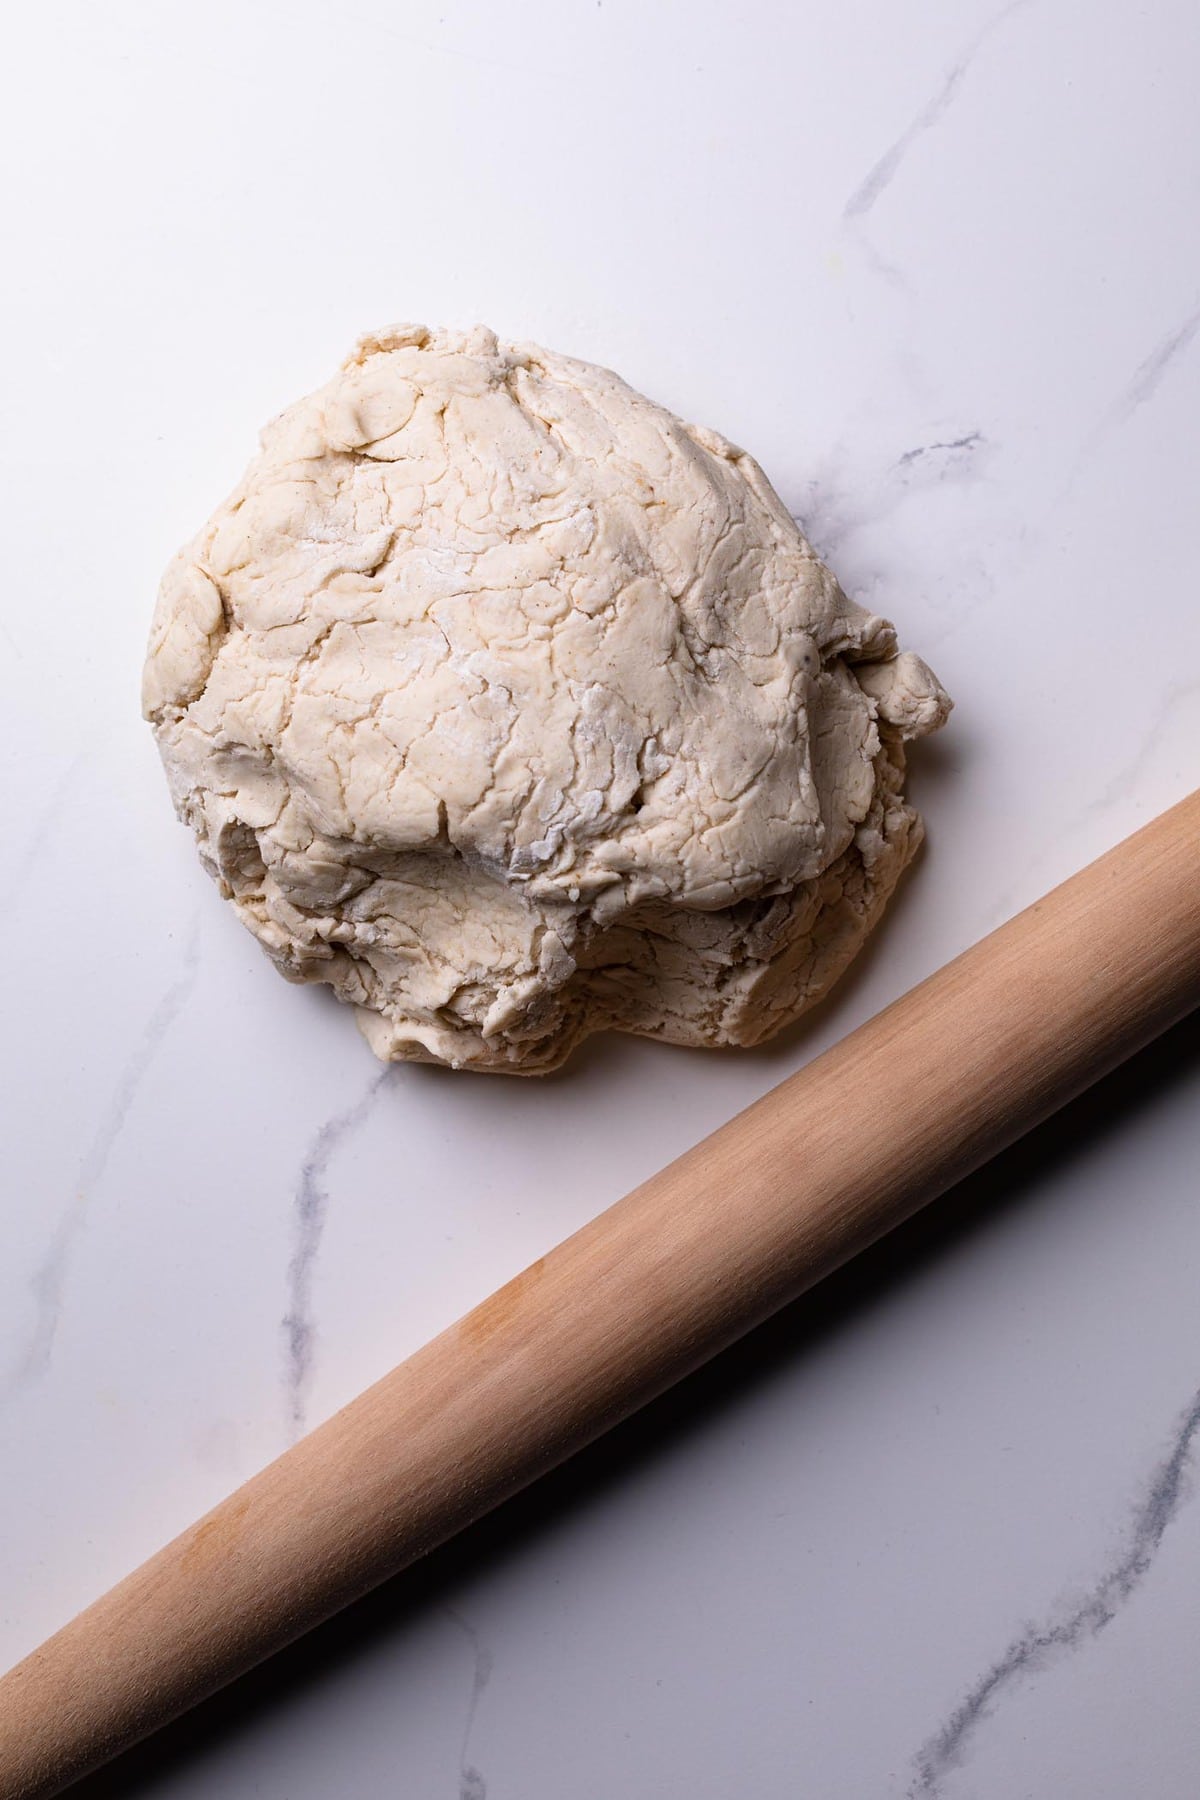
Chilling the dough is essential for two reasons: it helps to relax the gluten (preventing toughness) and keeps the butter cold. Ideally, you should chill your dough for at least 30 minutes in the refrigerator. If you have time, chilling it for 1 to 2 hours is even better. You can also wrap it tightly and freeze it for up to a month for future use!
How Can I Prevent My Pie Crust from Shrinking?
Shrinking crusts can be frustrating, but several factors contribute to this issue:
- Overworking the dough. Too much handling can develop gluten, which causes the dough to shrink as it bakes. Handle the dough as little as possible when mixing and rolling.
- Chilling. Always chill your dough before rolling it out. This helps relax the gluten and firms up the fat, reducing shrinkage.
- Blind baking. If you’re using a filling that doesn’t require baking, consider blind baking your crust to set its shape.
Should I Use a Food Processor or My Hands?
Both methods have their advantages. Using a food processor can save time and effort, allowing you to quickly pulse the ingredients together. However, mixing by hand gives you more control over the texture of the dough and helps ensure that the butter remains cold. Ultimately, it comes down to personal preference and comfort.
What’s the Best Way to Roll Out My Dough?
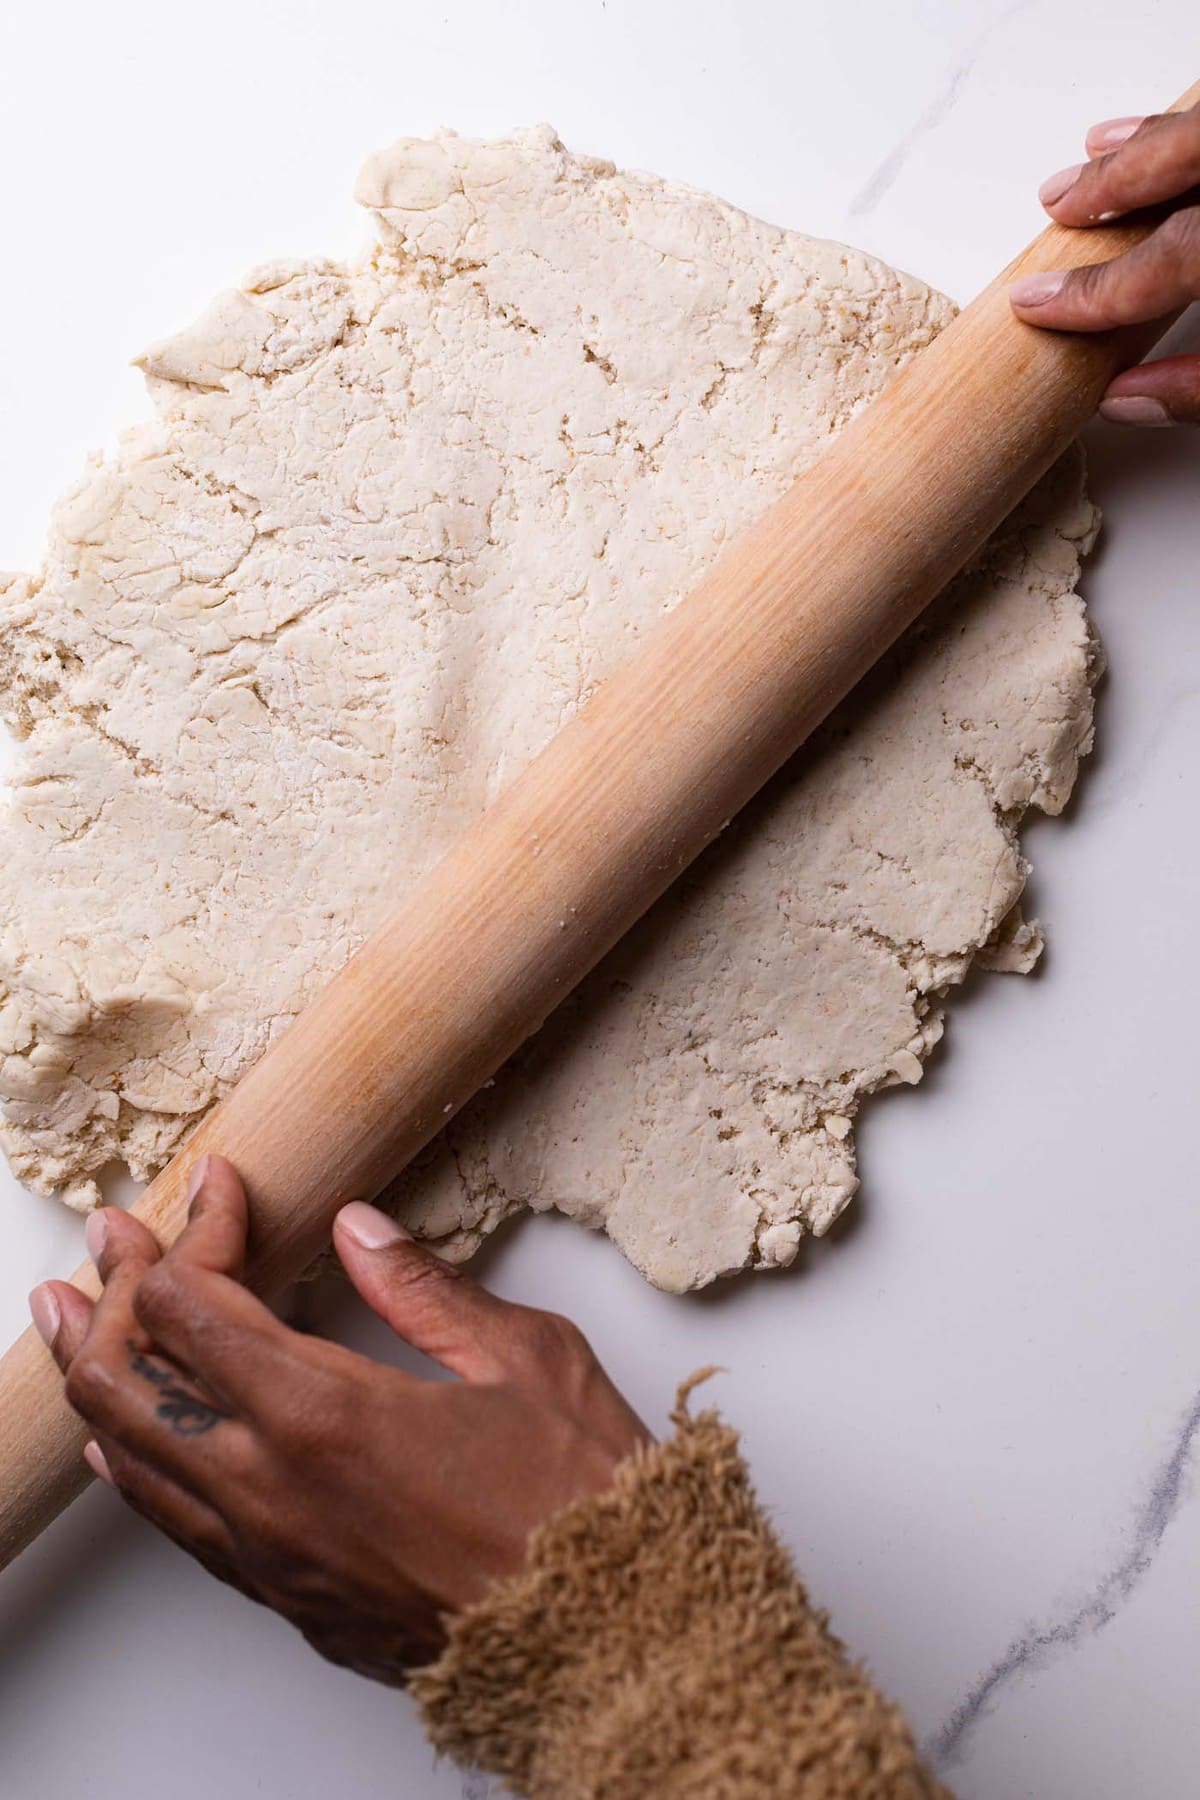
When rolling out your dough, aim for an even thickness to ensure even baking. Here are some tips:
- Flour your surface. Dust your work surface and rolling pin with flour to prevent sticking.
- Start from the center. Roll from the center outward, rotating the dough frequently to maintain a round shape.
- Check thickness. Aim for about ⅛ to ¼ inch thick, depending on your recipe.
- Use parchment paper. Placing the dough between two sheets of parchment paper can make rolling easier and less messy.
How Do I Transfer My Dough to the Pie Pan?
Transferring your rolled-out dough to the pie pan can be tricky. Here’s how to do it smoothly:
- Use a rolling pin: Gently roll the dough around the rolling pin to lift it.
- Unroll it: Position the pie pan next to your dough, then unroll it over the pan.
- Adjust: Gently press the dough into the pan, making sure it fits snugly without stretching.
- Trim excess: Leave about an inch of overhang, which you can fold under or crimp for a decorative edge.
What Should I Do if My Crust is Too Dry?
If your dough feels dry and crumbly, it might be due to not enough moisture. You can fix this by:
- Adding water. Gradually add cold water, one tablespoon at a time, while gently mixing until it comes together.
- Resting. If you’ve overworked the dough, let it rest in the fridge for a bit, which can help hydrate the flour.
Should I Blind Bake My Crust?
Blind baking (partially or fully baking the crust before adding the filling) is often recommended for custard or cream pies to prevent a soggy bottom. If you decide to blind bake:
Preheat your oven. Set it to the required temperature.
Use weights. Line the crust with parchment paper and fill it with pie weights or dried beans to keep it from puffing up.
Bake. Follow the time specified in your recipe, then cool before adding the filling.
How Can I Tell When My Pie Crust is Done?
A perfectly baked pie crust should be:
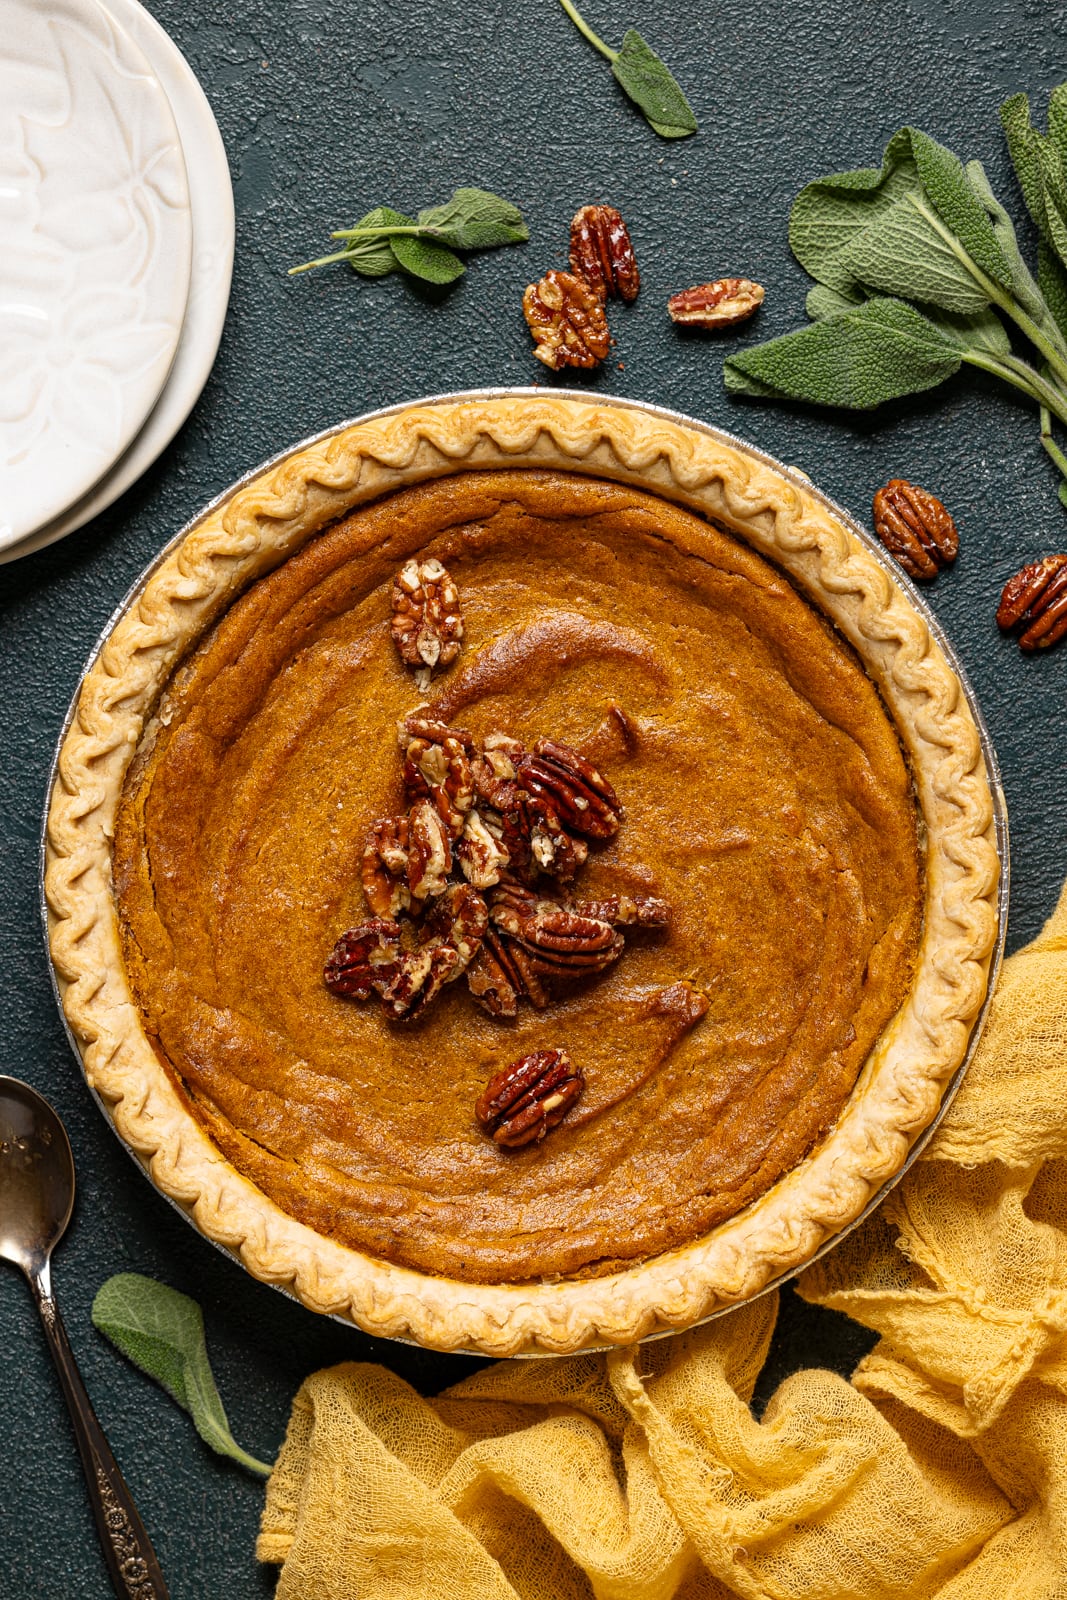
- Golden brown: Look for a rich golden color around the edges.
- Firm to the touch: The crust should feel set, and you shouldn’t see any wet areas.
- Fragrant: A delicious buttery aroma is a good indicator that your crust is perfectly baked.
What Are Common Mistakes to Avoid?
To ensure your pie crust turns out flawlessly, here are some mistakes to steer clear of:
- Not measuring ingredients properly: Baking is a science, so accurate measurements are crucial.
- Ignoring temperature: Keep your ingredients cold to promote flakiness.
- Skipping the chilling step: Don’t rush this part—it’s vital for texture and flavor.
- Overbaking or underbaking: Keep an eye on your crust to avoid burning or sogginess.
How Do I Store My Pie Crust?
If you have leftover dough, you can store it in the fridge for up to 3 days or freeze it for up to 3 months. Make sure to wrap it tightly in plastic wrap or place it in an airtight container to prevent it from drying out.
Can I Make Pie Crust Ahead of Time?
Absolutely! Making your pie crust ahead of time can save you stress on the day of baking. Prepare the dough, chill it, and then wrap it tightly to refrigerate or freeze. Just remember to bring it back to room temperature before rolling it out.
What’s the Best Way to Flavor My Pie Crust?
While the classic recipe is wonderful, you can elevate your crust by adding flavor. Consider these ideas:
- Herbs: For savory pies, incorporate fresh or dried herbs like thyme or rosemary.
- Zest: Adding lemon or orange zest can brighten the flavor of sweet pies.
- Spices: A pinch of cinnamon or nutmeg or pumpkin pie spice can add warmth and depth to dessert crusts.
There you have it— I hope learning about How to Make the Perfect Pie Crust encourages you to try making your own crusts! If you are looking for any meal inspiration check out my "What To Eat This Week" series for some seriously delicious + healthy eats.
My Favorite Pie Recipes
If you enjoyed learning how to make the perfect pie crust and are looking for some filling inspiration, here are some delicious options to put that crust to good use:
- Homemade Apple Berry Crumble Pie
- Best Vegan Sweet Potato Pie
- Vegan Apple Cranberry Crumble Pie
- Apple Cheddar Thyme Pie
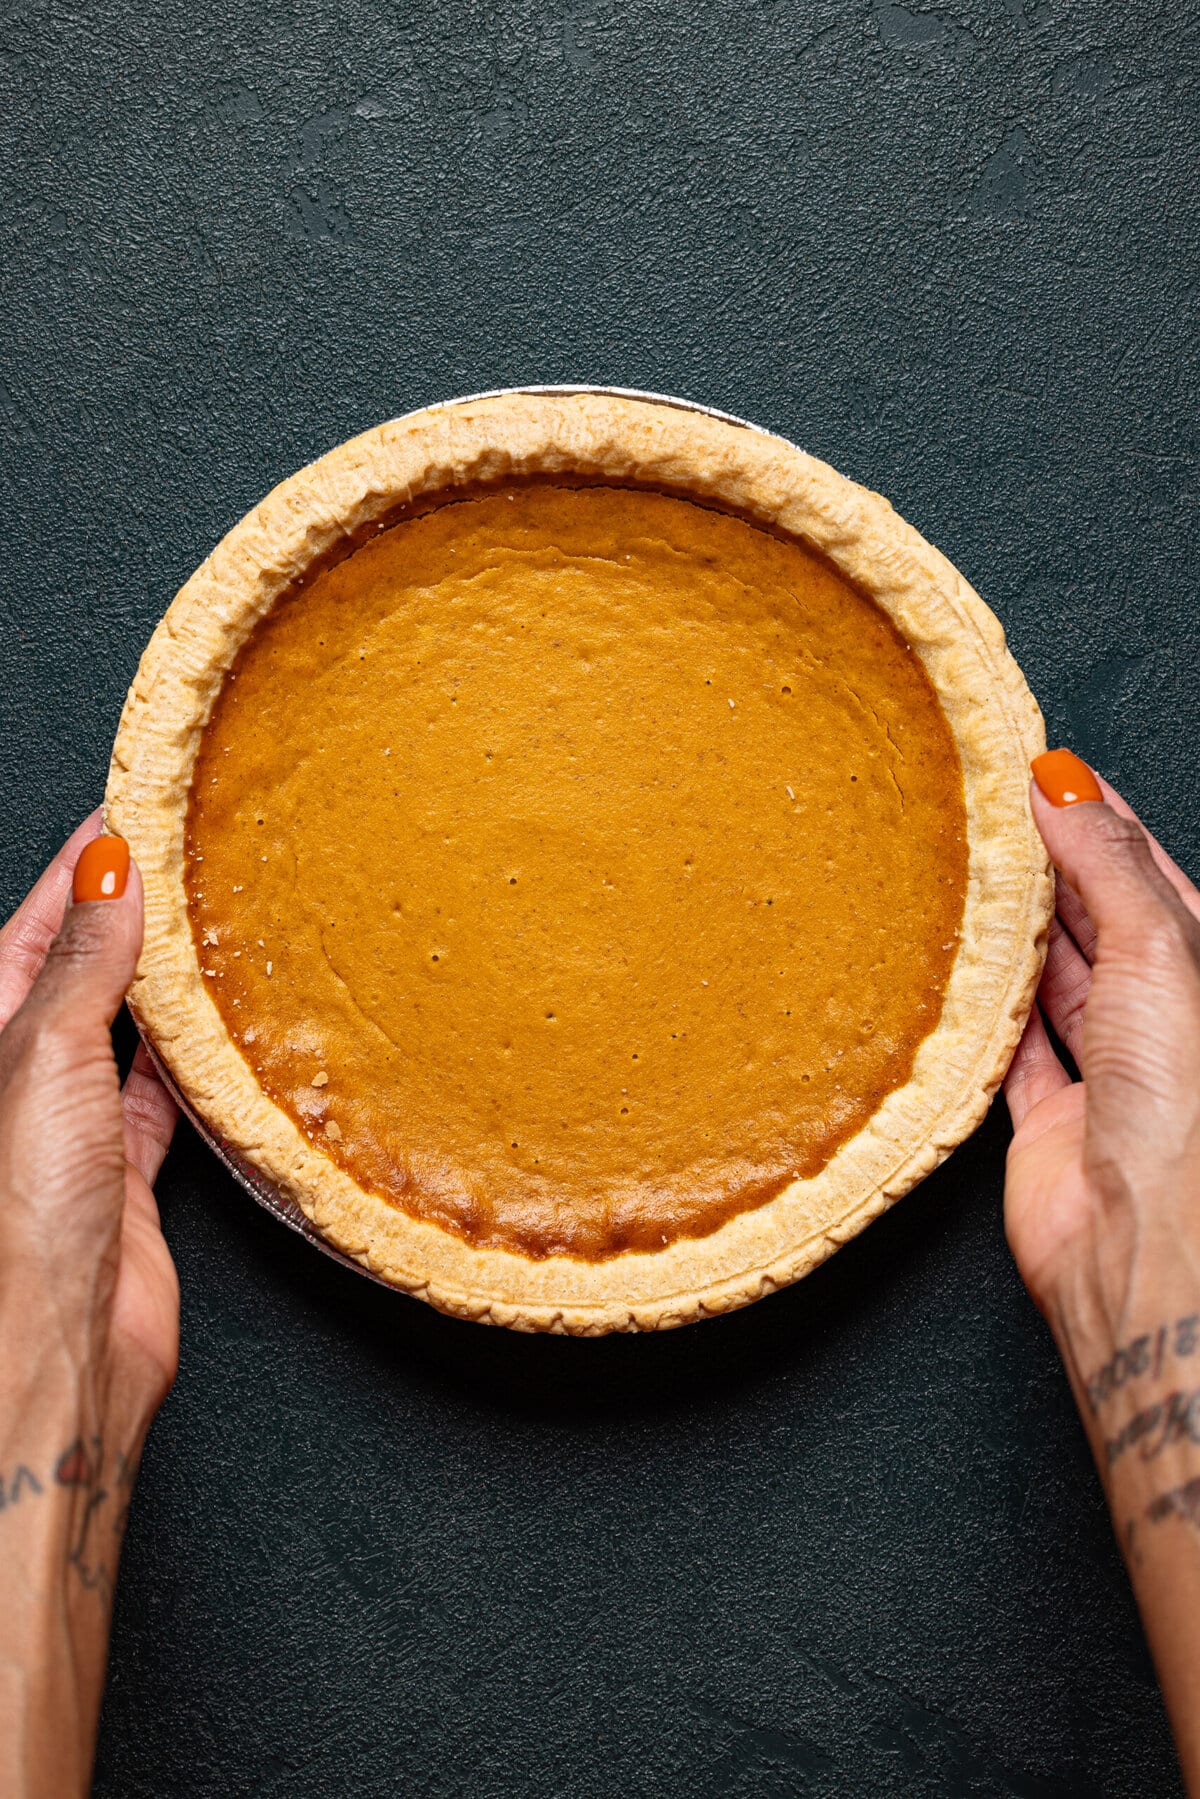
- Vegan Pumpkin Pie
- Southern Bourbon Pecan Pie
DID THIS HELP IN ANY WAY?
If you've learned anything from 'How to Make the Perfect Pie Crust' or given any recipes on my website a go, I'd truly appreciate it if you could share your experience by leaving a ⭐ star rating and dropping your thoughts in the 📝 comments below. Your feedback means a lot, and I love hearing from you on your wellness journey!

How to Make the Perfect Pie Crust
Ingredients
PIE INGREDIENTS:
- 2 ½ cups organic all-purpose flour
- 1 tsps salt
- 1 cups Unsalted butter
- 6 Tbsps cold water
- 1 Tbsps Vinegar (white or apple cider)
Instructions
HOW TO MAKE A PIE CRUST:
- In a large mixing bowl, whisk together 2 ½ cups of all-purpose flour and 1 teaspoon of salt until combined.
- Add 1 cup of cold, cubed unsalted butter to the flour mixture. Using a pastry cutter, two forks, or your fingers, cut the butter into the flour until the mixture resembles coarse crumbs with pea-sized pieces of butter still visible. This step is crucial for achieving that flaky texture!
- Gradually add 6 to 8 tablespoons of cold water (and 1 tablespoon of vinegar, if using), one tablespoon at a time. Mix gently with a fork after each addition until the dough begins to come together. You want the dough to hold together without being sticky.
- Turn the dough out onto a lightly floured surface and knead it gently just until it comes together. Divide the dough in half, shape each half into a disk, and wrap them in plastic wrap.
CHILL THE DOUGH:
- Refrigerate the disks for at least 30 minutes. This resting period allows the gluten to relax, making the dough easier to roll out.
- Once chilled, lightly flour your work surface and rolling pin. Roll out one disk of dough into a circle about 12 inches in diameter for a standard 9-inch pie plate. Aim for an even thickness of about ⅛ inch.
- Carefully transfer the rolled-out dough to your pie plate, pressing it gently into the bottom and sides. Trim any excess overhang to about 1 inch beyond the edge of the plate.
- Fold the overhang under itself to create a thicker edge. Crimp the edges with your fingers or a fork for a decorative touch.
- If your recipe calls for a pre-baked crust, prick the bottom with a fork to prevent bubbling. Place a sheet of parchment paper over the crust and fill it with pie weights or dried beans. Bake at 375°F (190°C) for about 15 minutes. Remove the weights and parchment, and bake for an additional 10-15 minutes or until lightly golden.
- Allow the crust to cool before filling with your desired pie filling.
- Bon Appetit!
Tips & Tricks
- STORAGE: Homemade pie crust (not baked or rolled out) can be frozen for up to 6 months. To do so: Wrap the dough in plastic wrap, then add another layer of plastic wrap and foil. You can also put the dough in a freezer bag or airtight container. Store the crust in the freezer, ideally in the back or bottom. When you're ready to use the crust, thaw it in the refrigerator overnight. You can then roll it out and use it as normal.
- VEGAN OPTION: To make your pie crust vegan, simply substitute the butter with vegan butter.
Nutrition
DID YOU MAKE THIS recipe?
Tag @orchidsnsweettea_ on Instagram and hashtag it #orchidsandsweettea


LOVE THIS RECIPE?
LET US KNOW!