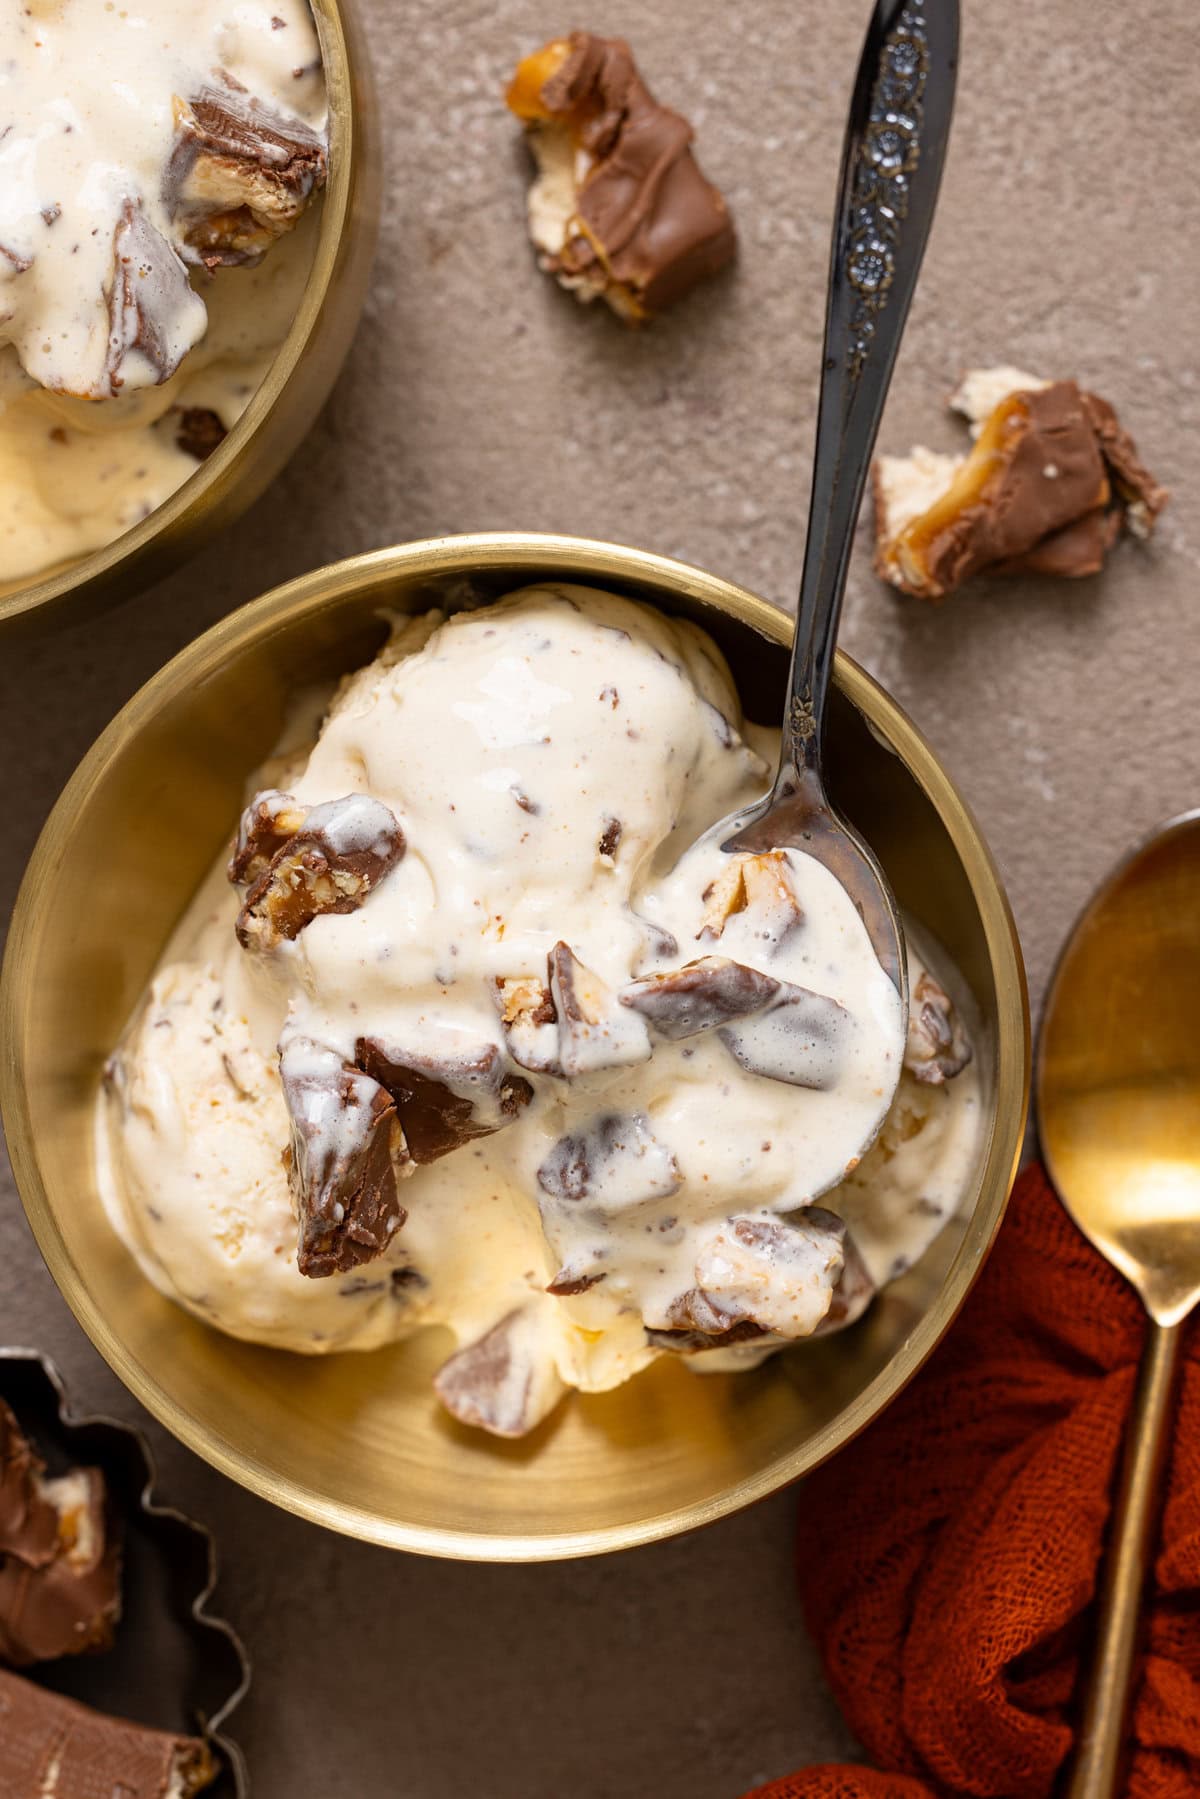
Peanut Butter Snickers Bar Ice Cream
DISCLAIMER: This post may contain affiliate links, which means that I make a small commission off items you purchase at no additional cost to you. Please read my policy page!
Peanut Butter Snickers Bar Ice Cream
Who doesn't love the sticky caramel, the melty chocolate, and the salty peanuts that make up a Snickers bar? I use these flavors to create silky, creamy homemade Peanut Butter Snickers Bar Ice Cream! No churning or ice cream maker needed—just pure, luscious goodness made simple!
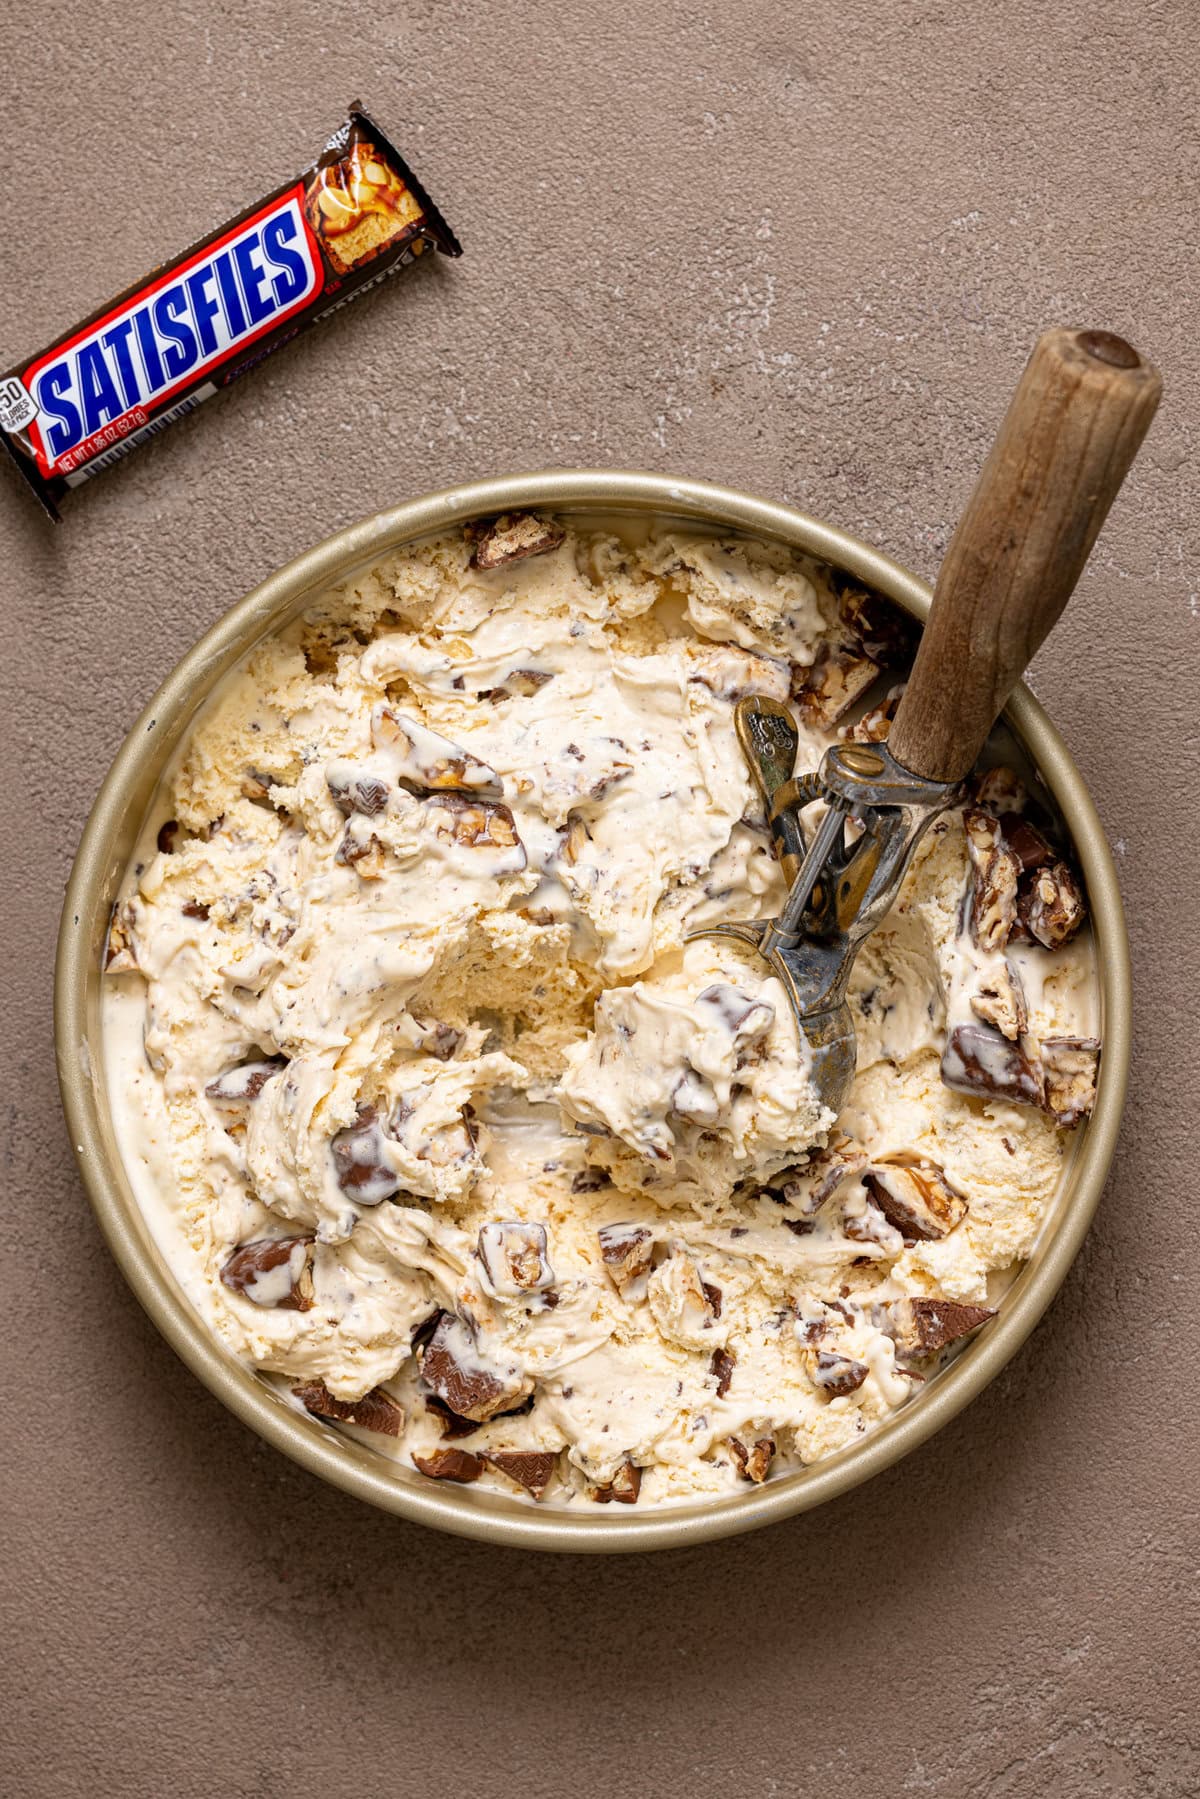
I’m on such a homemade no-churn ice cream kick lately! Since caramel, chocolate, and peanuts go so well together, I thought, why not combine them to make the ultimate ice cream flavor? Enter --- Peanut Butter Snickers Bar Ice Cream. This deliciously sweet treat is packed with real Snickers bars, peanut butter, and a touch of maple syrup for that perfect caramel flavor.
I’m thrilled to share this creamy, velvety treat with you. And the best part? You don’t need any fancy machine—just a blender! It’s a soft, sweet, and oh-so-scoopable delight that will have both kids + adults drooling. With only 6 simple ingredients, it's destined to become your new go-to dessert for both summer & winter.
If you're a lover of this ice cream recipe, then you're sure to love this No-Churn Butter Pecan Ice Cream, No-Churn Blueberry Protein Ice Cream [with Gingersnap], and this gooey, richly flavored No-Churn Caramel Cone Ice Cream.
Jump to:
- Why You Will LOVE This Peanut Butter Snickers Bar Ice Cream
- Ingredients For Peanut Butter Snickers Bar Ice Cream
- Ice Cream Without an Ice Cream Maker
- Why Sweetened Condensed Milk Is So Important!
- How To Make Peanut Butter Snickers Bar Ice Cream
- Serving Suggestions For Peanut Butter Snickers Bar Ice Cream
- Chocolate Espresso Ice Cream Recipe Q + A's
- More Homemade Ice Cream Recipes to Try!
- MADE OUR RECIPE(S)?
- Peanut Butter Snickers Bar Ice Cream [No Churn]
Why You Will LOVE This Peanut Butter Snickers Bar Ice Cream
- Rich, creamy peanut butter + chocolate flavor with hints of caramel. A sweet tooth's dream
- Easy to make at home + no fancy equipment needed!
- The perfect balance of sweetness
- Great for cooling down on hot days
- So much better than store-bought
- Perfectly sweet & scoopable and works in a bowl or on a cone!
- Ideal for snacking or for hosting!
Ingredients For Peanut Butter Snickers Bar Ice Cream
Here is a simple list of ingredients to make homemade Peanut Butter Snickers Ice Cream:
ICE CREAM:
- Heavy cream. Make sure it's VERY COLD!
- Sweetened condensed milk. I use low-fat, sweetened condensed milk. It really enriches the texture and sweetens things up with just one simple ingredient.
- Organic peanut butter. Softened. Adds a rich, nutty flavor. I recommend using a natural one with no added sugar! My fave is Justin's.
- Pure maple syrup. Add a touch of maple flavor for a caramel flavor.
- Vanilla extract. Use pure vanilla extract for the best flavor.
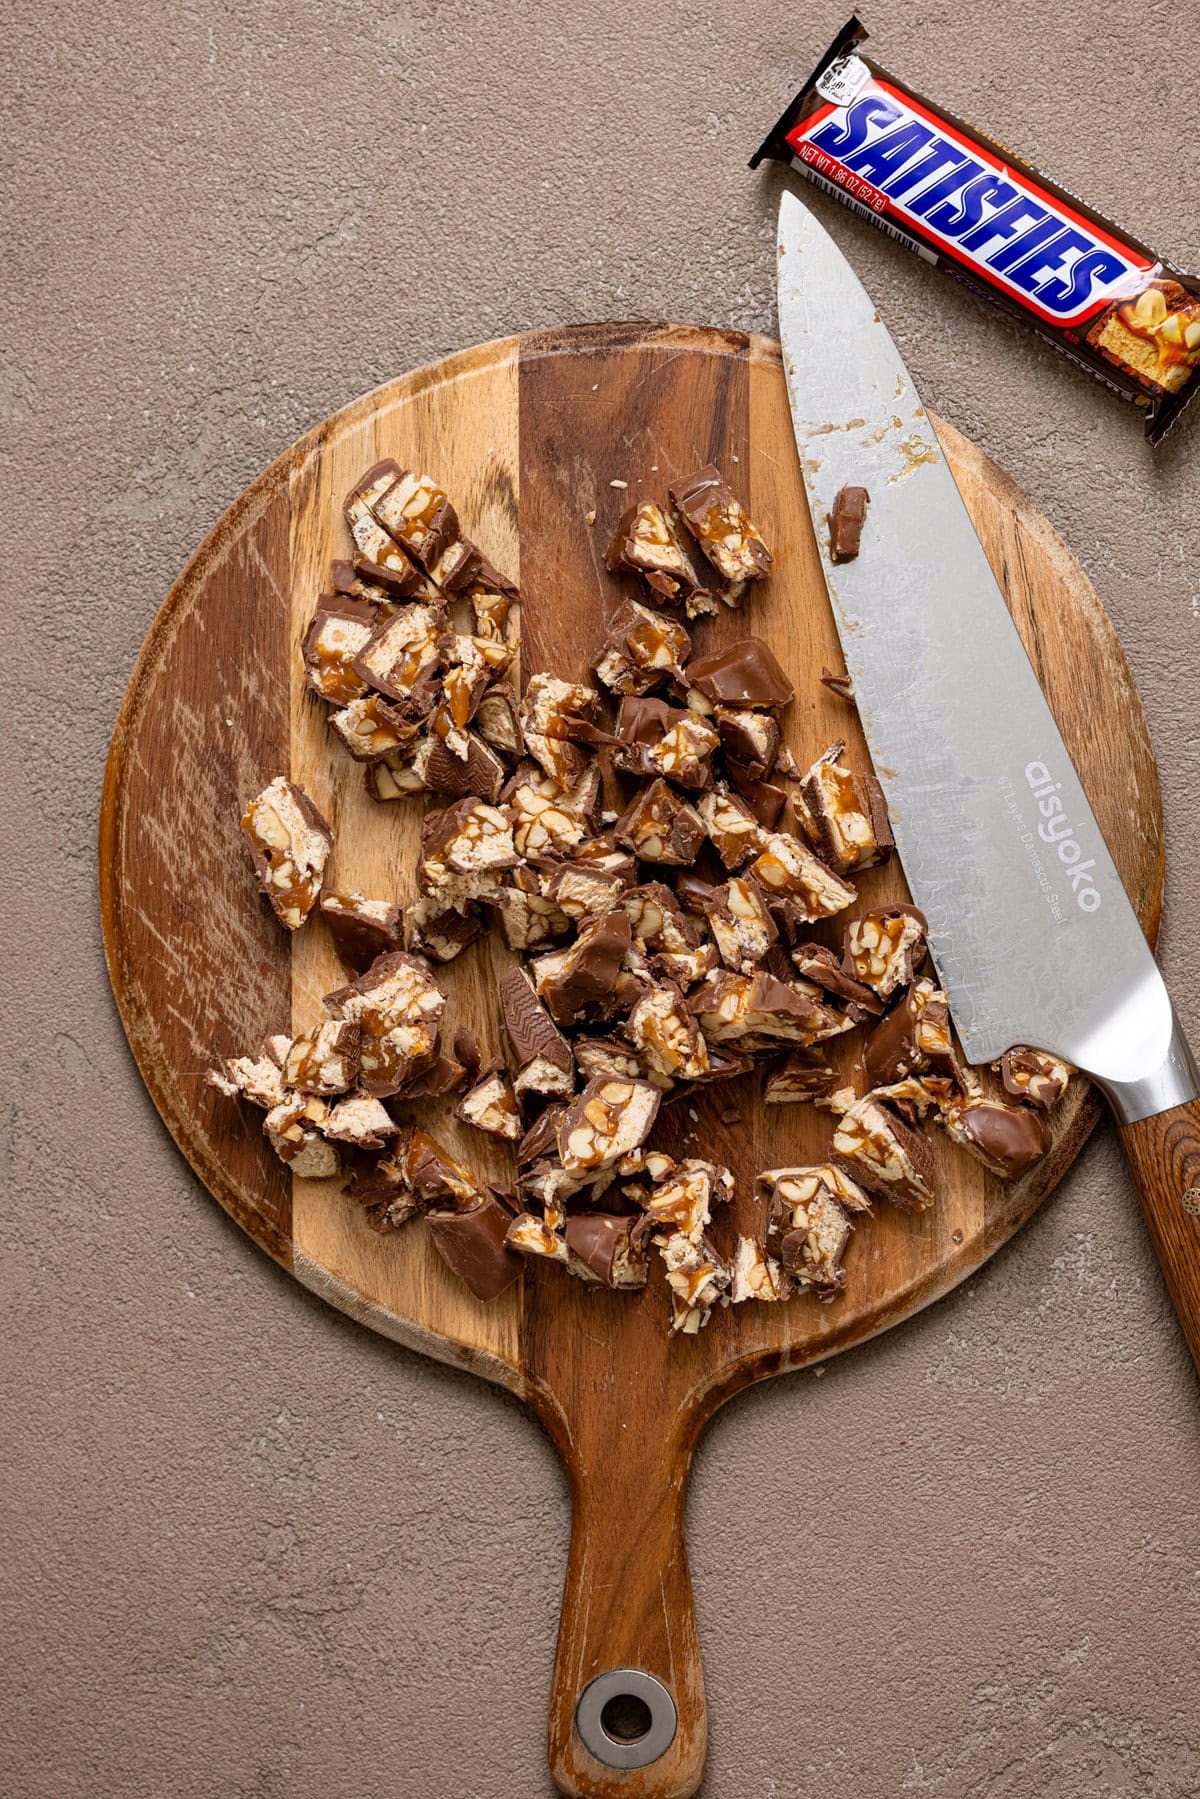
- Snickers bar candy. I like to mix together the regular with peanut butter Snickers as well.
SHOP MY FAVORITE TOOLS FOR BAKING, ESPECIALLY FOR THIS ICE CREAM!
Here, I’ve curated a list of baking essentials that I use to achieve my favorite baked goods, especially with this Peanut Butter Snickers Bar Ice Cream. Everything from my fave large scoop, baking sheet, liners, and more. SEE THEM HERE!
Ice Cream Without an Ice Cream Maker
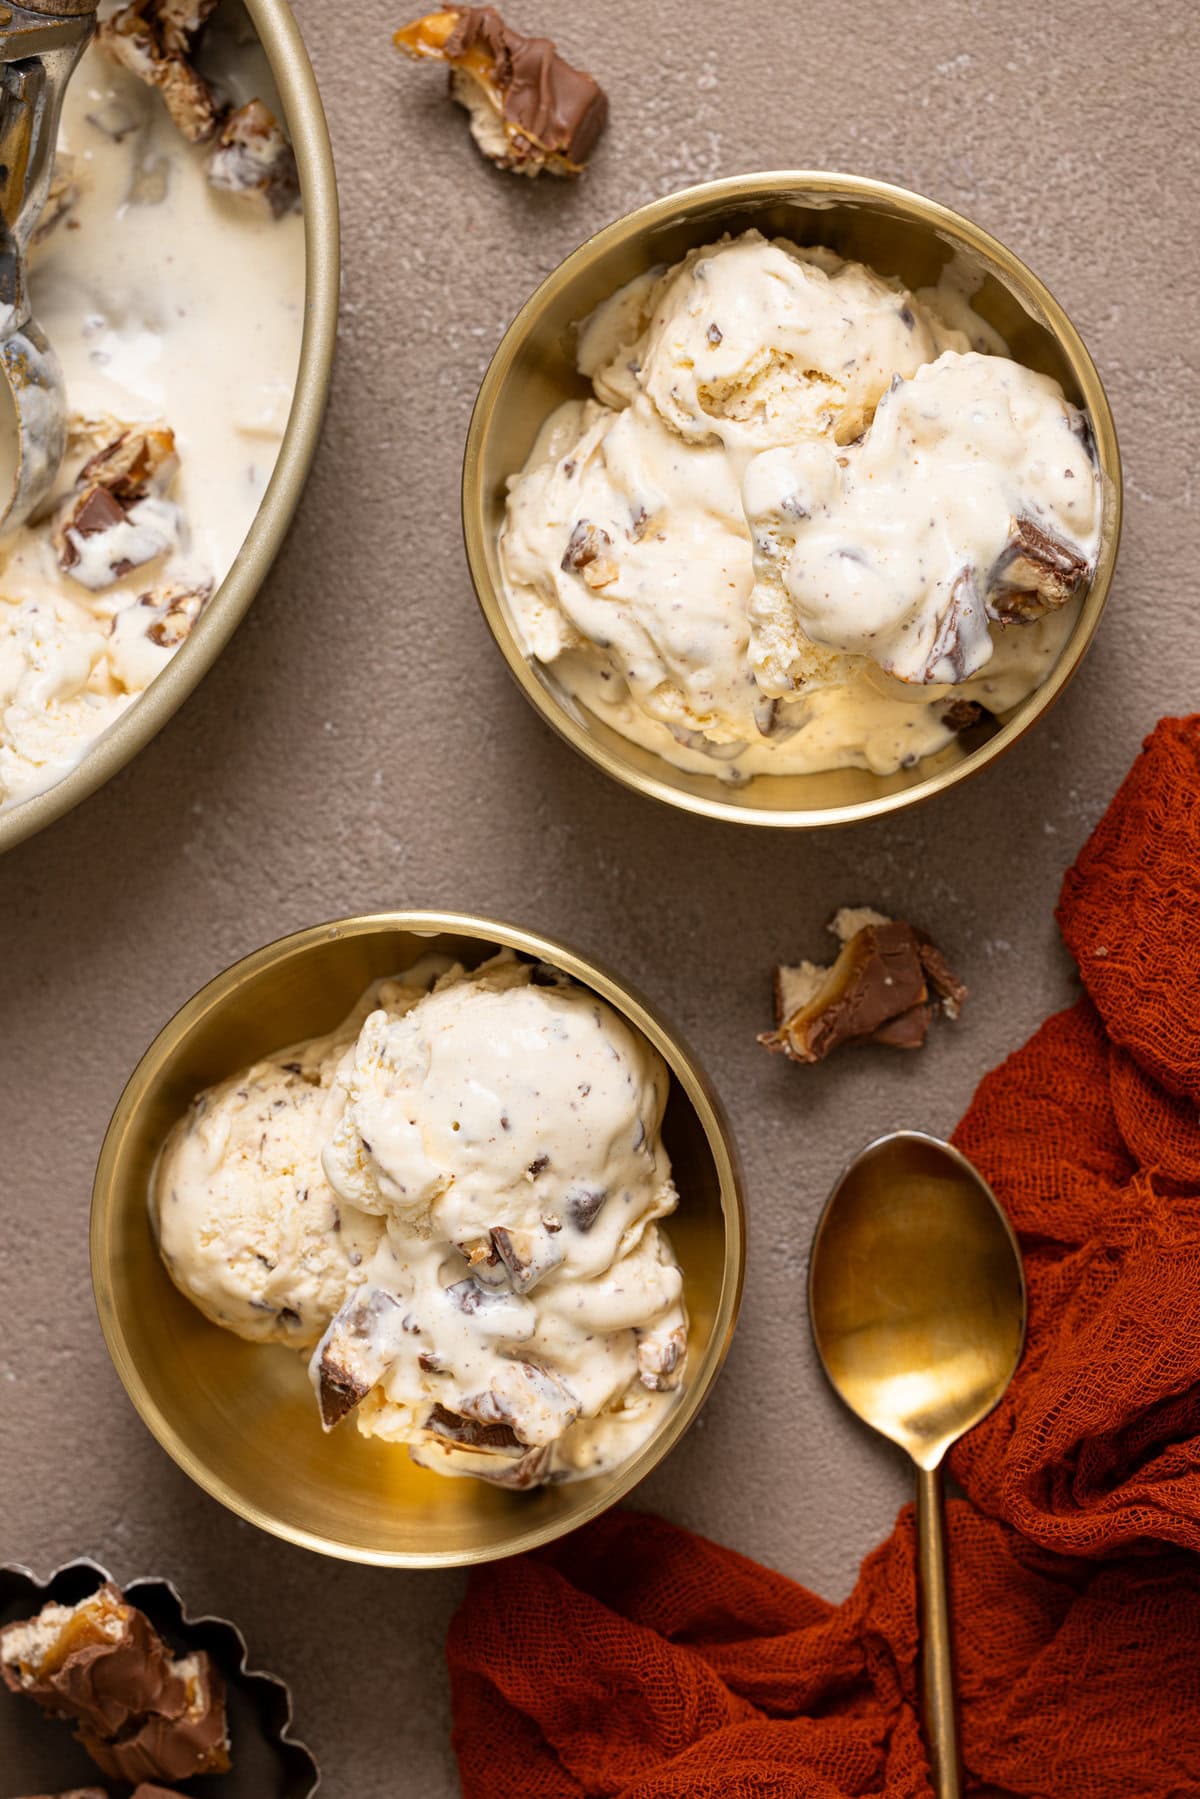
You may have thought that the only way to enjoy homemade ice cream is to purchase an ice cream maker. That is totally false! You can create excellent texture without an ice cream maker if you follow some of my basic principles for no-churn ice cream---especially this snickers version. It does take a little technique to perfect the consistency, but it is so easy that anyone could do it!
If you take sweetened cream, flavor it, and freeze it, you will be very disappointed. Unfortunately, ice cream needs air whipped into it, which is what most ice cream machines do as they freeze the base. Freezing cream will cause it to solidify and you will never be able to scoop it out.
Instead, I use heavy cream and whip it to stiff peaks. Then, I fold it into sweetened condensed milk along with my other mix-ins to keep the mixture airy. This way, I get perfectly scoopable ice cream once it has hardened in the freezer. However, for an even easier method----you can blend everything in a blender for the right amount of whipping.
Why Sweetened Condensed Milk Is So Important!
First, I must let you know that Sweetened Condensed Milk is a canned milk that has 60 percent of it's water content removed, making it thicker in consistency.
Also, it has 40-45% sugar, making it a great sugar substitute in recipes that use sugar. More importantly, condensed milk creates a caramelized flavor along with its sweetness, which gives the dishes that require it, a beautiful kick of flavor.
That being said---I generally love using the original Sweetened Condensed Milk like the Eagle Brand's version!
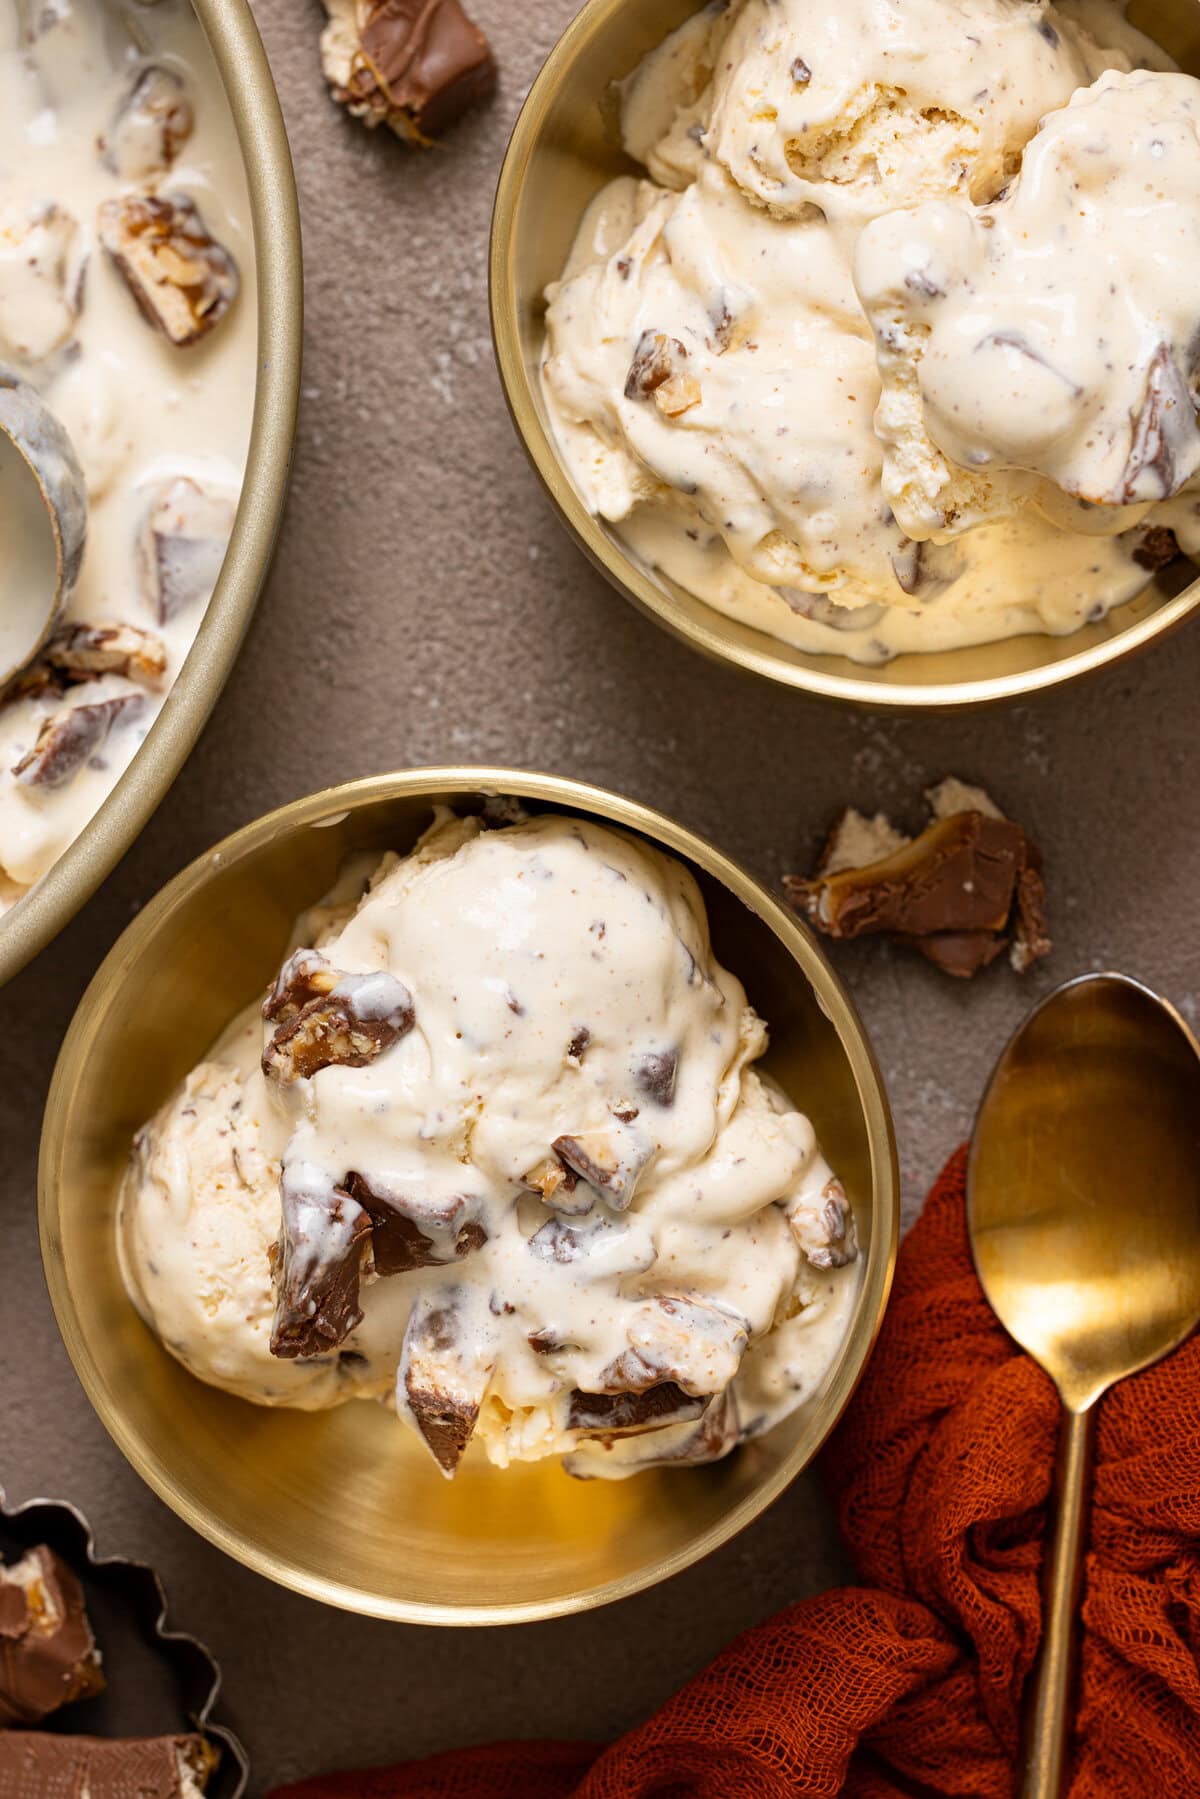
How To Make Peanut Butter Snickers Bar Ice Cream
I promise this recipe is super easy to follow with simple steps! You won't need any fancy equipment, and the end result is a delicious homemade treat that everyone will love.
TO MAKE THE ICE CREAM:
- In the bowl of an electric mixer on medium-high speed, whip together the heavy cream and vanilla until peaks form, before reducing speed to medium-low and continue mixing until stiff peaks form.
- Now, fold in the sweetened condensed milk, softened peanut butter, and maple syrup into the whipped cream and immediately pour everything into a 9x5 loaf pan (or small metal bowl) and freeze for 6 hours or overnight. Fold in the chopped Snickers candy bar.
- To serve, remove from the freezer and let it sit at room temperature for a couple of minutes to help it soften slightly before scooping! Enjoy!
Serving Suggestions For Peanut Butter Snickers Bar Ice Cream
Although this homemade Peanut Butter Snickers Bar Ice Cream recipe is absolutely amazing on its own, here are some ideas to elevate it to the next level:
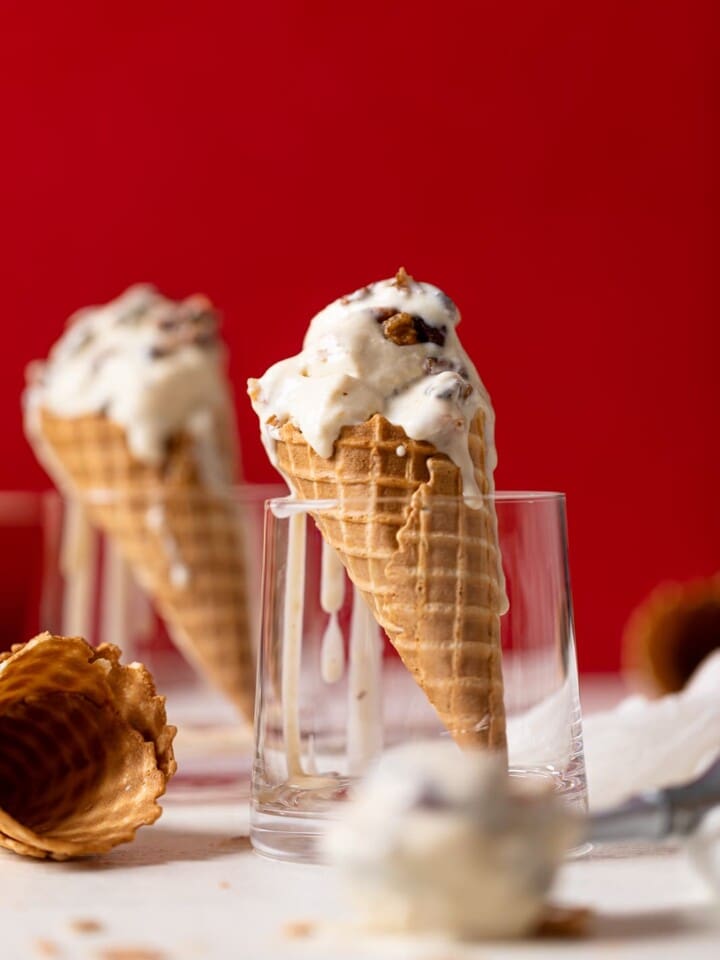
- Scoop into bowls or cones. Serve the Snickers Ice Cream in bowls or cones for pure ice cream joy.
- Make ice cream sandwiches. Get playful by sandwiching ice cream between vanilla wafers or sugar cookies for twice the amount of buttery goodness!
- Blend milkshake magic. Whip up creamy milkshakes by blending the ice cream with your favorite milk like this Homemade Creamy Cashew Milk or Almond Milk, then top with whipped cream!
- Pair with deliciously soft, warm donuts or biscuits. Serve with freshly baked or fried donuts like these Homemade Glazed Donuts or Flaky Honey Buttermilk Biscuits for a heavenly combination!
- Pair with a warm brownie: Serve with warm brownies like this Chocolate Oreo Skillet Brownie for a heavenly combination!
Chocolate Espresso Ice Cream Recipe Q + A's
When kept in an air-tight container, ice cream lasts for about 2 weeks.
Unfortunately, snickers bars are not vegan. However, you could find a similar 'vegan Snickers bar' alternative. To make this ice cream entirely dairy-free, simply substitute the heavy cream for full-fat coconut cream or milk (refrigerated overnight), the condensed milk for dairy-free sweetened condensed milk, and ensure that the cookies are dairy-free/vegan.
Yes and no! If you want to make this recipe even faster and easier, you can replace the heavy cream with 2 cups of cool-whip, however, the texture won't be as solid. Cool whip creates a more "gummy" and a less smooth texture. Simply place the cool whip in a stand mixer bowl and fold in the remaining ingredients until uniform. Then place in the loaf pan and freeze as directed.
The freezing time can vary depending on your freezer temperature and the depth of the container. Generally, it takes around 4-6 hours for the ice cream to become firm. It's best to check its consistency periodically and adjust the freezing time as needed.
Not at all! For this recipe, you'll just need a blender or an electric stand mixer for a standard method like in my No-Churn Vanilla Ice Cream with Rainbow Sprinkles.

More Homemade Ice Cream Recipes to Try!
If you enjoyed our Peanut Butter Snickers Bar Ice Cream and want more homemade treats, give these a go next:
- No-Churn Cookies + Cream Ice Cream
- No-Churn Caramel Cone Ice Cream
- No-Churn Butter Pecan Ice Cream
- No-Churn Chocolate Oreo Ice Cream
- No-Churn Vanilla Ice Cream with Rainbow Sprinkles
MADE OUR RECIPE(S)?
If you tried this Peanut Butter Snickers Bar Ice Cream recipe or any other recipe on my website, please please leave a 🌟 star rating and let me know how you go in the 📝 comments below. And don't forget to tag @orchidsnsweettea_ on Instagram and hashtag it #orchidsandsweettea! I love hearing from you!
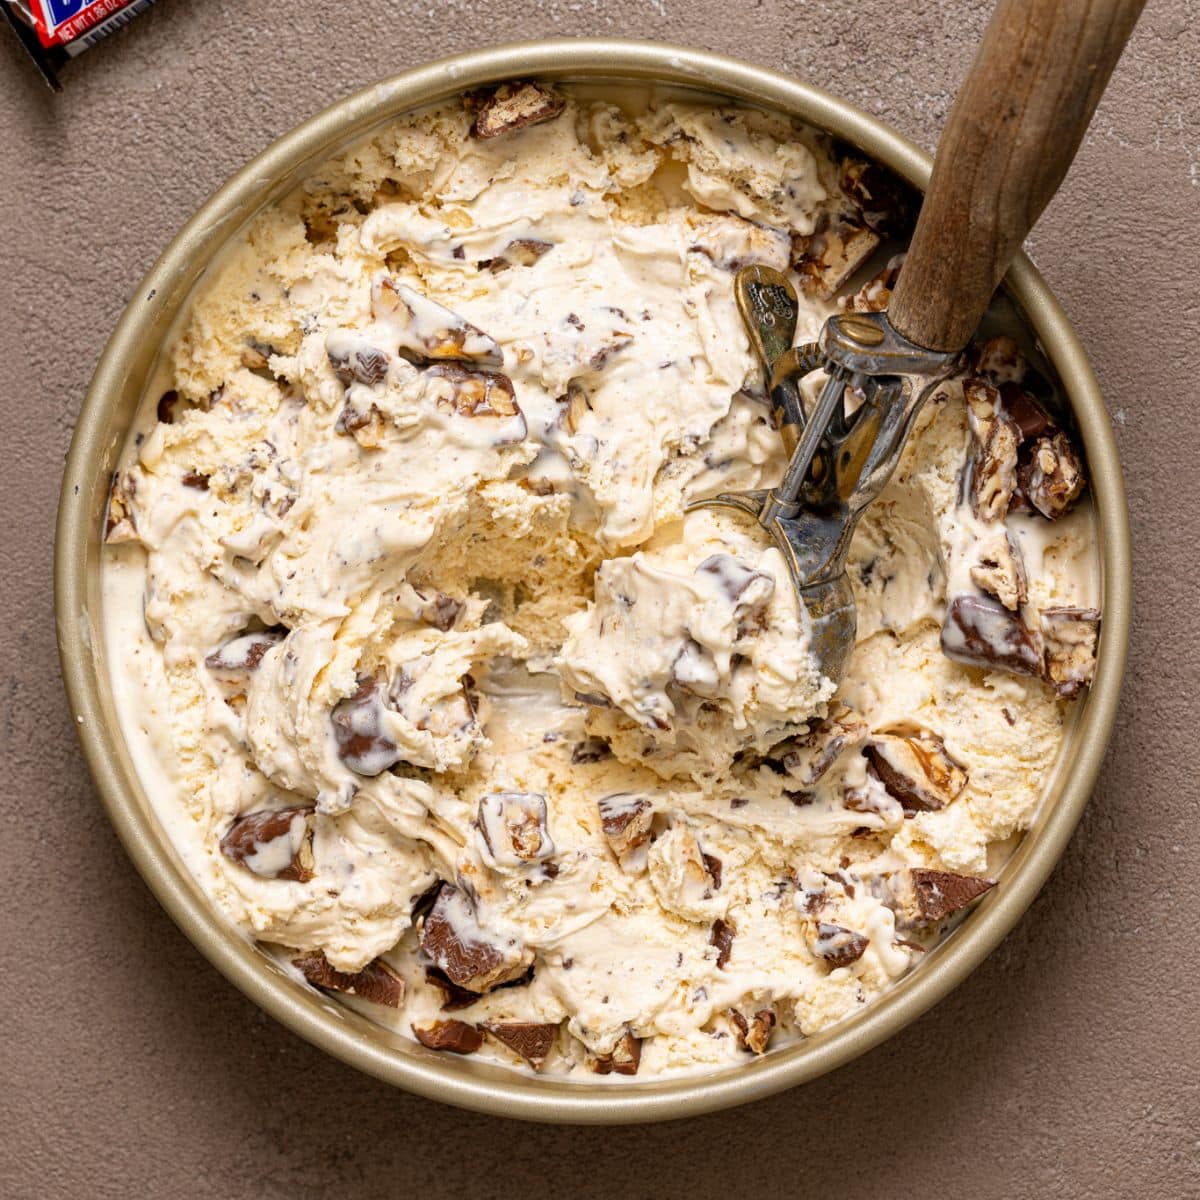
Peanut Butter Snickers Bar Ice Cream [No Churn]
Ingredients
ICE CREAM:
- 2 cups organic heavy cream, VERY COLD
- 1 (14 oz.) can sweetened condensed milk
- ½ cup organic peanut butter, softened
- 2 Tbsps pure maple syrup
- 1 teaspoon vanilla extract
- 3 cups chopped Snickers bar candy (I like to mix together the regular with peanut butter Snickers as well)
Instructions
TO MAKE THE ICE CREAM:
- In the bowl of an electric mixer on medium-high speed, whip together the heavy cream and vanilla until peaks form, before reducing speed to medium-low and continue mixing until stiff peaks form.
- Now, fold in the sweetened condensed milk, softened peanut butter, and maple syrup into the whipped cream and immediately pour everything into a 9x5 loaf pan (or small metal bowl) and freeze for 6 hours or overnight. Fold in the chopped Snickers candy bar.
- To serve, remove from the freezer and let it sit at room temperature for a couple of minutes to help it soften slightly before scooping.
- Bon Appetit!
Tips & Tricks
- STORAGE: When kept in an air-tight container, ice cream lasts for about 2 weeks.
- SWEETENER: If you choose to opt out of pure maple syrup, you can always substitute with organic raw honey or Agave as well.
- BLENDER: You can also make this ice cream recipe by adding everything (excluding the cookies) to a high-powered blender and blending until smooth. Just continue with steps on folding in the chopped Snickers bar, etc. and then freezing.
Nutrition
DID YOU MAKE THIS recipe?
Tag @orchidsnsweettea_ on Instagram and hashtag it #orchidsandsweettea


LOVE THIS RECIPE?
LET US KNOW!