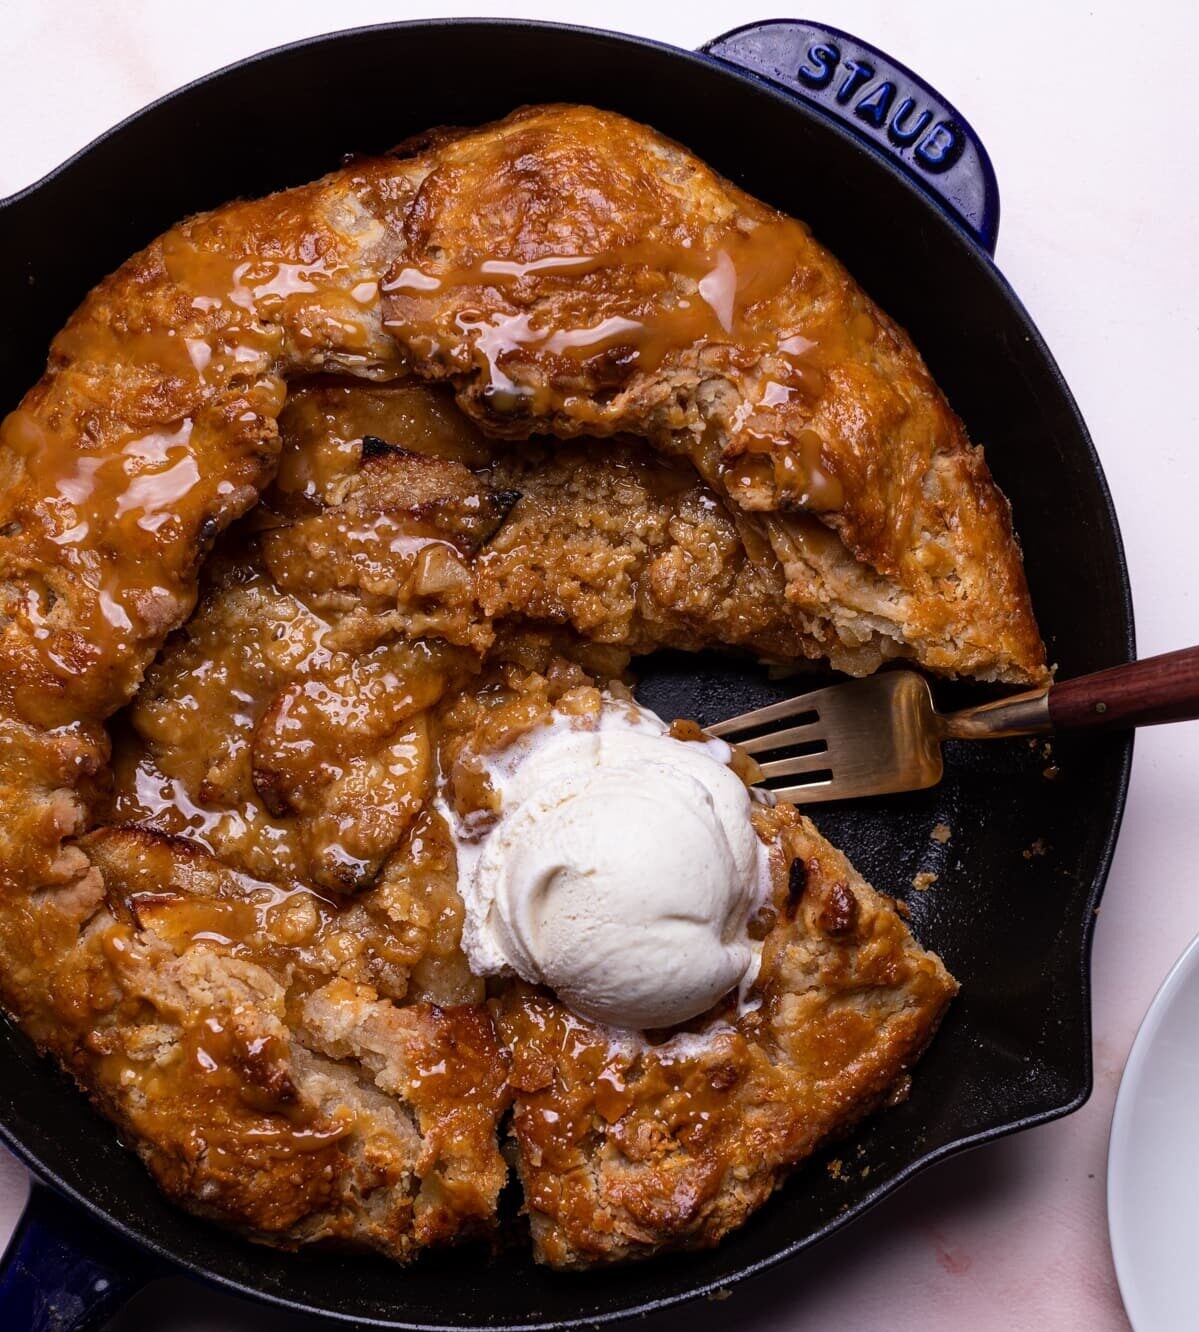
Salted Caramel Apple Skillet Galette
Salted Caramel Apple Skillet Galette
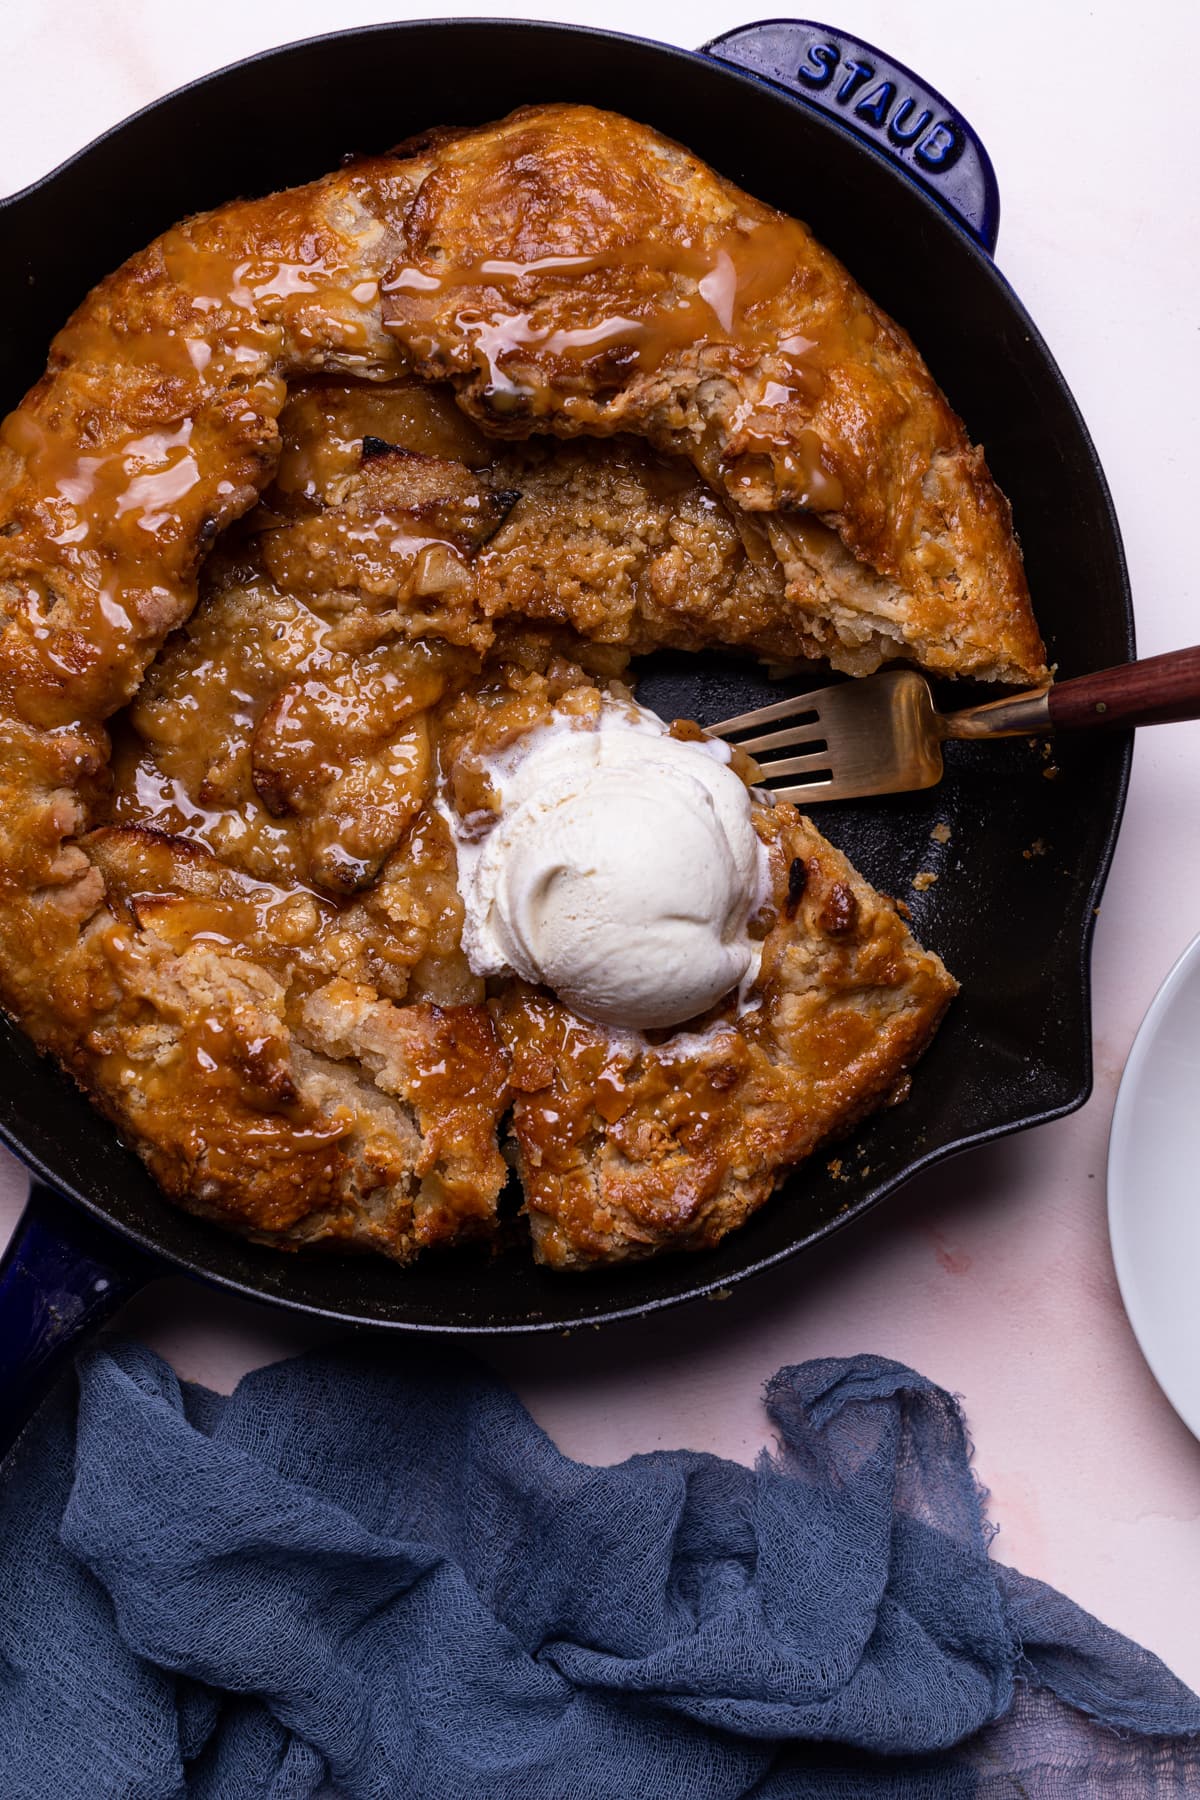
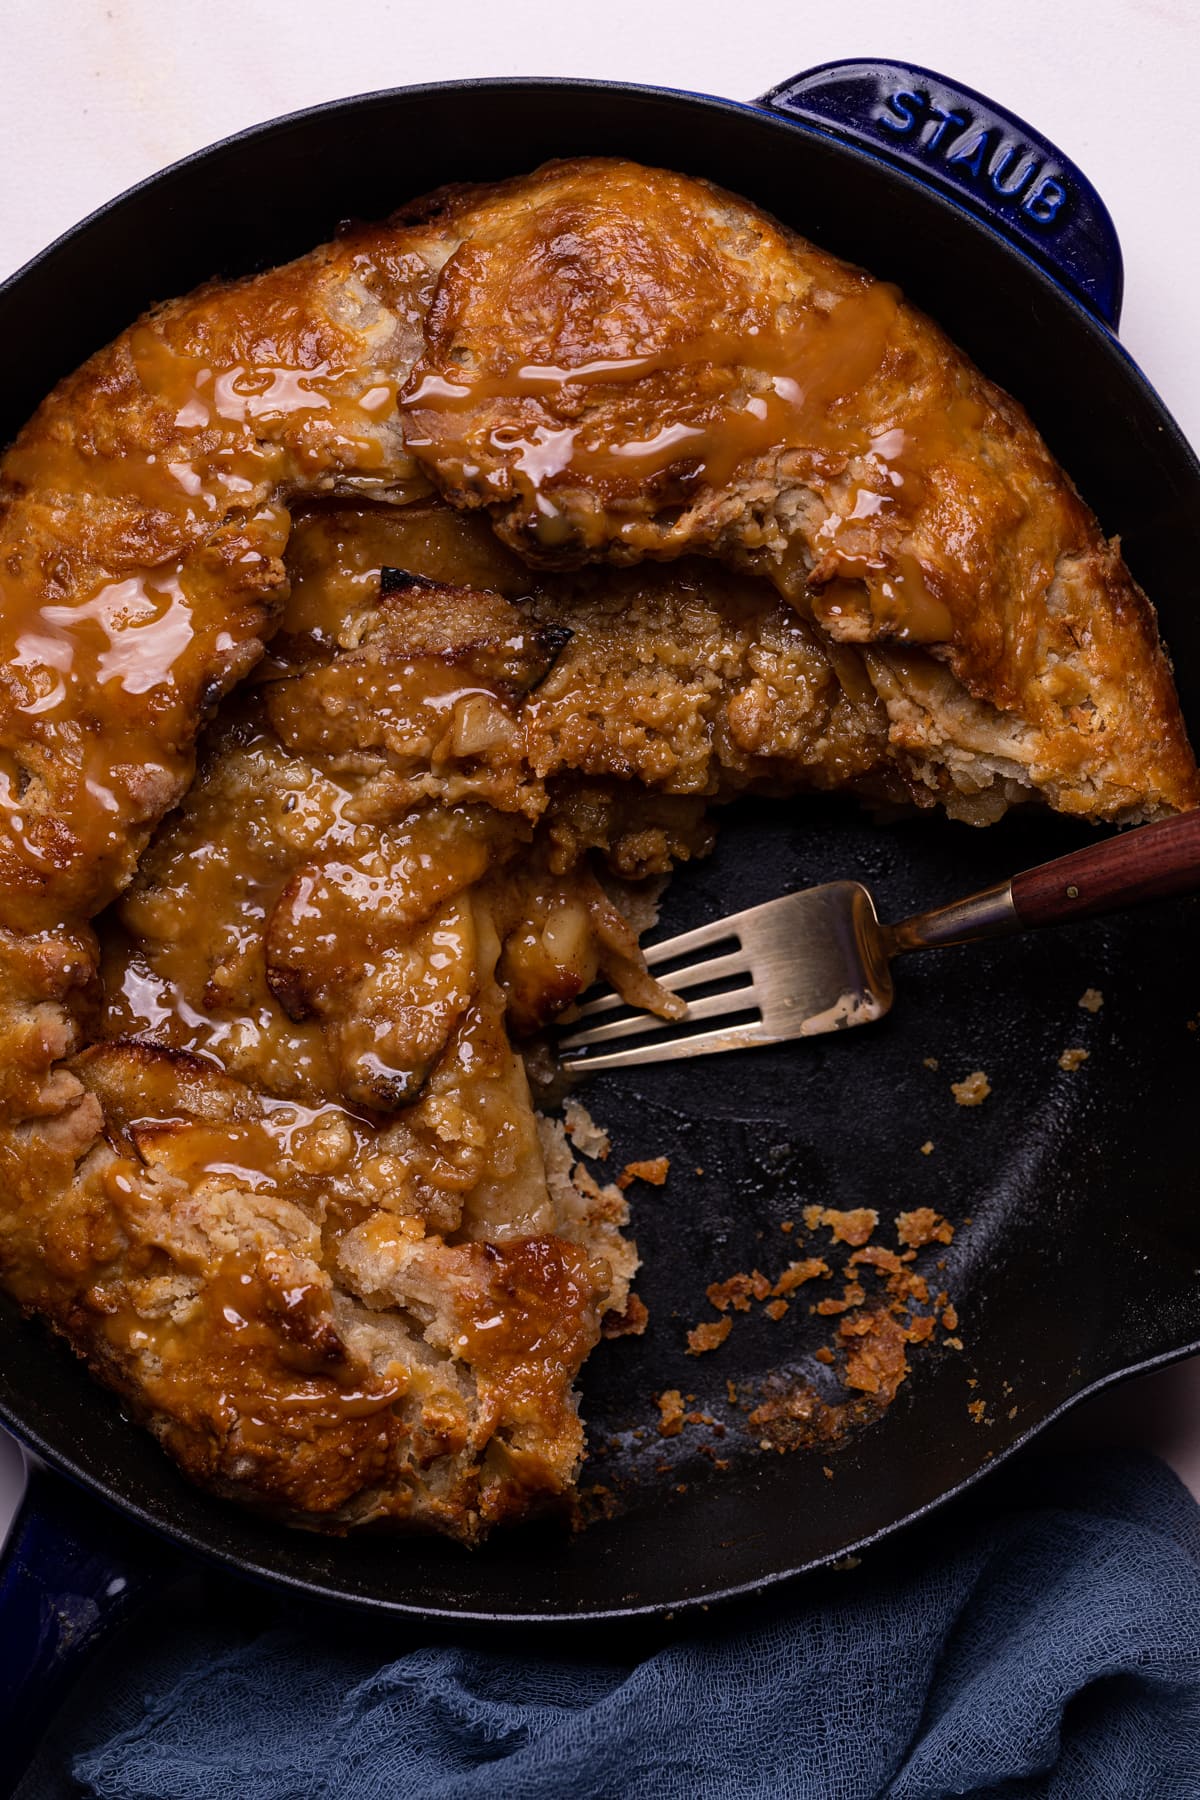
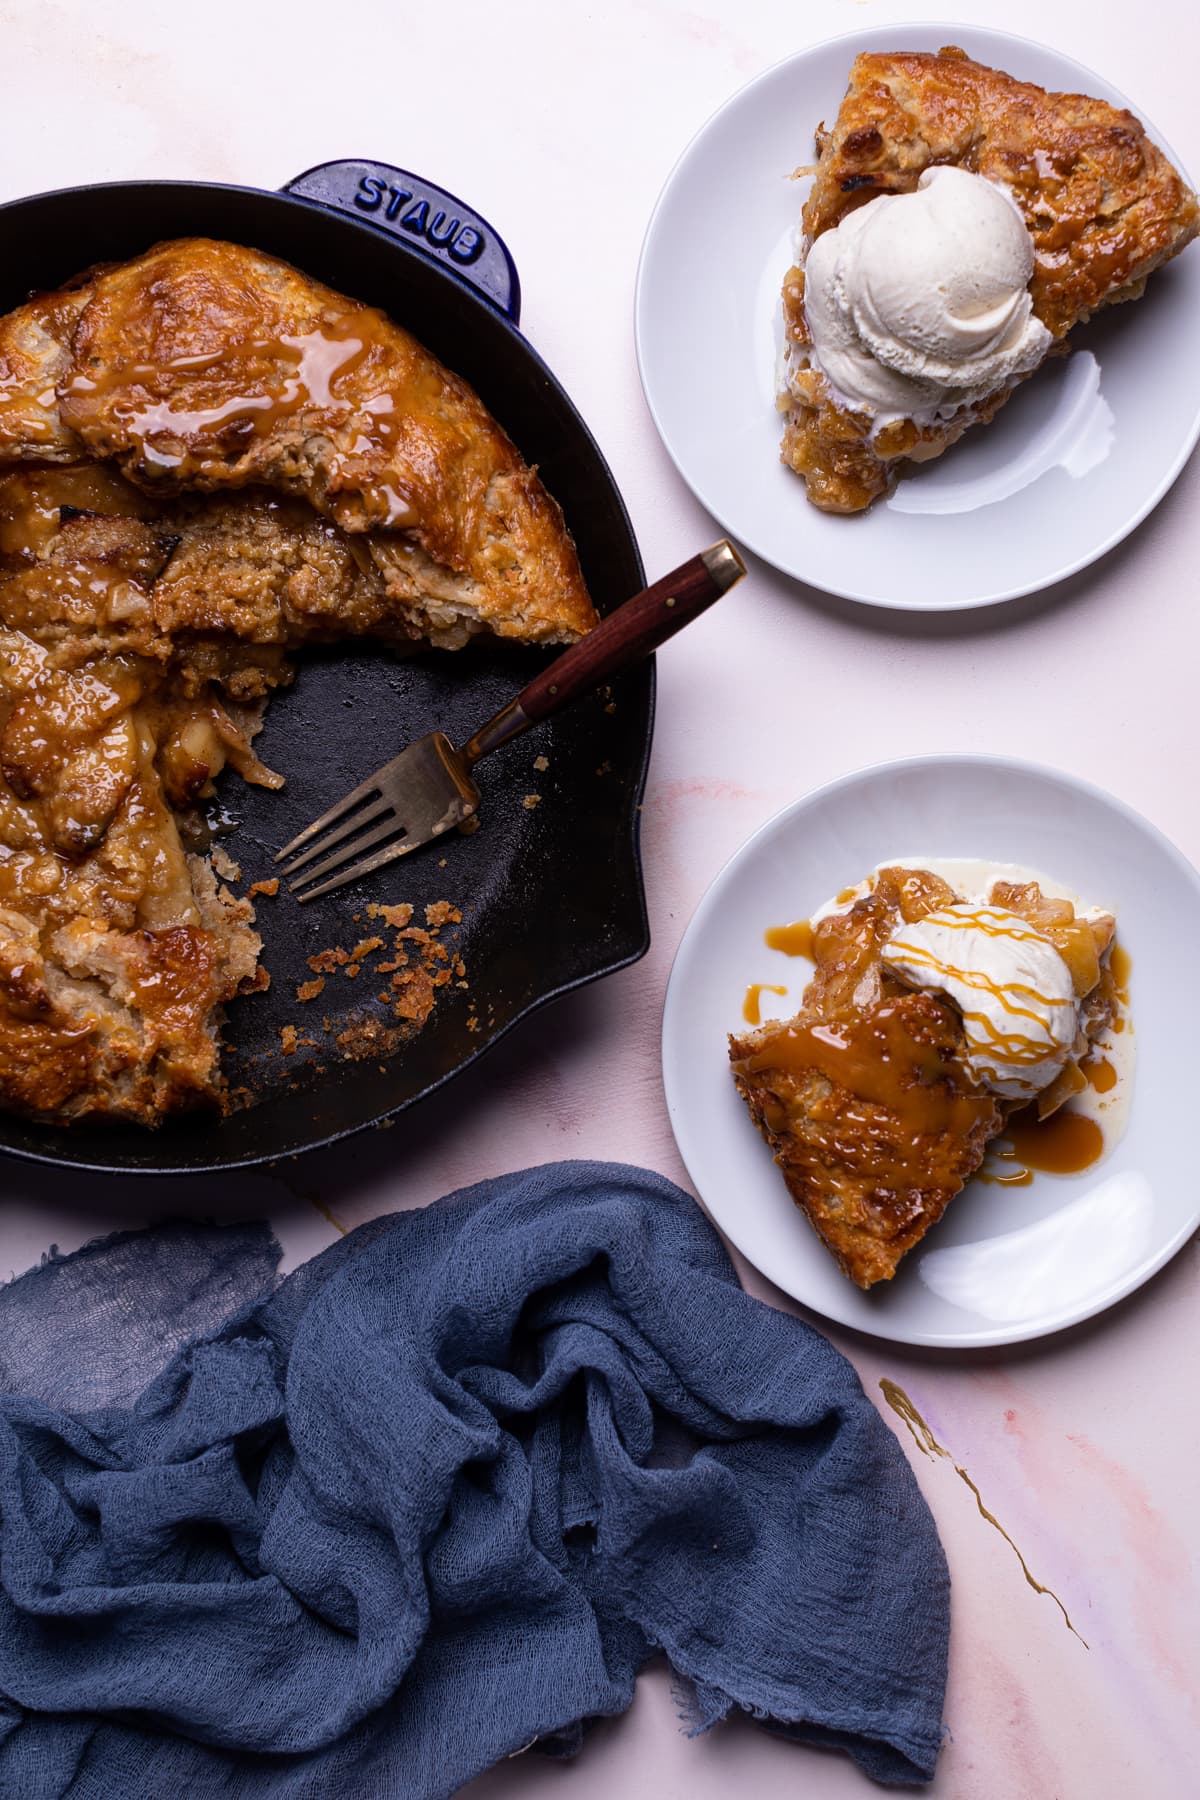
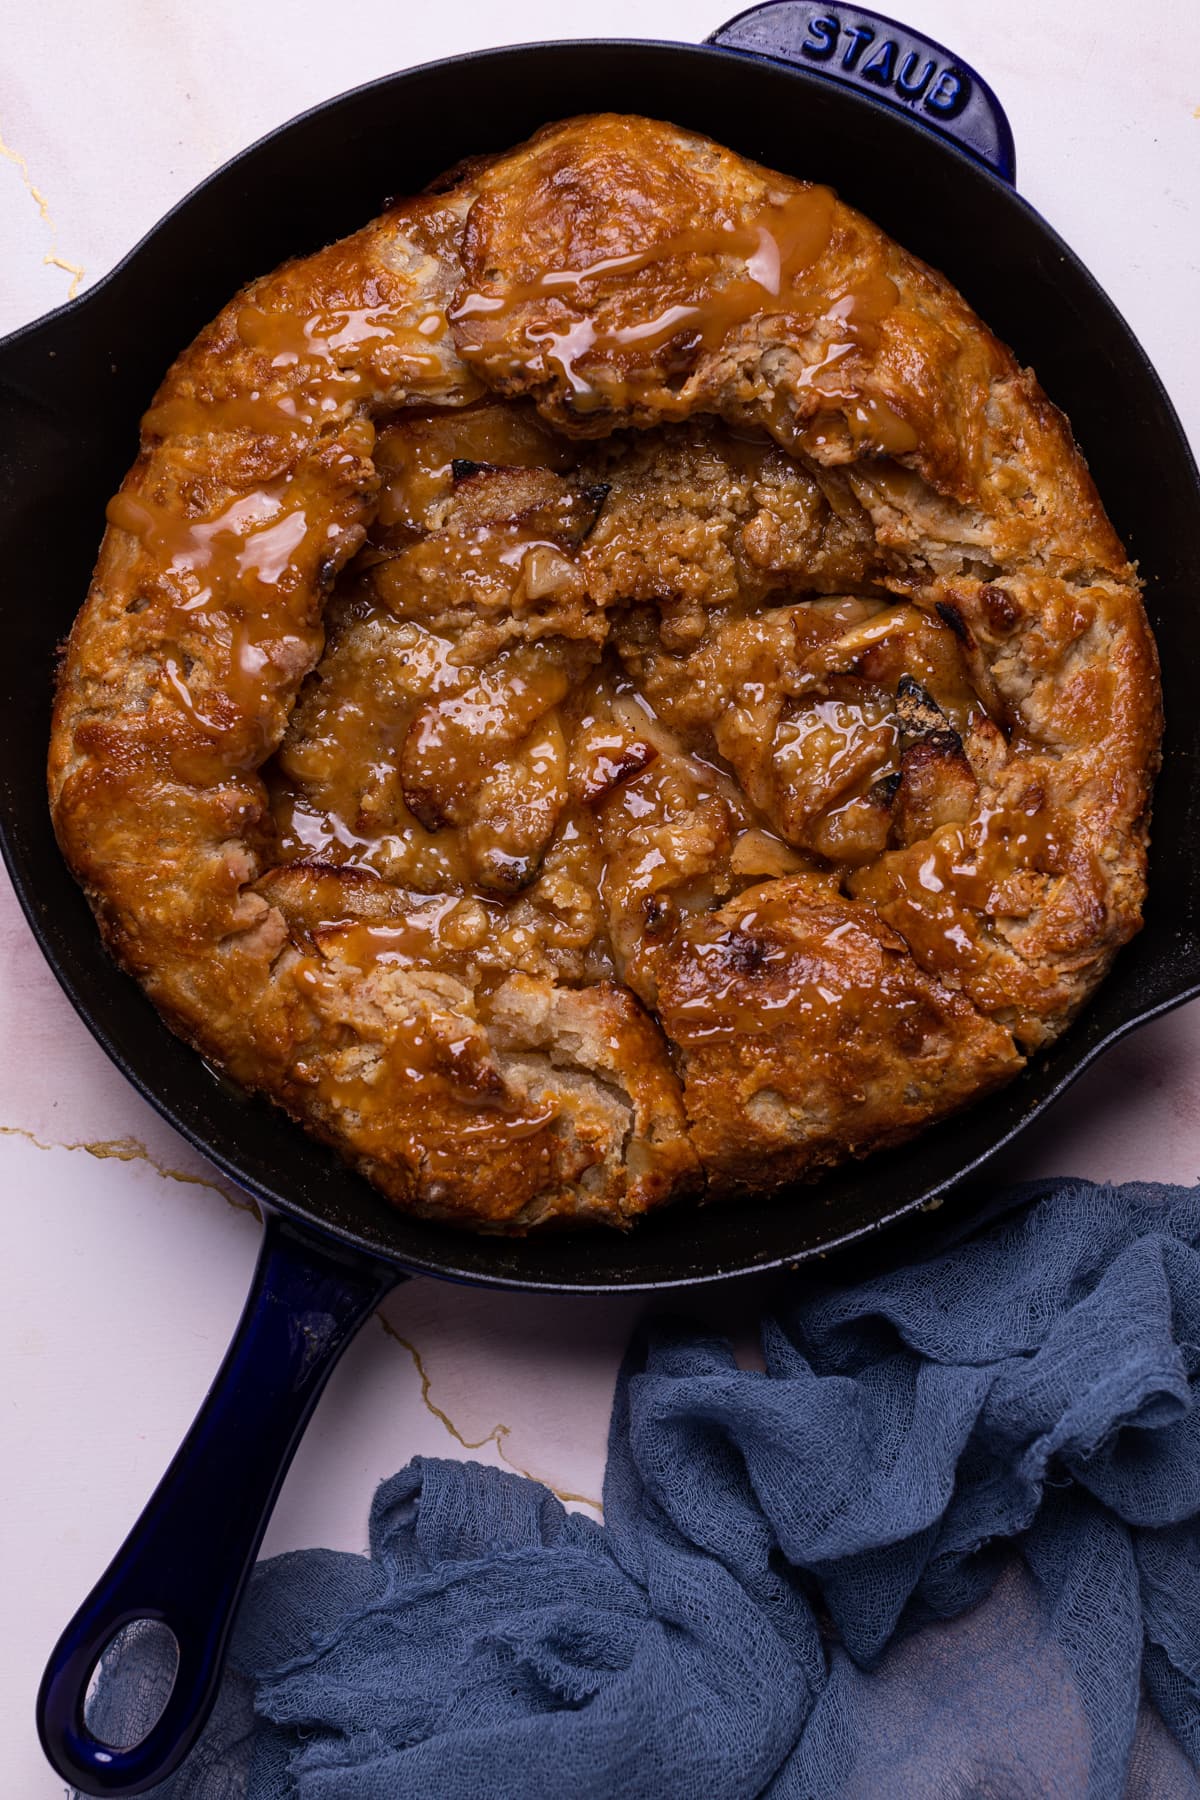
This Salted Caramel Apple Skillet Galette is absolutely incredible and bursting with the perfectly coveted salted caramel + apple flavors. Wrapped in a buttery, flaky crust with a slight crunch from the brown sugar crumble topping; this galette makes for a great sweet treat that can be enjoyed during all seasons.
Salted Caramel Apple Skillet Galette
Due to my Southern roots, growing up in Florida, I’ve always had a fondness for pies in general. In fact, I’ve made several versions of this classic Southern dishes before.
Try this amazing Apple Cheddar Thyme Pie or my Fluffy Overnight Apple Butter Eggnog Cinnamon Rolls if you’re in the mood for more buttery, apple-filled goodness after trying this salted caramel apple galette.
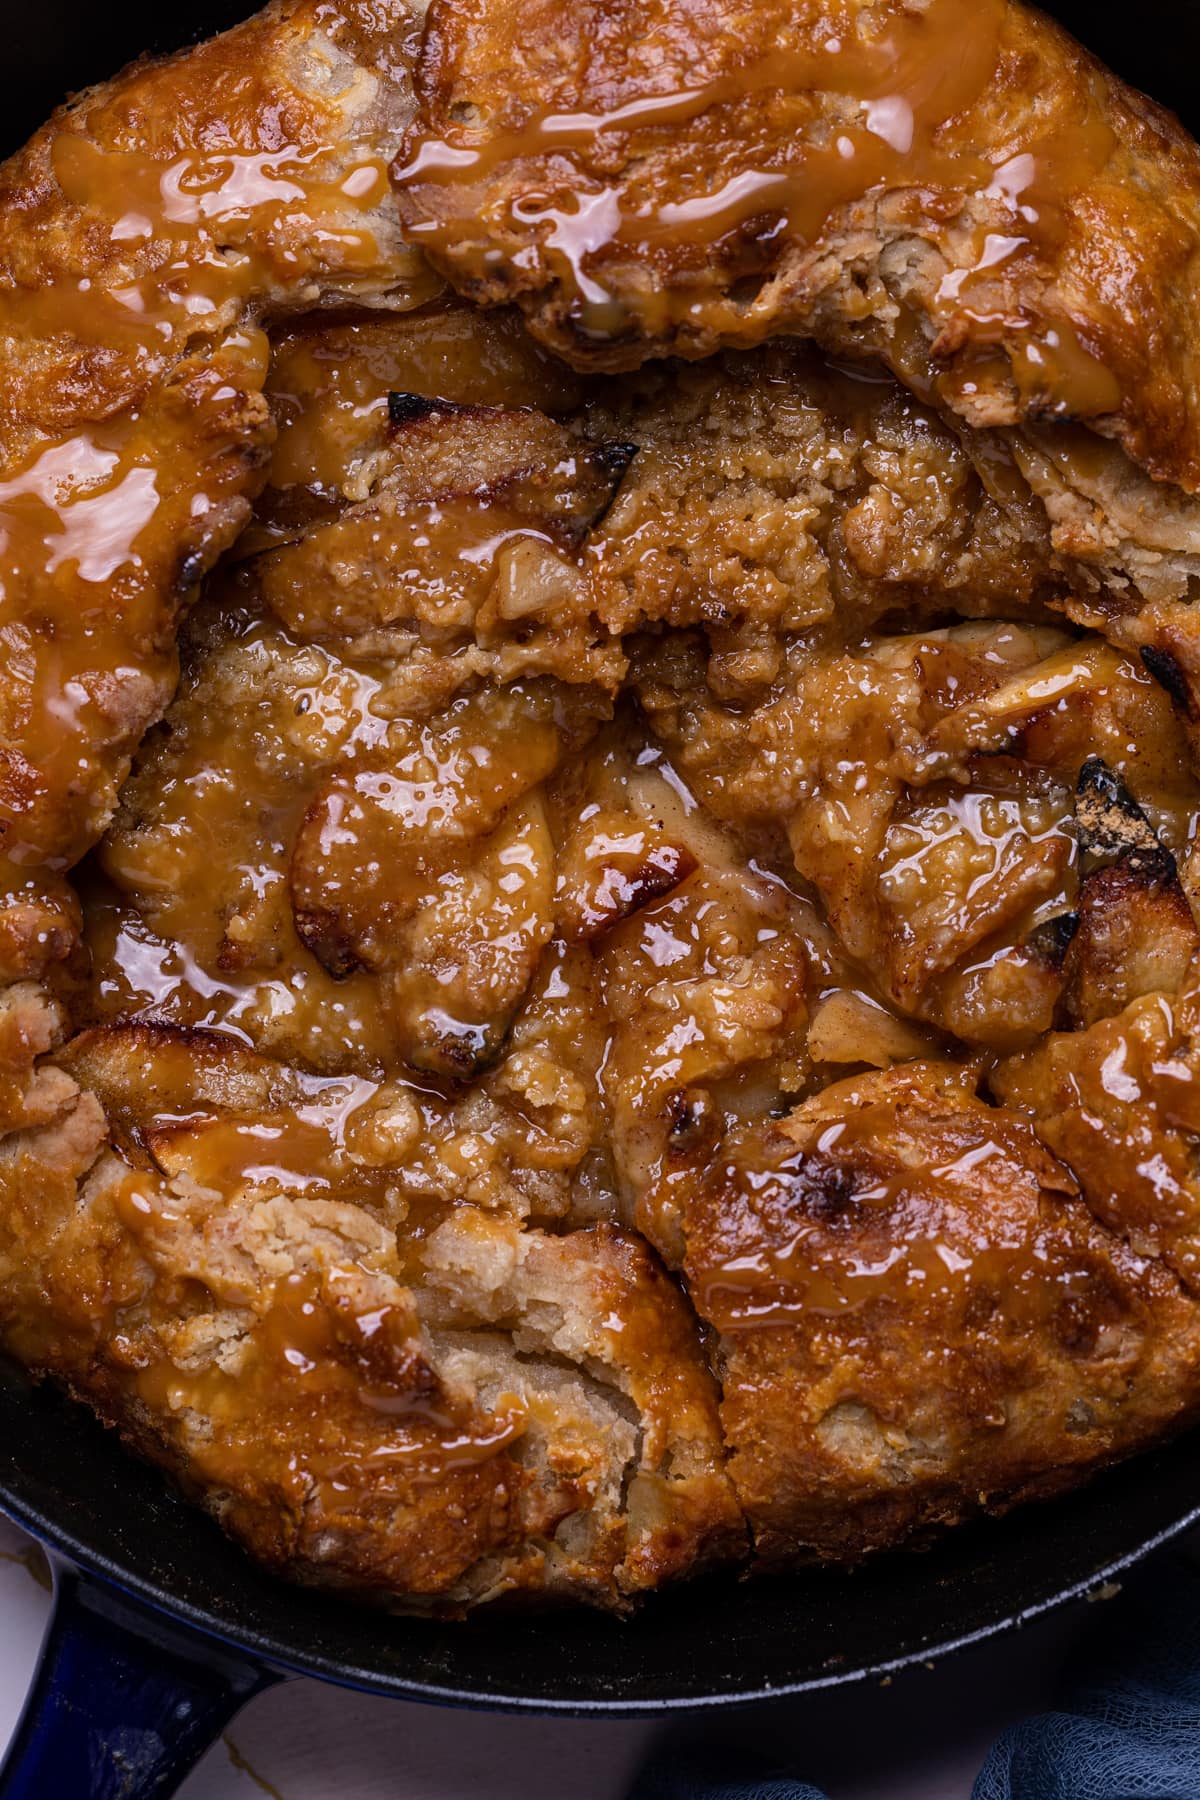
You can serve this galette for easy weeknight desserts, during holidays like Thanksgiving, or just as a weekend sweet comfort dish because why not? It’s a dessert that works any time of year and is always a crowd-pleaser with kids and adults.
Of course, my favorite vegan version of a galette that I've made are these Mini Vegan Strawberry Peach Galettes. They were just the perfect play on sweet versus tart and in all the right ways! Plus, who doesn't love Strawberries with Peaches, right? I know.
Delicious Salted Caramel Sauce
The biggest highlight of this entire recipe )and best topping ever) has to be this delicious homemade salted caramel sauce. Luckily, this sauce only requires a few ingredients.
INGREDIENTS
1 cup organic brown sugar
6 Tbsps unsalted butter, cut into cubes
½ cup organic heavy whipping cream
1 Tbsp sea salt
Perfect Buttery, Flaky Crust
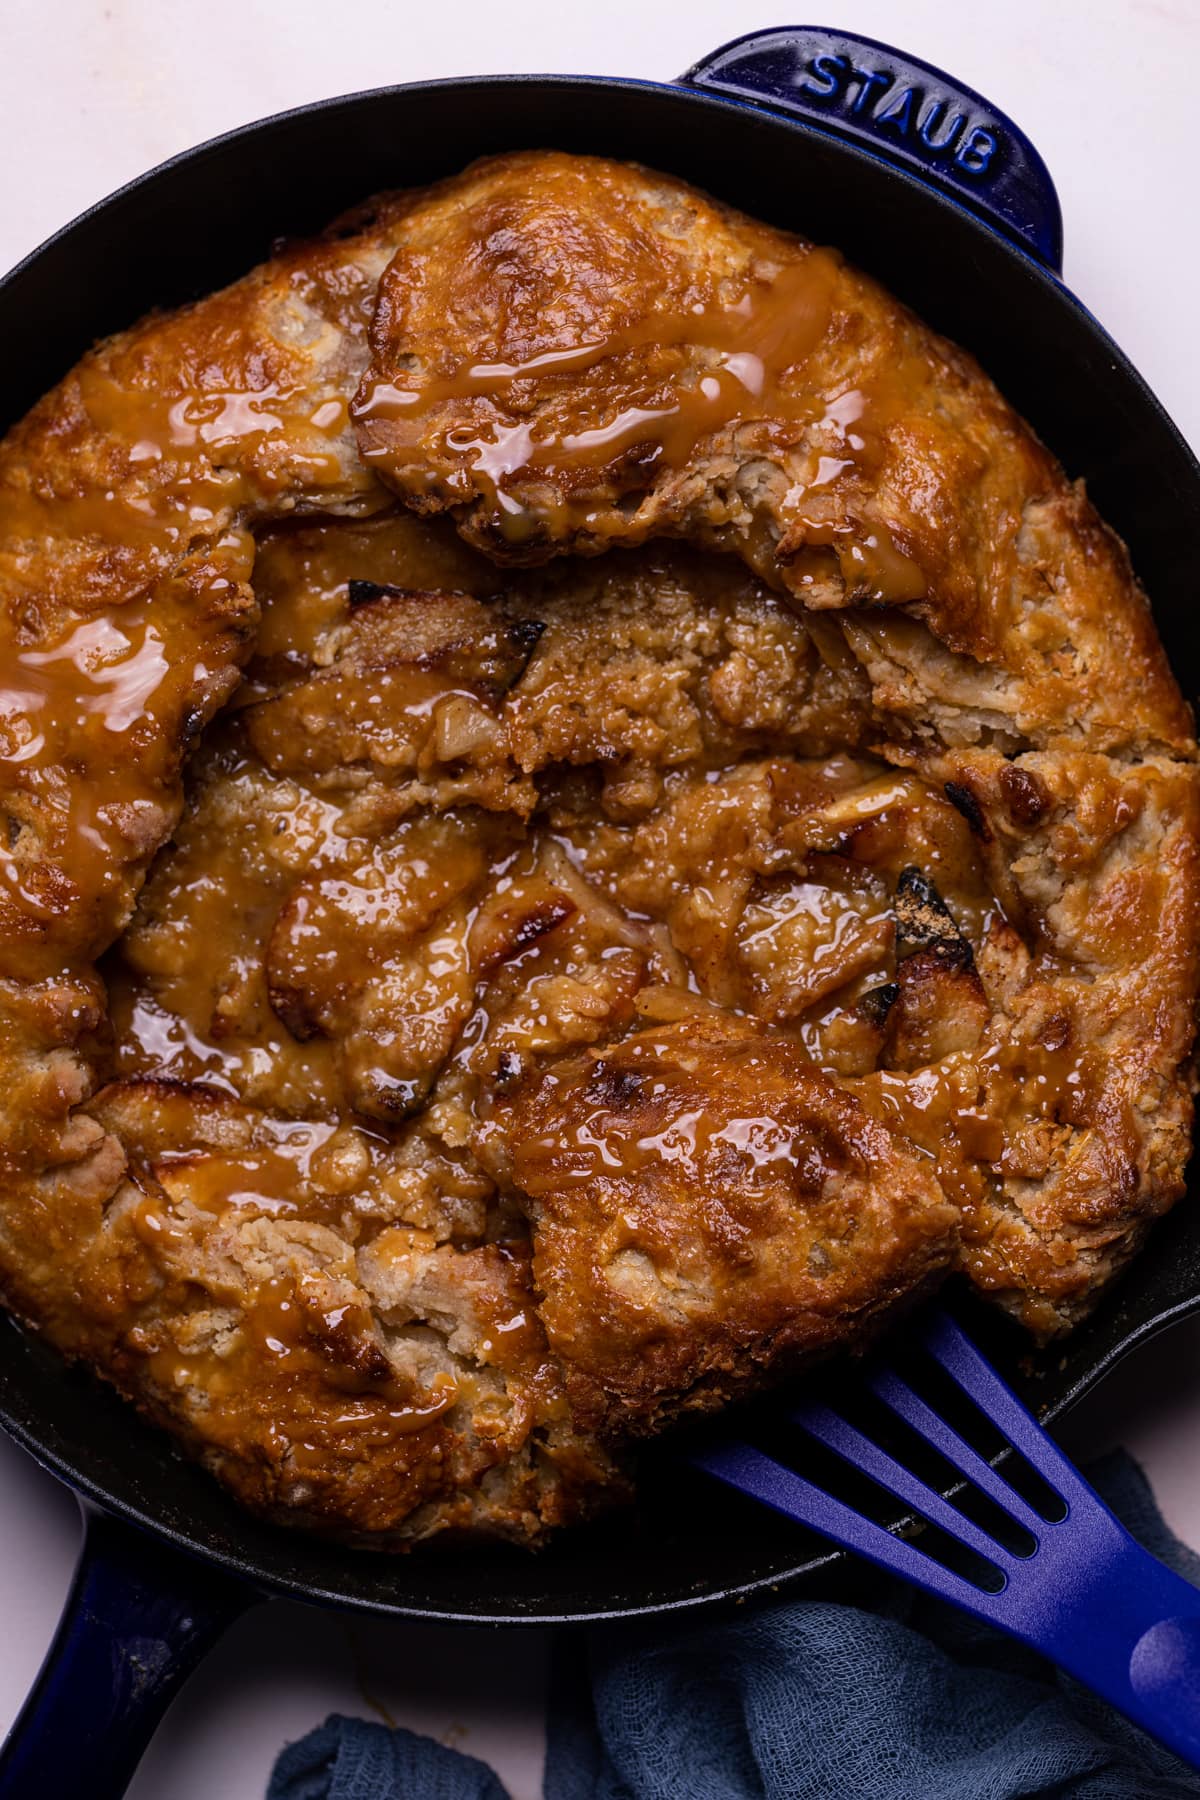
The first layer of this three-layered masterpiece is the buttery, flaky crust that comes slightly infused with cinnamon undertones.
INGREDIENTS
To make the crust, here are the following steps:
-
In a small bowl, add the milk + ACV (apple cider vinegar) together and let sit for 5 minutes until it activates and acts as 'vegan buttermilk'.
-
In a large bowl, add the all-purpose flour, sugar, cinnamon, and salt, whisking them all together until combined.
-
Add the cubed butter and using a pastry blender, blend butter into dry ingredients until the mixture becomes “peas-like” and crumbly.
-
Pour the cold milk mixture (slowly) and stir (working it together with one hand) until the dry ingredients are moistened.
-
Once you’re able to form it into a ball, wrap it in plastic wrap (individually) and refrigerate for 1 hour (minimum), or overnight if not using right away.
TIPS FOR A FLAKY, BUTTERY CRUST EVERY SINGLE TIME
TIP #1: The butter is SUPER important. When it comes to the unsalted butter, ensuring that they are COLD and of course from a great brand is key! For Vegan pastry crusts, I generally go for Earth’s Best Buttery Sticks which will have you believing that you’ve used actual unsalted butter.
TIP #2: Adding Shortening works too! Although, I tend to use buttery sticks alone, adding shortening or lard adds great wonders as well. All you need is half shortening and half butter.
TIP #3: Fridge time is Important time! Chilling your dough for an hour at minimum is so imperative to a flaky crust. Even slightly longer makes for a great advantage.
TIP #4: Your Flours matter big time! While different brands of flour actually hydrate different (causing for a slightly different result), ensuring that you mix in all-purpose flour with pastry flour is also just as important. Believe it or not, pastry flour actually makes a difference and serves a greater purpose!
TIP #5: SLOWLY pour in liquid, don’t dump it! Ensuring that you lightly pour milk-acv mixture (using milk for extra flavor, but also being able to use water if desired) while creating dough is so imperative. I generally slightly pour ¼ at a time and work the dough with my hands to eyeball how wet or dry everything is.
TIP #6: Dough can be made in advance, too. If making your crust ahead, you can always store it in the refrigerator for up to 2 days. No longer!
TIP #7: Not too Thick or Thin. Ensuring that you roll out a good enough crust is of course a must. Most go by the rule of thumb being ⅛ of an inch thickness or even slightly thicker. This helps your crust to the perfect thickness to carry the weight of your filling without compromising flakiness.

Salted Caramel Apple Skillet Galette
Ingredients
CRUST:
- 1 ½ cups organic all-purpose flour
- ½ cup unsalted butter, cold + cubed
- 2 Tbsps organic cane sugar
- 1 teaspoon ground cinnamon
- ¼ teaspoon sea salt
- ½ cup Almond milk, cold (You can use your fave plant-based milk!)
- 1 tablespoon apple cider vinegar
- 1 large egg, lightly beaten + 1 tablespoon Almond milk
FILLING:
- 4-5 Granny Smith Apples, peeled + sliced
- ½ cup pure maple syrup
- 2 Tbsps Arrowroot starch
- 1 teaspoon ground cinnamon
- ¼ teaspoon ground ginger
- ¼ teaspoon ground nutmeg
CRUMBLE TOPPING:
- ½ cup organic all-purpose flour
- ¼ cup organic brown sugar
- 1 teaspoon ground cinnamon
- 3 Tbsps unsalted butter, cubed
HOMEMADE SALTED CARAMEL SAUCE:
- 1 cup organic brown sugar
- 6 Tbsps unsalted butter, cut into cubes
- ½ cup organic heavy whipping cream
- 1 tablespoon sea salt
Instructions
CRUST:
- In a small bowl, add the milk + ACV (apple cider vinegar) together and let sit for 5 minutes until it activates and acts as 'vegan buttermilk'.
- In a large bowl, add the all-purpose flour, sugar, cinnamon, and salt, whisking them all together until combined.
- Add the cubed butter and using a pastry blender, blend butter into dry ingredients until the mixture becomes “peas-like” and crumbly.
- Pour the cold milk mixture (slowly) and stir (working it together with one hand) until the dry ingredients are moistened. NOTE: If the ingredients feels a little too dry, add 1 tablespoon of cold milk at a time, until it’s moistened BUT not too wet!
- Once you’re able to form it into a ball, wrap it in plastic wrap (individually) and refrigerate for 1 hour (minimum), or overnight if not using right away.
FILLING:
- In a large bowl, add the sliced apples, maple syrup, starch, and spices, stirring everything together until well combined. Set aside.
CRUMBLE TOPPING:
- In a medium-sized email, add all of the ingredients and using a party blender (or fork), blend butter into dry ingredients until the mixture becomes “peas-like” and crumbly.
ASSEMBLY:
- Preheat your oven to 400 degrees Fahrenheit.
- Remove dough ball from the refrigerator and place it on a lightly floured surface. Roll out the dough ball (not making it too thin), about ½-inch thick and gently placing it in a pre-greased (with butter) non-stick skillet; working it around evenly.
- Add the apples and minimal amount of juices from the bowl to the center of the crust, evenly spreading it out until evenly spread.
- Generously sprinkle the top with the crumble toppings and lightly brush top of crust with egg wash and bake galettes for 35 minutes or until the crust is golden brown and center is bubbling.
- Once done, remove from the oven and allow it to cool slightly for 10-15 minutes before adding caramel sauce.
HOMEMADE SALTED CARAMEL SAUCE:
- Heat the brown sugar in a medium skillet over medium-high heat and stir constantly using a rubber spatula until clumps are formed. Add butter and continue to stir until everything has melted and become a dark 'amber-like' color. Continue to stir consistently until fully melted and bubbly, about 2-3 minutes.
- Now, slowly whisk in the heavy cream and continue stirring until well incorporated and sauce has fully thickened. Remove from heat and allow to cool slightly before using.
- Drizzle the top of galette with Salted Caramel sauce, slice, and enjoy!
- Bon Appetit!
Tips & Tricks
- STORAGE: Keep leftover galette tightly wrapped with heavy duty plastic wrap and foil paper refrigerated for 3-4 days. Re-heat each slice when serving.
- STORAGE (CARAMEL SAUCE): Leftover caramel sauce can be stored in a tightly sealed mason jar for up to two weeks. When ready to use, simply reheat sauce in the microwave at 15 second intervals until softened and at room temp.
- FLOUR: You can use Pastry Flour in substitute of All-Purpose flour for extra flakiness.
- MILK: You can substitute Almond milk with your favorite plant-based milk, regular whole milk, or water.
- FOOD PROCESSOR FOR CRUST: If using a food processor to incorporate milk to flour/butter mixture, ONLY ADD ¼ cup of milk AT A TIME to your dough, keeping it on “pulse” to avoid the dough from breaking down too much and it becoming “watery”. With this method, you may not need the entire ½ cup of milk mixture.
- APPLES: Best apples to use for this bread are: Granny Smith, Gala, Honeycrisp, Fuji, etc.
Nutrition
DID YOU MAKE THIS recipe?
Tag @orchidsnsweettea_ on Instagram and hashtag it #orchidsandsweettea


LOVE THIS RECIPE?
LET US KNOW!
This looks delicious! I am not good with pie crusts but will try it. WIll a store bought crust be good for this receipe? I did not find anywhere what size of cast iron pan to use as I have the 10" and the 12". Please repy as I plan making this tonight!
Luisa
Hi Luisa! Thanks so much! I truly hope that you enjoy this! This is a 10-inch skillet, therefore, you can totally use a store-bought crust or puff pastry as the base. 🙂
I love how cute these are - perfect for a potluck or end of year family gathering!! I can't wait to try them!
Thanks so much, Aline! Yes, they really are the perfect little bites! I do hope that you enjoy!
I love galettes because they're so easy. The salted caramel takes these over the top!
Yes, I so love galettes Jazz! The Salted Caramel sauce was the best!
I love a good crumble topping! Perfect for a potluck/holiday dinner!
Yes indeed, Tisha!
These look delicious!! I must try them for the fall season!
Thanks so much! I do hope that you enjoy it!
This looks so very creative and delicious! I would have never thought of buttermilk in pie crust but YAAAAASSSS, I am here for it! The fact that they are mini galette is so awesome for my portion control efforts! I can't wait to try this recipe!!!
Haha! Yes, the buttermilk gives it such a nice flakiness along with the butter! And I do love mini versions of sweets for that reason also! Enjoy!